P2 Arc8de Project
 Coley
Posts: 1,130
The P2 Arc8de project is a collaboration between Chip, Baggers, VonSzarvas and me, Coley!
This project started off life as an 8080 emulator that Chip and Baggers were working on to run the classic arcade game, Space Invaders.
It quickly grew arms and legs (that's what happens when Chip and Baggers work together) and before you knew it a whole system had been devised.
As I've not been on the forums for a while (real work got in the way) Chip asked me to do an update as to where the project currently stands.
The concept : P2 microcontroller emulating the intel 8080 processor in a single cog whilst simultaneously generating a display (composite video) and single channel of audio
What happened :
Well, once Chip and Baggers had the emulators (yes there is two) up and running (they both took a different approach) next was adding a display driver and then sound.
That took no time at all and then Chip set about optimising the emulator and at the same time interleaving in the audio and video driver so that everything ran in a single cog.
This means that we can run up to 8 instances of the Space Invaders game on a single P2.
Why would you want to do that? Well for one it's neat and it also shows off how capable the P2 really is and especially shows off the multiprocessing capabilities.
If you are running 8 instances of space invaders on the same chip then how are you possible going to play them all?
By making 8 separate arcade cabinets of course! (this is where I come in)
Of course that would be a great spectacle in itself but wait there's more....
Not only can you play Space Invaders, there are now 8 separate arcade games along with a multiplayer tank game and a multiplayer light cycles game written by Baggers in 8080 assembler.
Oh did I mention there is also a menu system and a lobby where you can see what others are playing on your own screen.
Awesome, right!
Status:
- Emulator Code - Done
- PCBs - Done
- Cabinet - Almost done (That's my bit...)
I'll attach some more information relating to the PCB and the games but first I can share with you some of the work I've been doing on the cabinet.
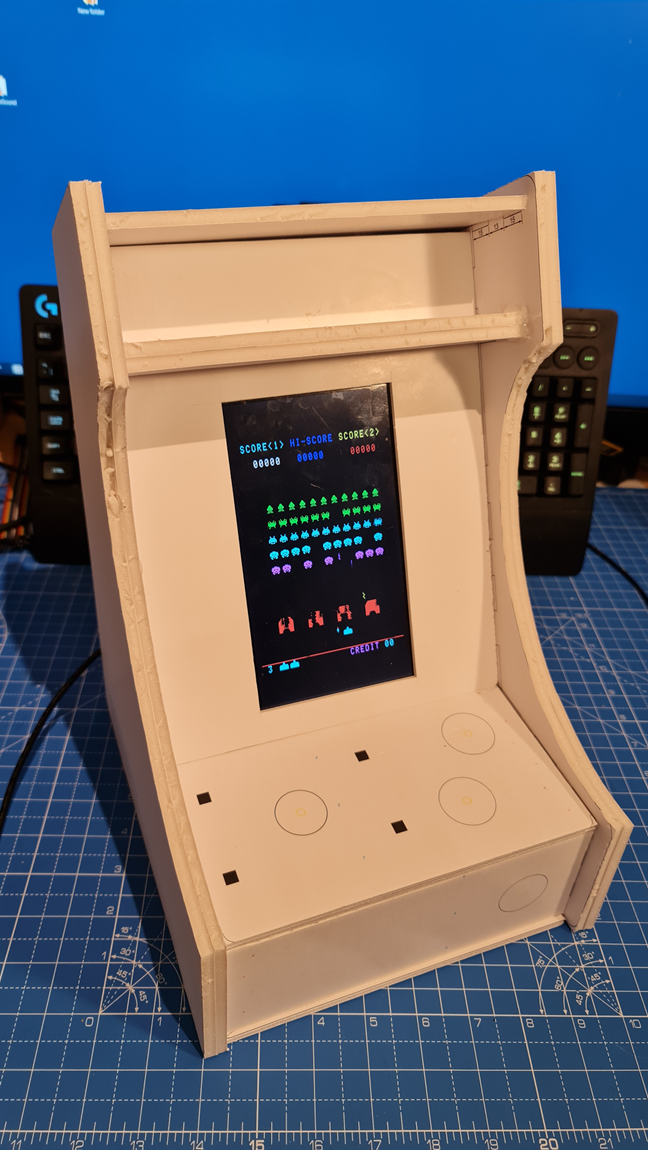
The concept prototype in foam board
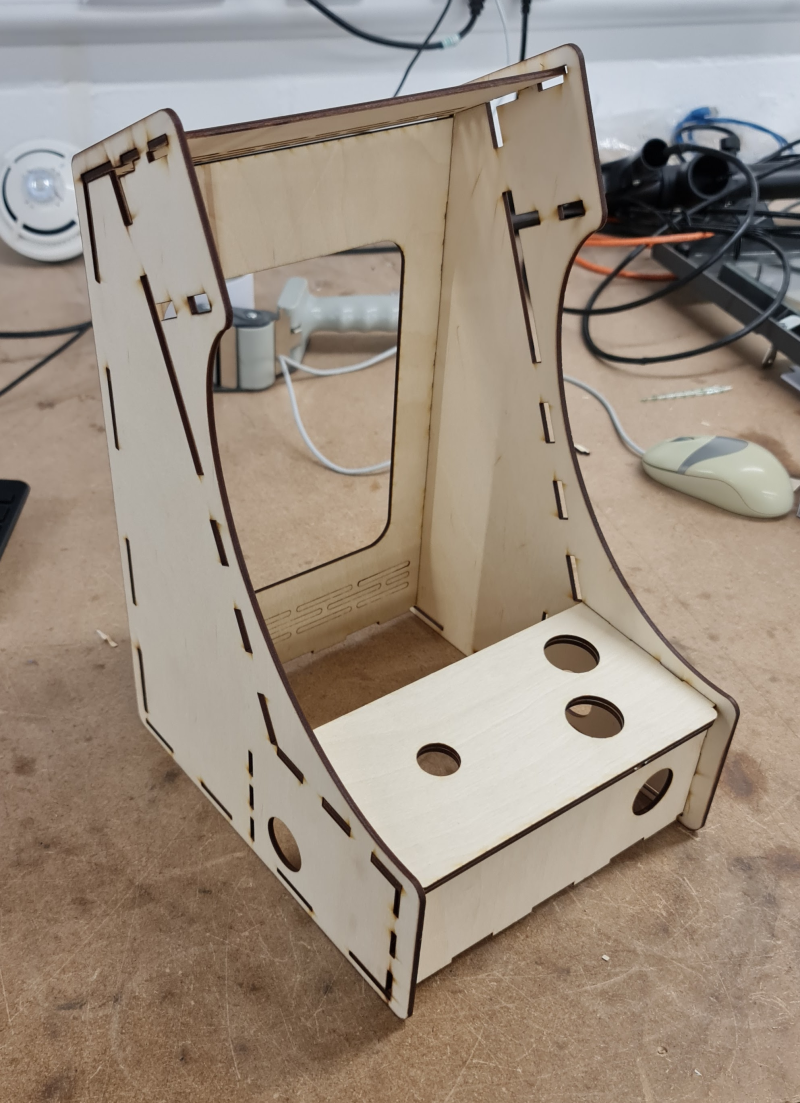
The first cut
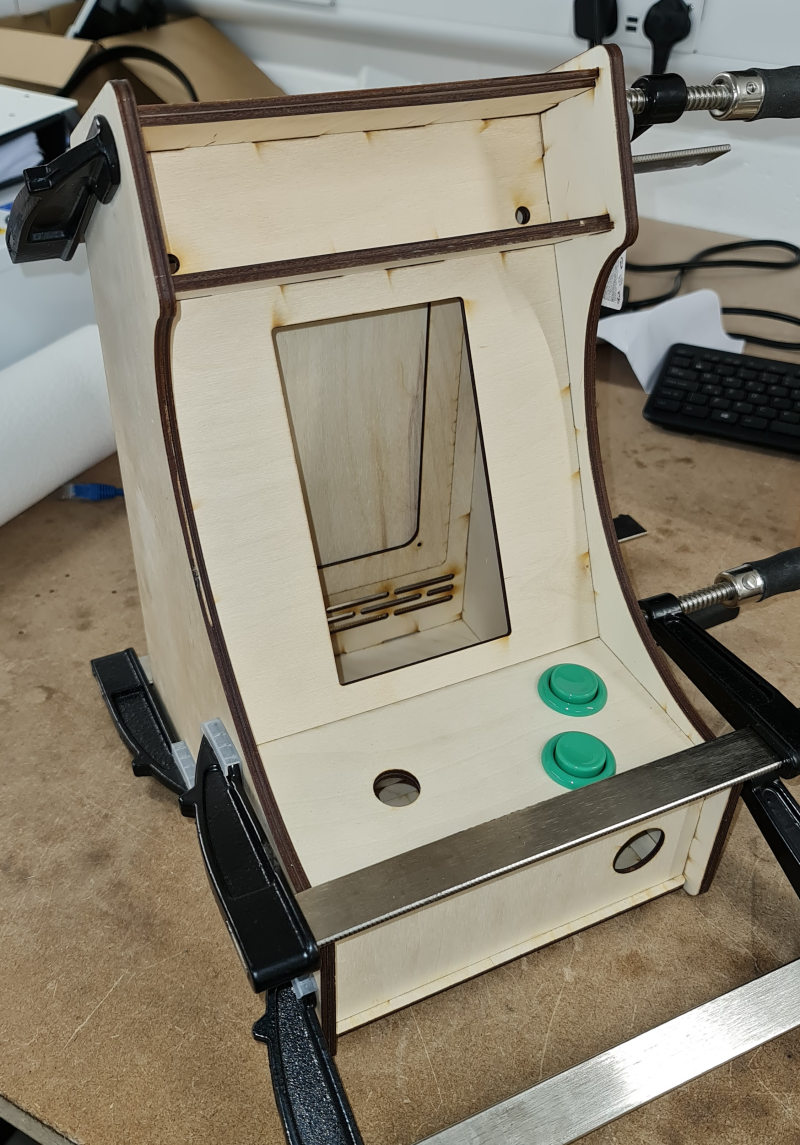
Making progress...
A variant emerges...
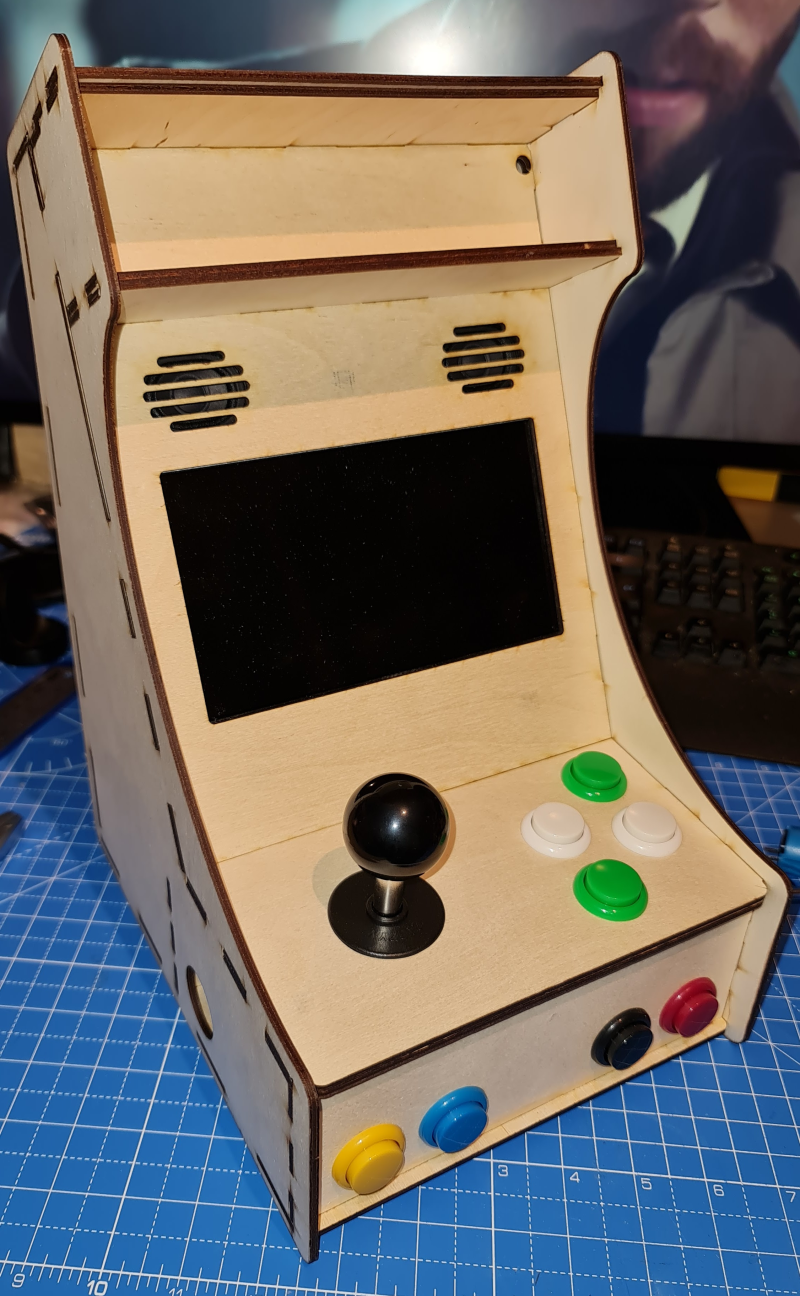
P2 Arc8de Cabinet Design
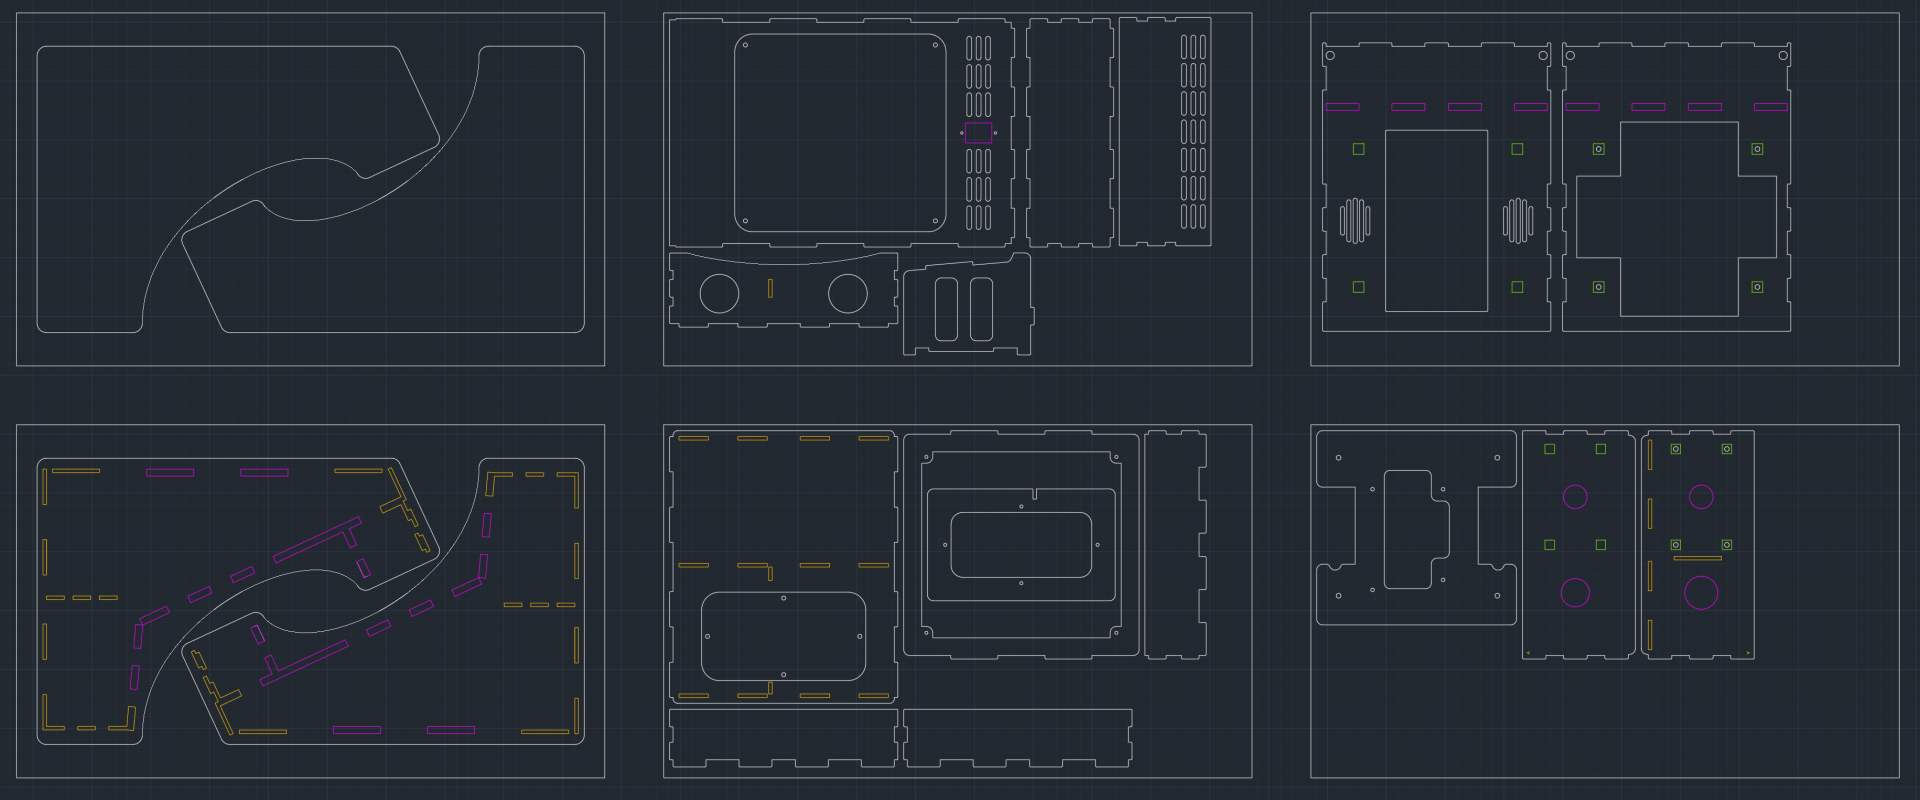
Standalone Cabinet Design
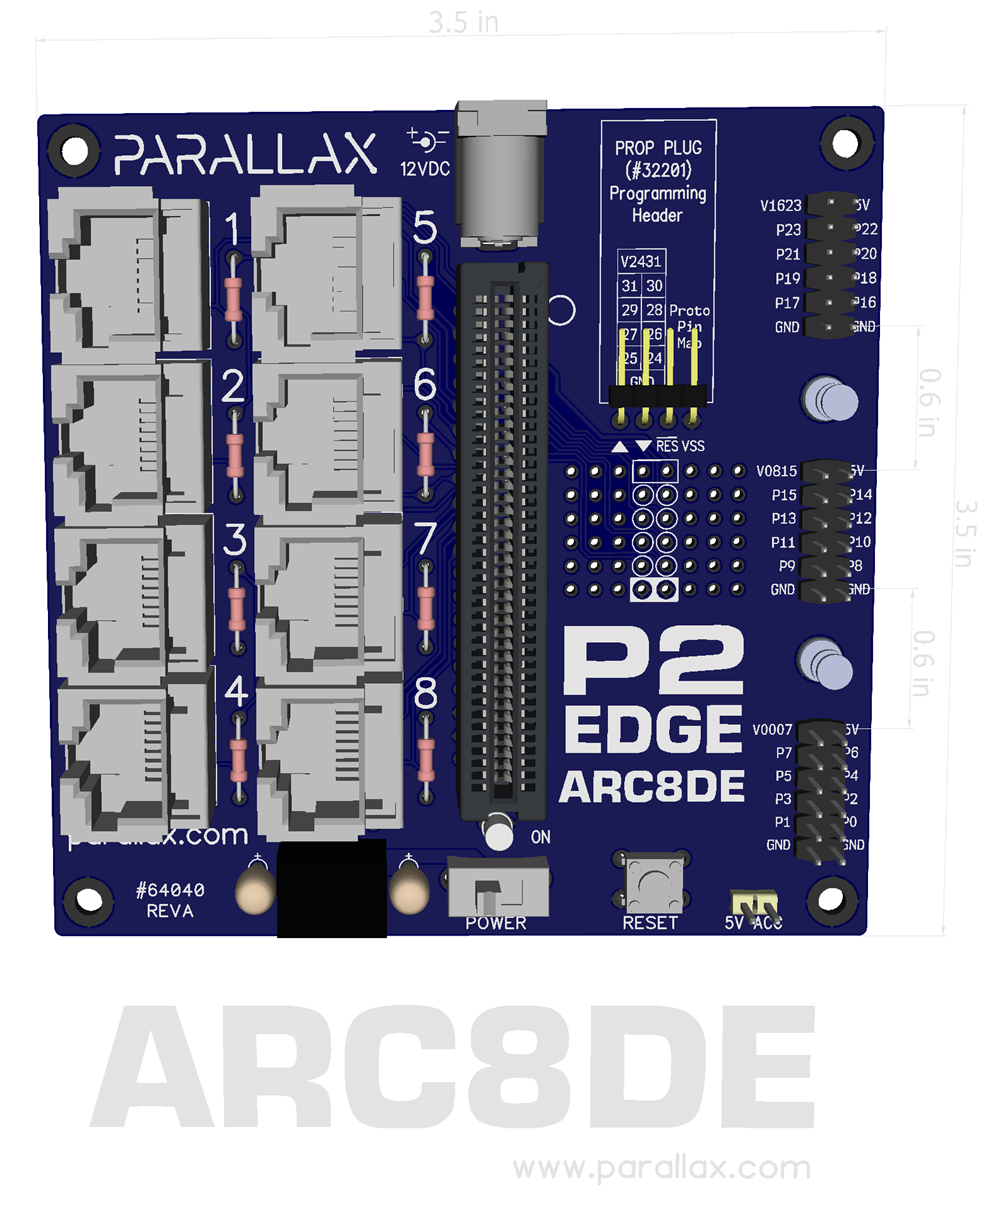
P2 Arc8de PCB (by VonSzarvas)
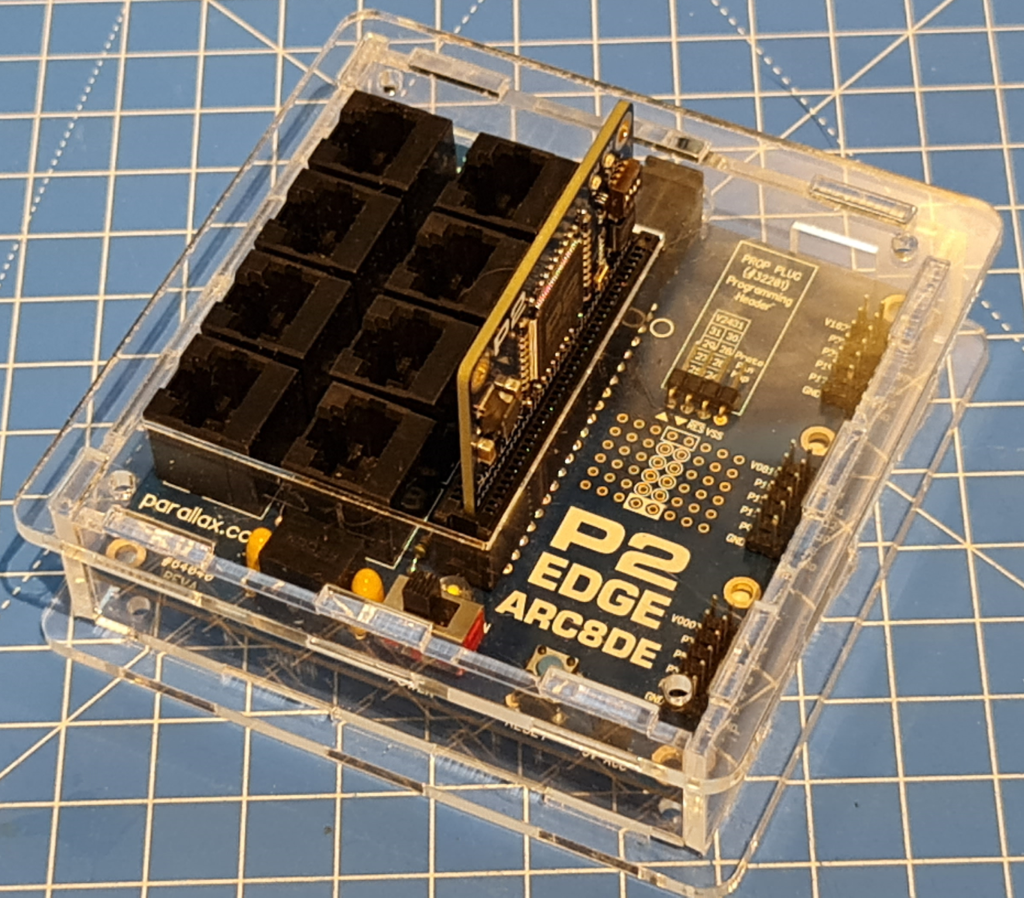
And the first go at an acrylic case...
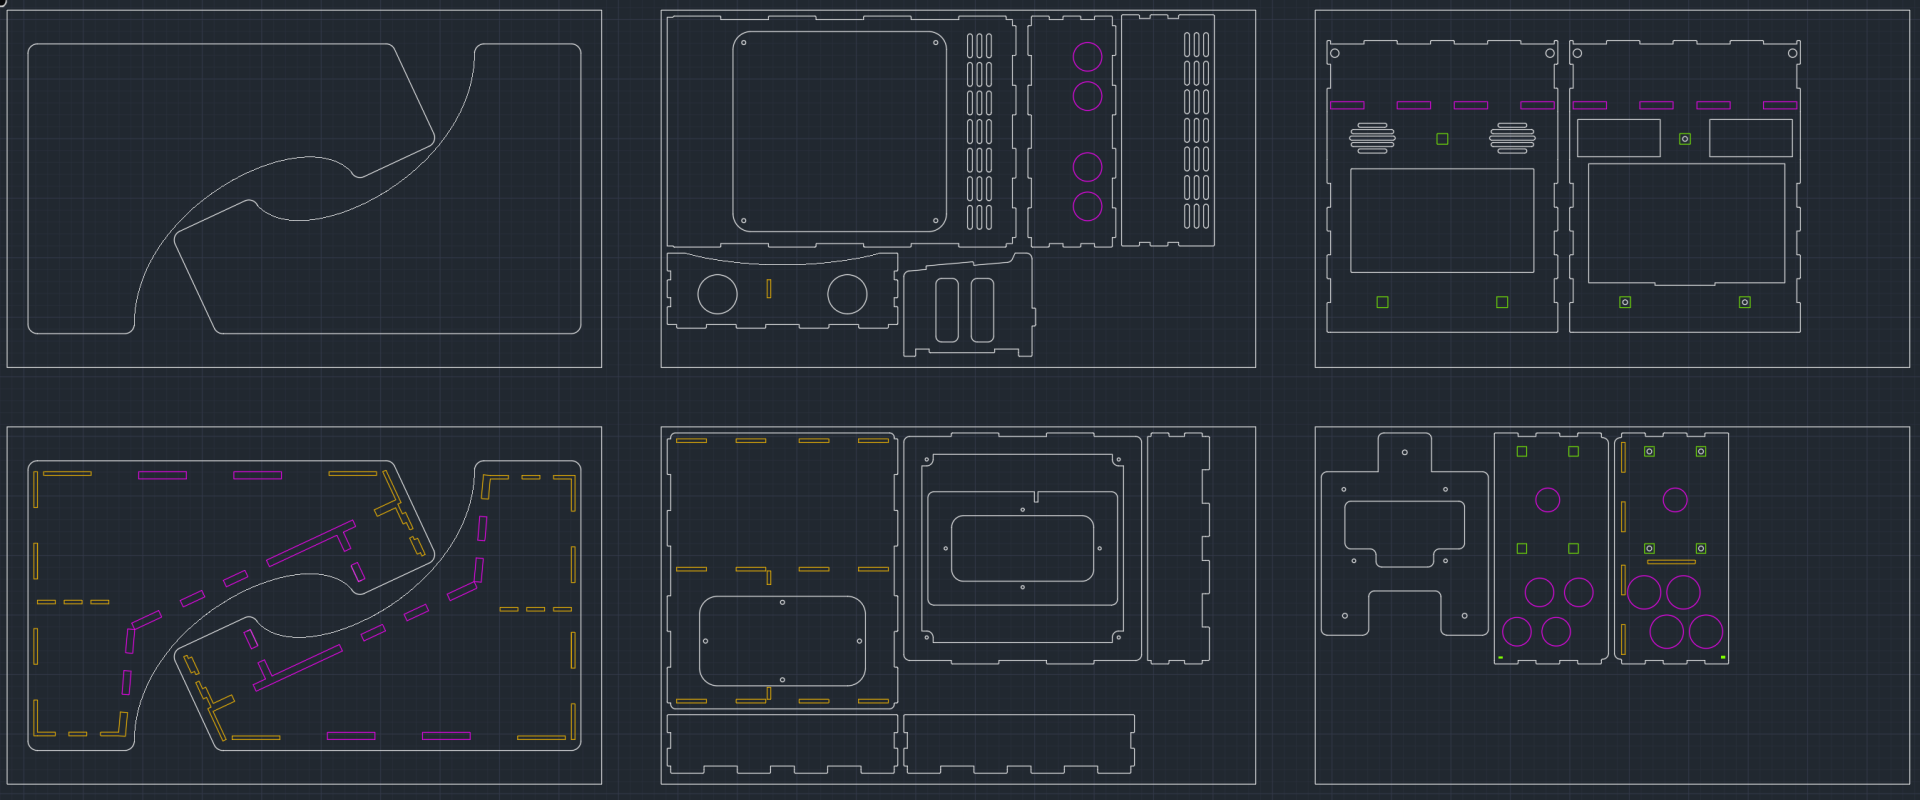
Here are the design files for the single button cab in dxf and pdf format.
Edit: I've also put an Autodesk Fusion model in the Obex, Link is here.


Comments
The arcade cabinet design is based off this project by TobiasPi https://instructables.com/Mini-Pi-Powered-Arcade-Machine/
I will be releasing the full design plans for both styles of cabinet under the same terms as the original project (CC BY-SA 3.0 license). creativecommons.org/licenses/by-sa/3.0/
If you have access to a laser cutter and some 3mm birch plywood then you will be good to go.
Reserved
YES!
That is all for right now. Look for me back on the forums in just a bit. (About time)
Coley, post the cabinet artwork, too. It is really nice.
Great job all
Thanks for posting the update Graham.
This is great progress! Thanks Coley, Chip and Baggers.
Here are the graphics for the P2 Arc8de cabinet courtesy of Andy C Spencer
Andy is a graphic designer and runs the Retro Computer Museum here in the UK https://retrocomputermuseum.co.uk/
Andy is also a good friend of Baggers and soon to be P2 enthusiast
Fun stuff! Think this would work with a real arcade monitor?
Mine needs a "cap kit", apparently, but would be cool to have the P2 arcade working on it one day...
No reason why it wouldn't.
Most arcade monitors run at TV sweep frequencies. Just have the color system do RGB instead of composite/ S-video and touch up the sync, if needed.
I have been away. Saw the driver tweaks to make old school graphics work.
Did the multi button scheme get sorted out?
@Rayman, it should work with a real arcade monitor, you just need to modify the display driver to do RGB instead of composite, the timing should be the same.
@potatohead, welcome back and yes, the multi button scheme got sorted out, and all is going great!
The design is nearing completion, I drew the cabinet up in Sketchup to better work out the mechanical elements.
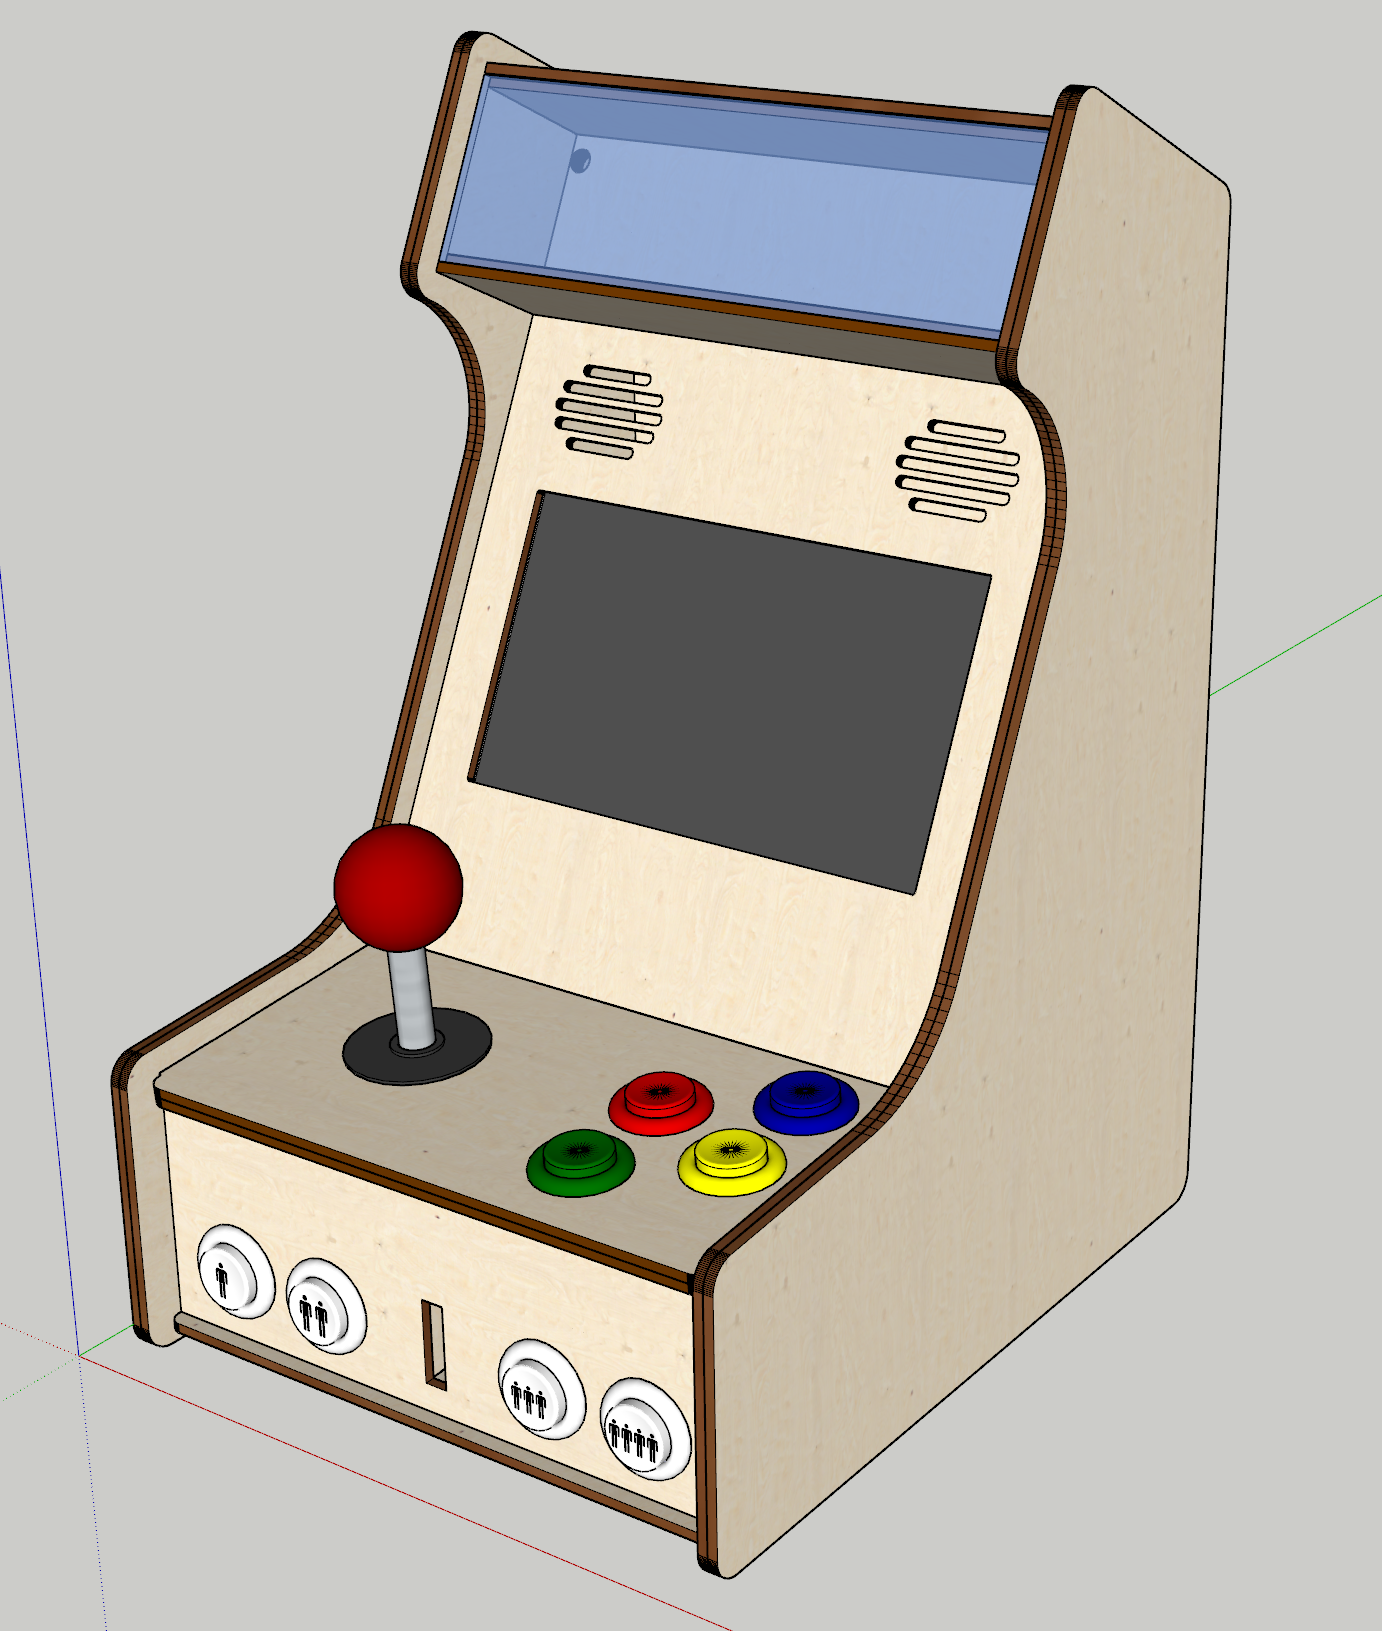
Only the PCB mounts to add and cable entries etc..
Looks good, Coley.
What about the Space Invaders one with left, right, fire, start1, and start2 buttons?
It's all done in cad, I just need to finish the conversion to Sketchup once I have the PCB mechanical details off VonSzarvas
I'll get those over to you. What format works for you? Gerber maybe? Or would you prefer if I add dimensions details to the board layout plans and send those as PDFs?
PDF with dimensions will be fine I think. I need to know physical dimensions, spacing of connectors and mounting hole centres.
Did you respin the design with an inverted RJ45 jack? I can't remember how far we got with the discussions.
Up, Down, Left, Right and Fire (Remember we have 7 other games too)
The version with the four buttons, I think you should consider upgrading to 6 buttons, since that's going to be useful I think, if the emulation ideas currently being thrown around come to any fruition. Lots of the games you'd want to play on an arcade stick support/require 6-button controls.
I'd have to widen the whole cabinet to accommodate another two buttons, we are really tight for room.
Because this is made out of 3mm Birch Plywood, I have some support structures internally that restrict the space available.
I have thought about it before, it would be simple enough to do in reality.
Ah of course, that wide stick mounting plate is in the way. Should have known, I think I have some sticks exactly like that.
There may be a way I can squeeze them in, I'll see what I can do
Hmm, I'm thinking that if the support wall had the right indents, it could go a bit under the joystick, which would be just enough room. Is that what you're thinking?
If you guys keep this up, you’ll need room for a coin acceptor.
On a serious note, can you imagine what would happen if you put this in a high school cafeteria with a sign advertising the programming class? “Be the envy of your friends. Build this”.
Well I'm thinking I will maybe remove the metal mounting plate and that will enable me to move the joystick to the left and then shuffle things around until I can fit the extra buttons in.
I just means that the joystick can't be removed from the mounting plate but that's not to big of a problem really.
There is a bracket that holds a uSD Card extender in the centre of the lower front panel, that may have to be relocated to accommodate this change.
It may just be easier to simply make it wider...
We'll see
Should the joystick be on the right ???
I don't play many games but as a right-hander I just presumed the joystick would be on the right. Am I wrong?
Just curious.
Or is there a way to rotate the plates at the bottom?
Joysticks are always on the left in my experience, in the Northern Hemisphere anyway
It's tight but I can make it work and still fit in the uSD on the front
@Coley
These look great
Oh yeah, that's all the button goodness.