

Anyone already create drivers for 37 sensor kit by Elegoo from amazon? Also see my ws2812b demo
 Ludis
Posts: 69
Ludis
Posts: 69
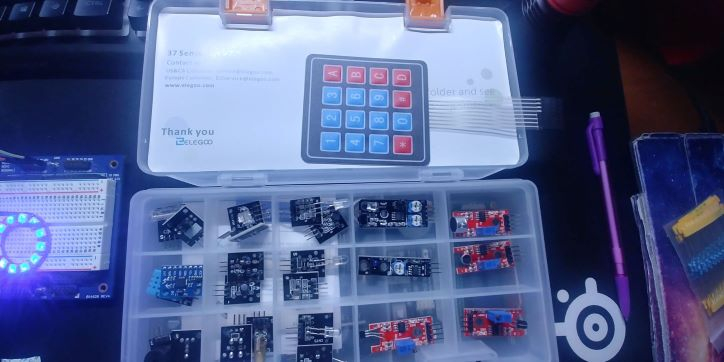
I have this kit with 37 sensors from Elegoo off amazon (see pics below). I was wondering if anyone has written P2 drivers for these?
I ask because I'm looking to increase my knowledge in P2 SPIN and PASM and I would write drivers for these (attempt to) and then provide the resulting drivers for the forum to use or refer to.

While you are here check out my video: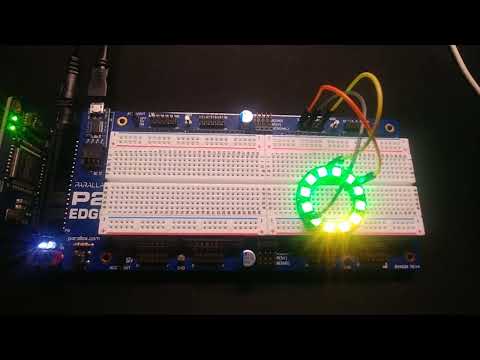
SPIN2 files for the neo pixel circle are attached. SPIN code with in-line PASM
Comments
As you dig more into PASM2 you'll find some nice surprises. For example, in the P2 you can swap the red and green color bytes in your WS2812 code with one line of code.
Write drivers for the kit. If others do, too, that's okay. We all approach things differently and can learn from each other.
@JonnyMac thanks. That's a neat trick which reduced 5 lines of code down to 1. worked great and code attached. Ok great. I will work on the drivers and share them with the forums, if i'm successful. Will be a challenge but fun.
This is where I struggle. As more of a beginner, I would not have figured out movbyts from the large excel sheet (v35 Rev B.). The excel spread sheet can be difficult for me to understand. Also the PASM user manual does not have movbyts finished yet. I've been looking forward to the user manuals becoming more complete. I mostly use your JM code to learn for now.
Now I learned a new one (i.e., movbyts).... so i can add another "tool" for the tool kit. thanks.
My original P2 port of the pixel driver didn't have it either. I try to spend a little time every day looking through other code and I happened upon it. When we have a P2 manual that's like the P1 manual, it will be easier to find and learn to elements of the language -- and the P2 has a lot of new elements.
Suggestions:
I had a small LED ring handy and tested these updates to your code (i.e., they work). As they say here in Hollywood, they are for your consideration.
con

  MS_001   = CLK_FREQ / 1_000                                   ' ticks in 1ms
  US_001   = CLK_FREQ / 1_000_000                               ' ticks in 1us

  RESETD   = 50 * US_001                                        ' 50us
  BIT0HIS  = US_001 * 4 / 10                                    ' 0.4us
  BIT1HIS  = US_001 * 8 / 10                                    ' 0.8us
  BTIME    = US_001 * 125 / 100                                 ' 1.25us (800kHz)
  NBITS    = 24


pub neo_driver(p_colors, npixs, pins) | pixcol, t0

  org

setup                   drvl      pins
                        waitx     ##RESETD

next_pixel              rdlong    pixcol, p_colors
                        add       p_colors, #4

                        movbyts   pixcol, #%%2310

                        getct     t0

                        rep       @.loop, #NBITS
                         shl      pixcol, #1            wc
                         drvh     pins
        if_nc            waitx    #BIT0HIS
        if_c             waitx    #BIT1HIS
                         drvl     pins
                         addct1   t0, #BTIME
                         waitct1
.loop
                        djnz      npixs, #next_pixel

  end


pub gamma(c) : gc

  gc.byte[3] := GammaTable[c.byte[3]]
  gc.byte[2] := GammaTable[c.byte[2]]
  gc.byte[1] := GammaTable[c.byte[1]]
Note that I am very specific about formatting, so my code may look a little different from yours.
Thanks for the tips and the code! Will adopt the clock constants. That byte access is very slick.
Why does the RESETD constant have ## and the other constants have #? The manual says 9-bit literal versus a 32bit... RESETD value is decimal 10,000 which is larger than decimal 511 (max of $1FF). Is this the reason?
setup                  drvl      pins
                            waitx     ##RESETD
I've started the HDT11 sensor driver (sensor 1 or 37) which I already have a P1 PASM driver for but will convert to P2. I'll post a draft for the forums to review.
Yes. The assembler inserts the augs instruction to deal with the 32-bit literal. This is important to know if using rep with a fixed loop count (instead of @label). For example, the shift loop could be written like this:
                        rep       #7, #NBITS
                         shl      pixcol, #1            wc
                         drvh     pins
        if_nc            waitx    #BIT0HIS
        if_c             waitx    #BIT1HIS
                         drvl     pins
                         addct1   t0, #BTIME
                         waitct1
But if any of the constants used ##, you'd have to count that as two instructions.
I've attached my version; it works with the DHT11 and DHT22. Note that it's very persnickety about timing everything. I've been reading a book on the RP2040 and the way they read this sensor is very simple. I prefer edge testing because I tend to work around applications that have to detect failure conditions.
@JonnyMac thank you! all good stuff