

My P101bot

This my latest robot project, using Parallaxy parts.
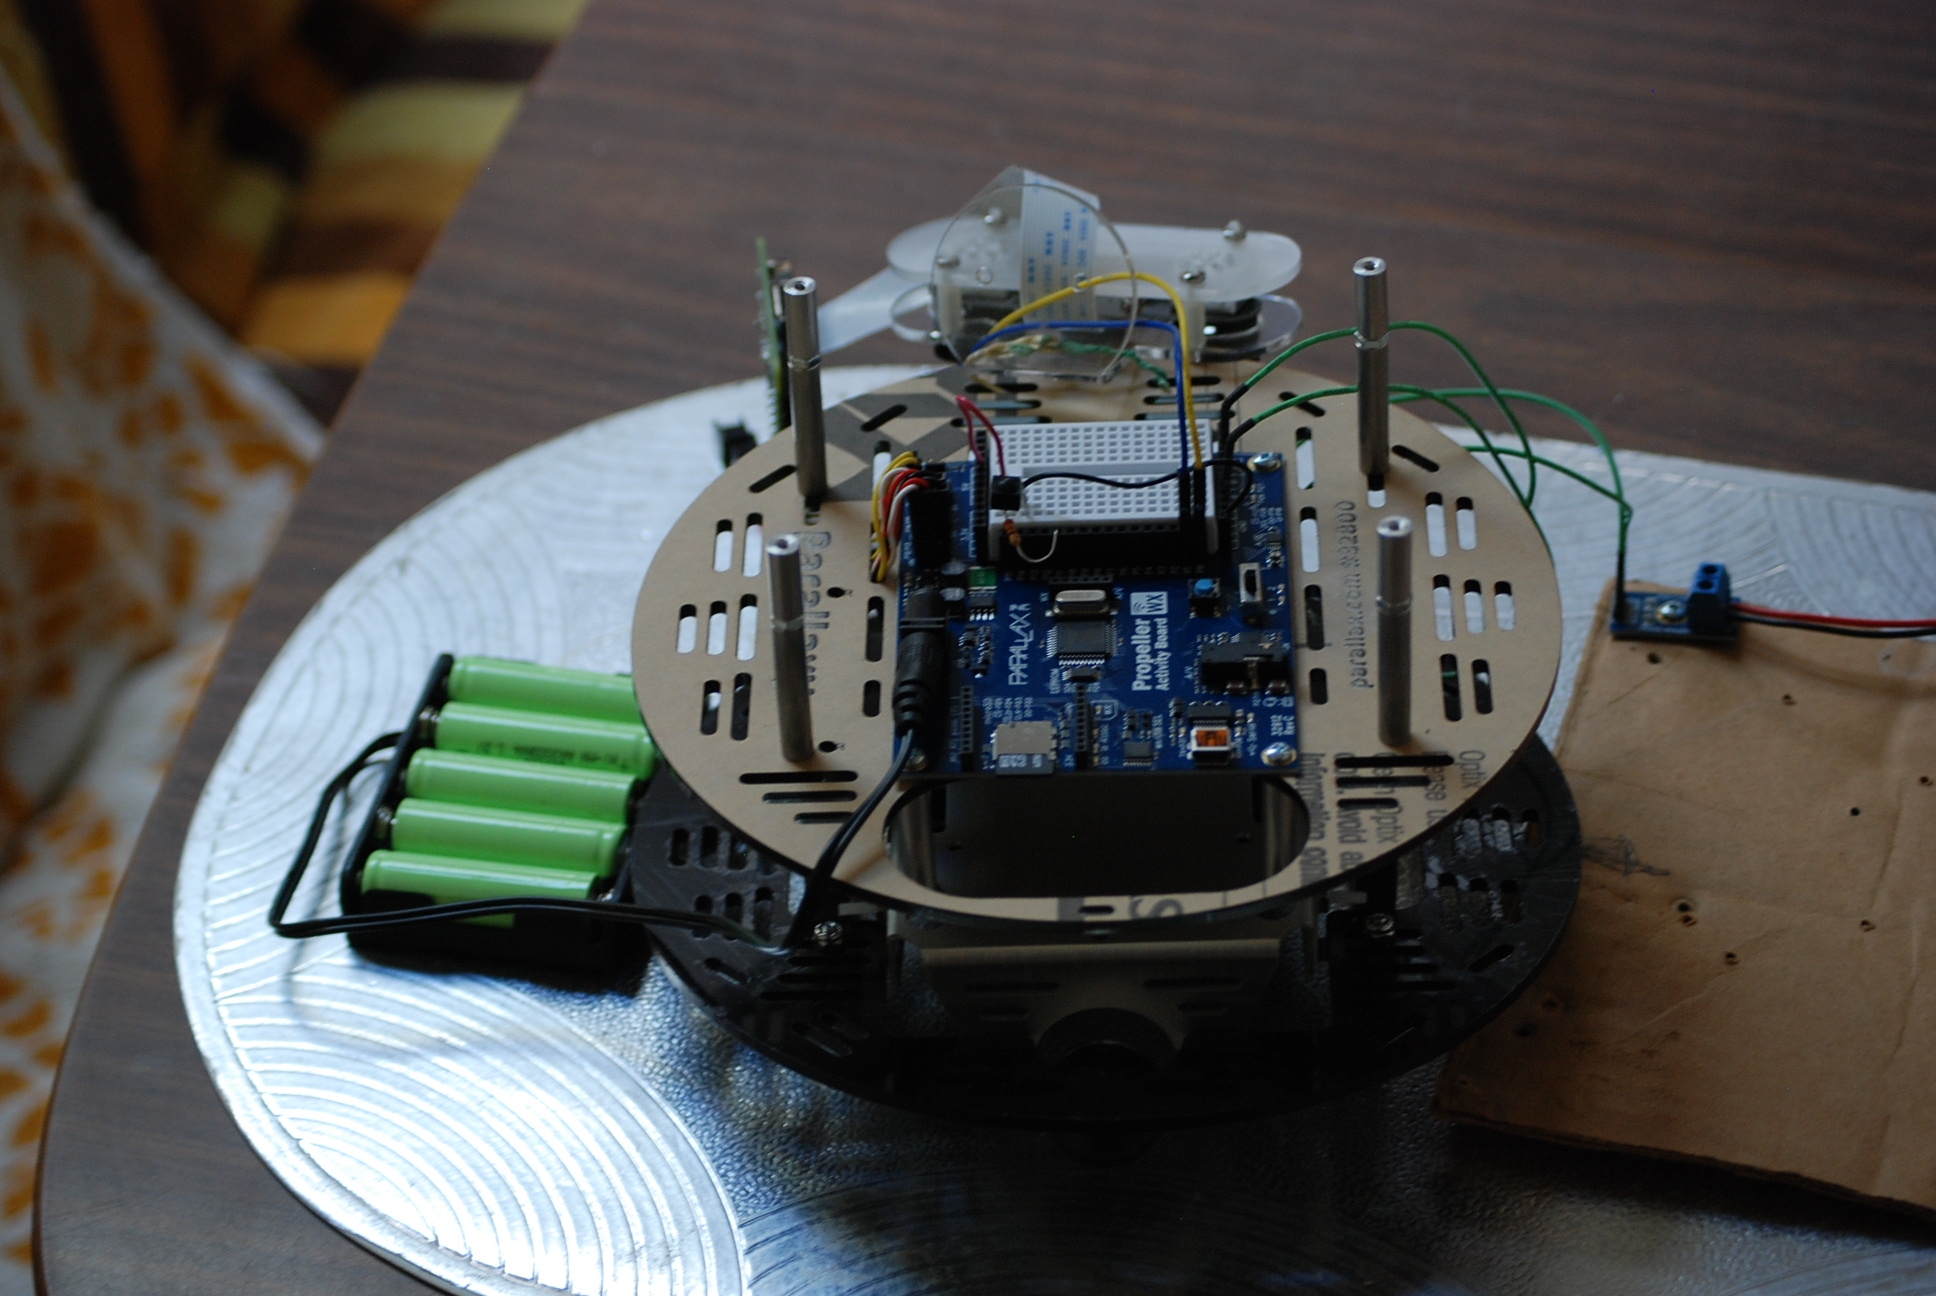
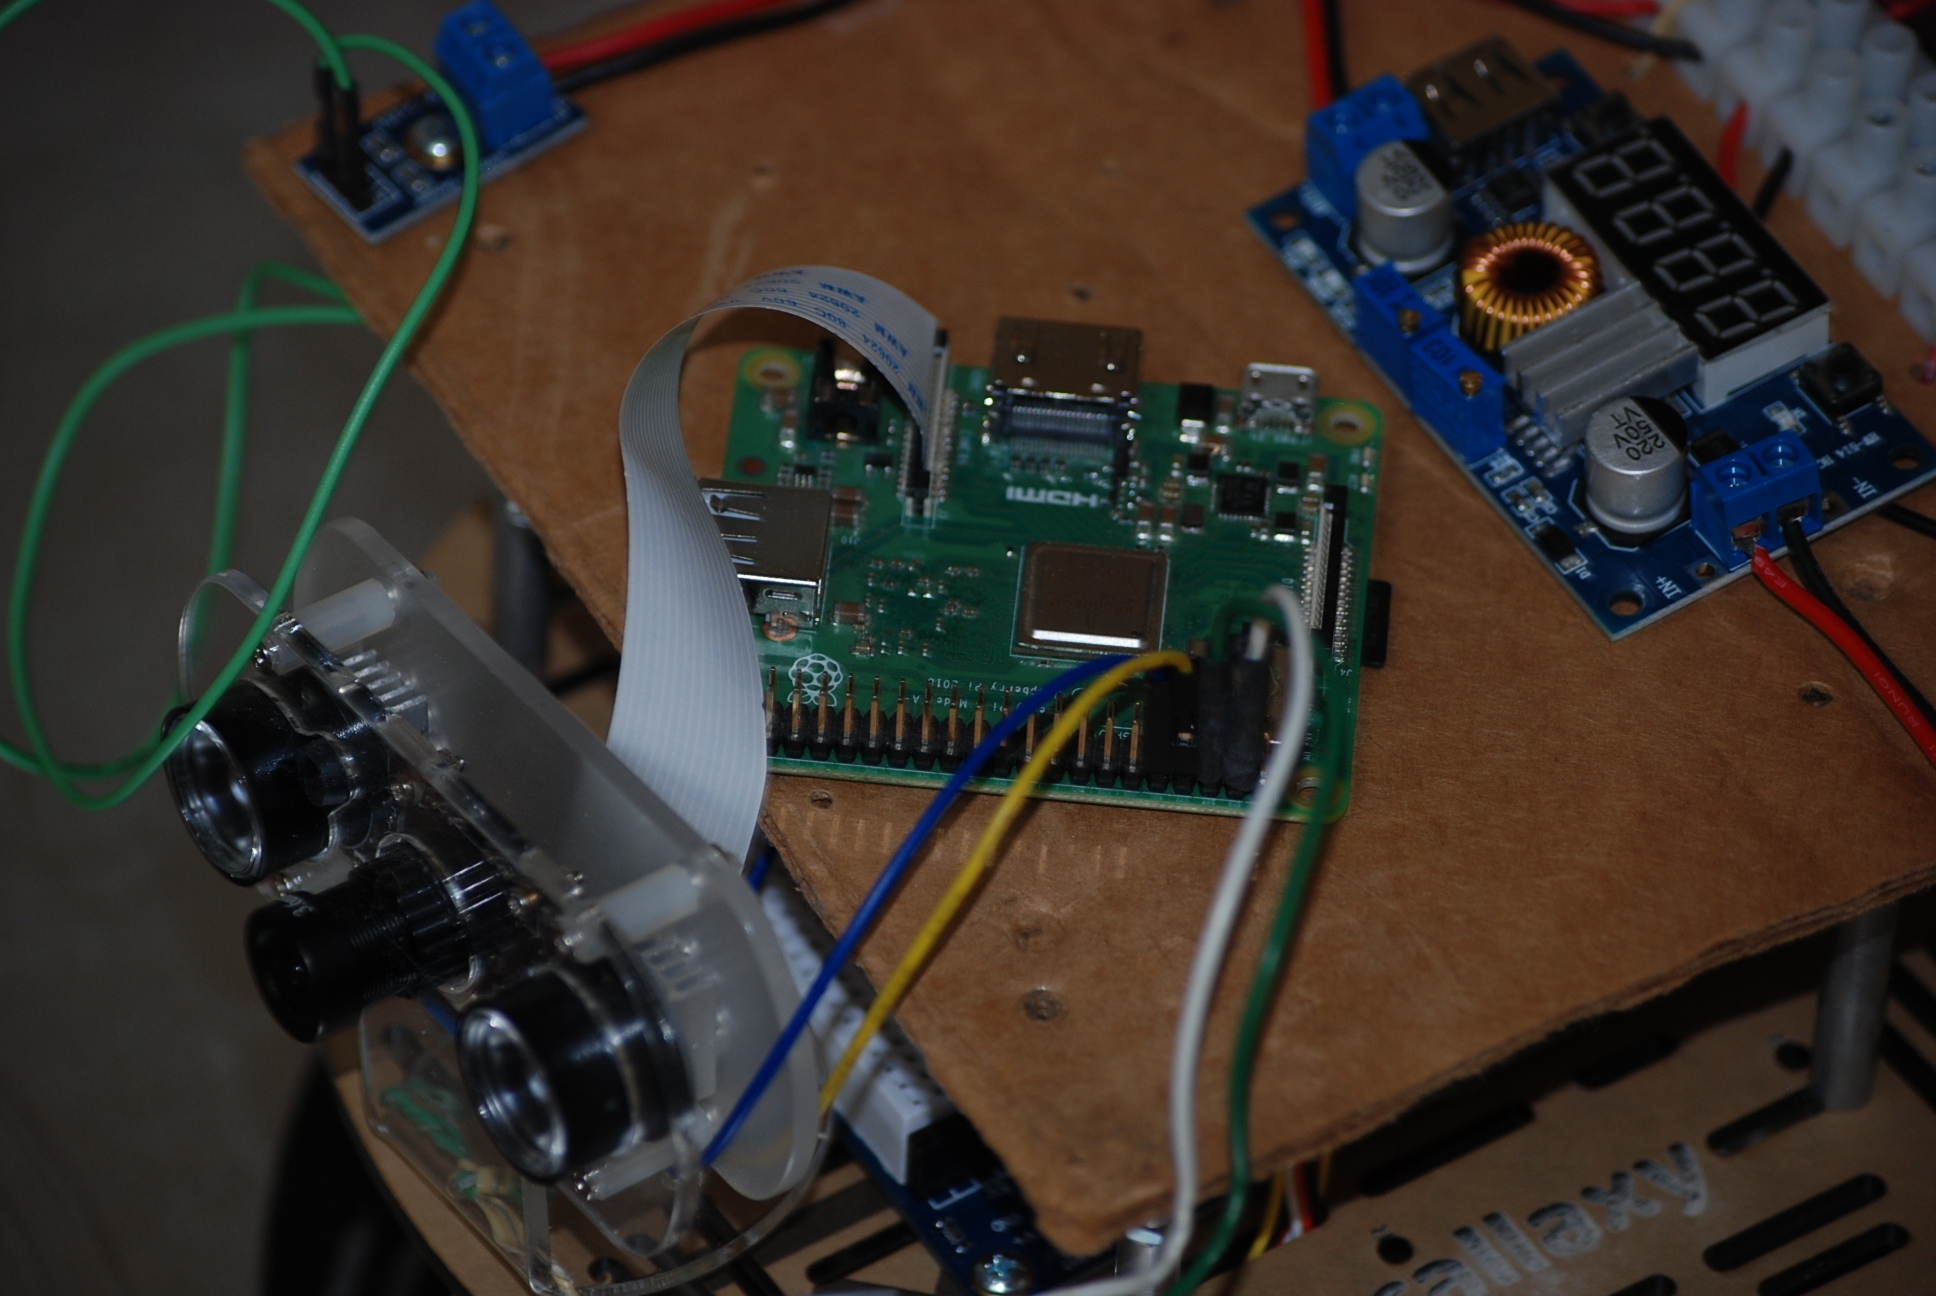
I added a top shelf for more module placement. The pictures show a sort of loose fit for some of the stuff, I am in the process of adding some more modules like a compass, a temp gauge, and I will see what else I have laying around.
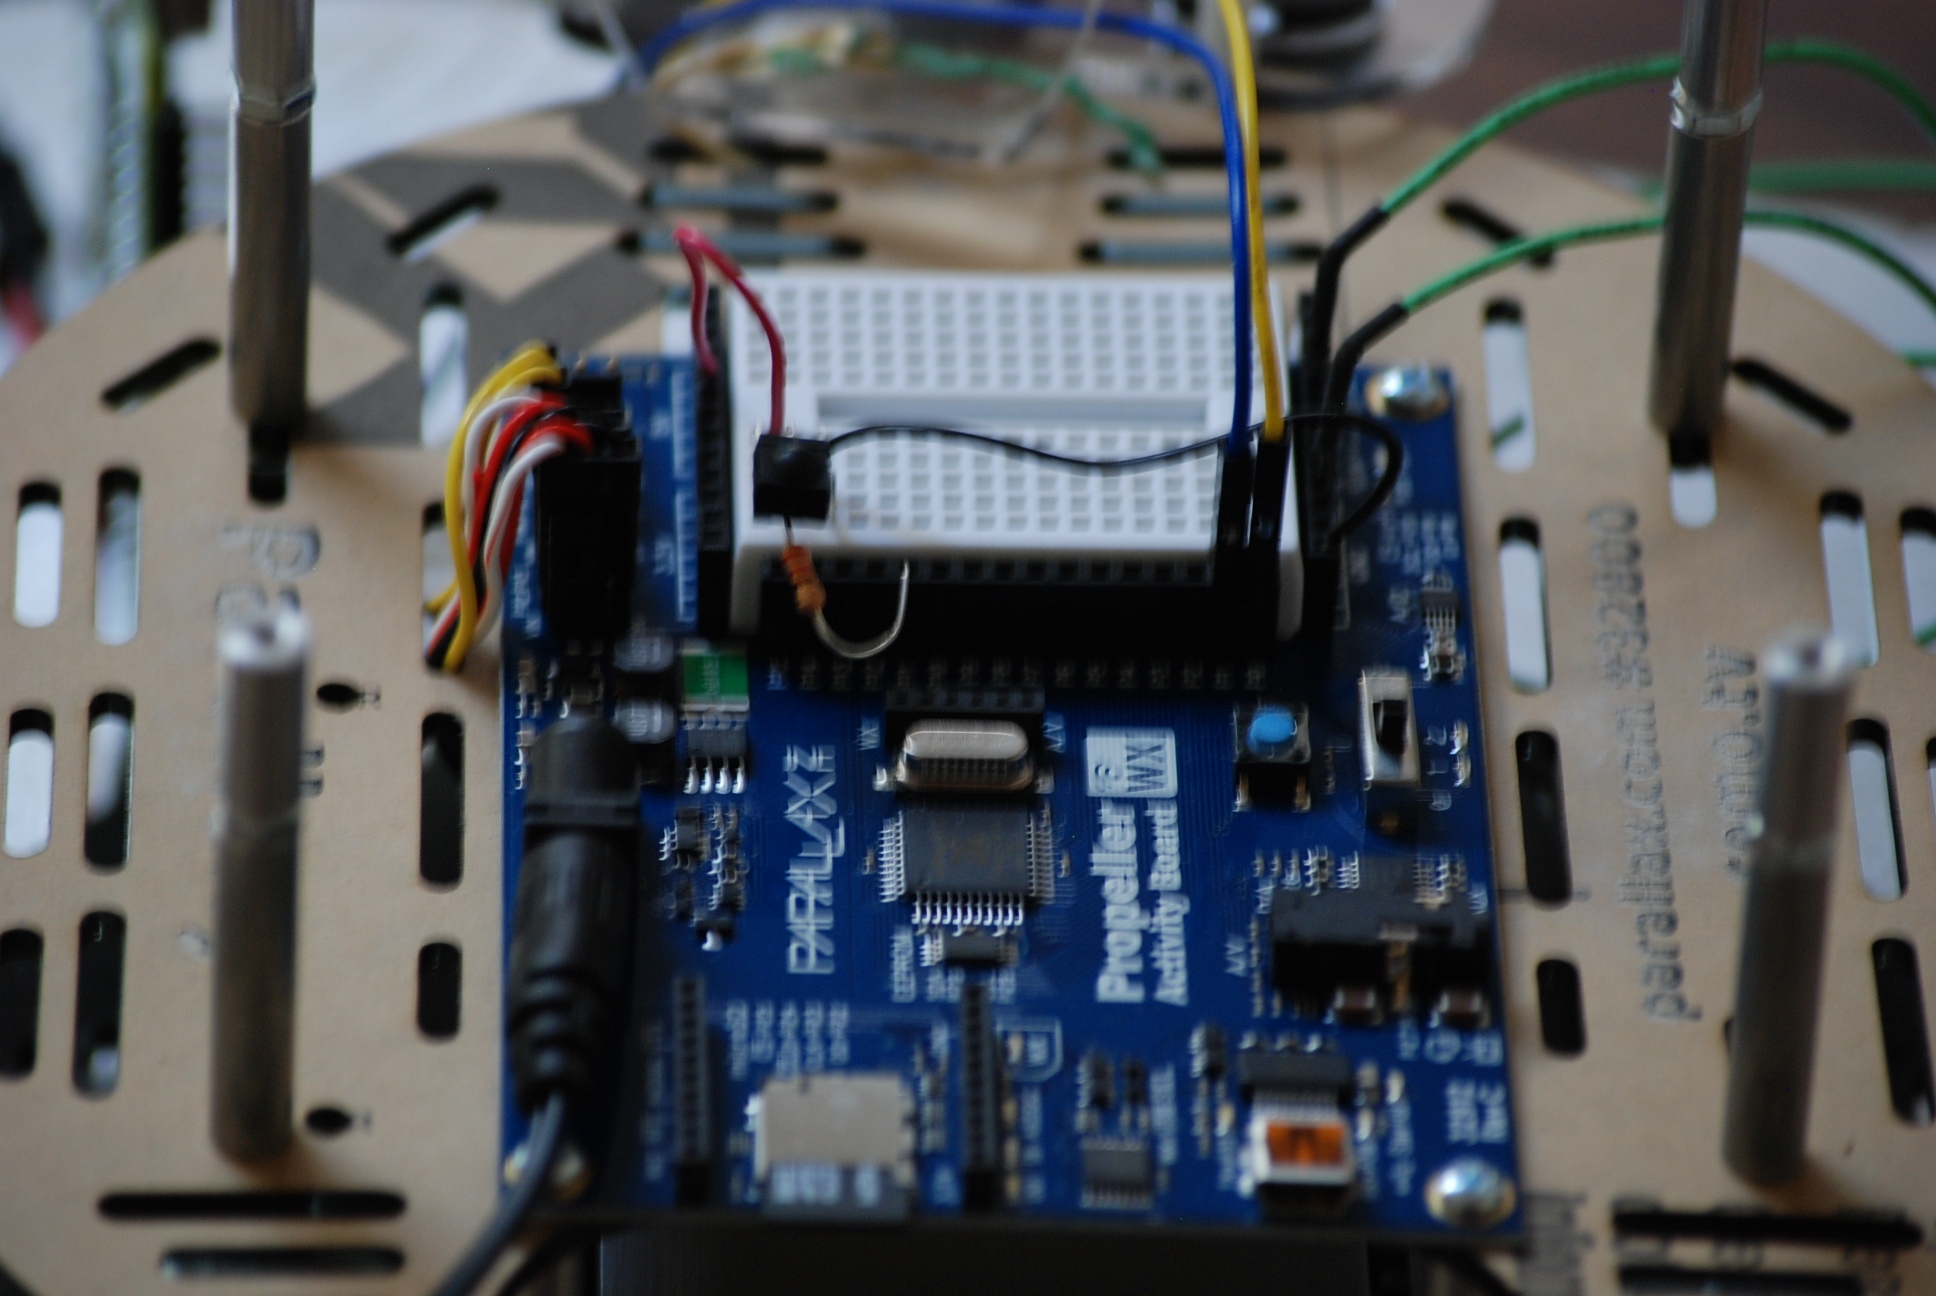
I am using SimpleIDE for programing the Activity board, and came up with a simple Python GUI program that actually drives the bot around while viewing the streaming video. The Activity board will do the mechanical control stuff, while the Raspberry Pi will do the heavy calculating stuff. I also have the IR receiver for TV remote control of the bot.
Since I have another bot chassis sitting around, I am now thinking about doing this one with a P2, but there is still a lot of missing software parts for a P2 version.
Ray

Comments
For my project I wrote LOGO to drive the robot around. With the WiFi module I could send it commands and watch it move around.
Since I used a stepper motor I could set the distance to move and have it move there.
This was done with a P2 but it could have been down with a P1 as well
Most of the C code and libraries for the P1 move over to the P2 with small changes.
It looks like you could use a 3D printer or maybe some balsa wood.
Mike
I have been thinking about that upper shelf, it needs a solid piece of plastic material with some sort of surface that you could screw in screws, easily.
The next purchase from Parallax will be the brackets that hold the Pings, I think they will fit on the lower shelf, hopefully the brackets come with the nuts and bolts.
When I was doing my test P101bot run, using the streaming video source, I definitely need the pings on the lower shelf. Four of them should be sufficient. When viewing the streaming video you have a fair idea of the distances in front of you, but you have no idea as to where sides of the bot are. I also have to be careful as to how much stuff I can add to bot. Not only do you have to worry about the available memory, but you also have to be aware of IO pin allocation, those are starting to shrink in the number that is available.
Ray
Nicely done, Ray. Sticking with the project and sorting through the challenges along the way.
Ken Gracey
Would you mind sharing your Python program? I am interested in how you handled the video stream display. Wonderful work, keep it up!
At the moment I have two separate Python programs, one does the GUI, the other is a Python program that sets up the camera and the IP address.
What I do is start up the streaming program, then I go to the IP address , in a browser. Then I start up the separate Python GUI to give me control of the bot. I am looking into, somehow combining the two programs into one, but that will take some time.
The streaming program is very basic, I would like to add a way of having it record at the same time it is doing the live streaming. Of course it would have to have on/off component to it. Also maybe a single photo shot, could be very useful, lots of ideas.
I am in the process of adding some more components, I found I have a GPS module, which I will test out. Also, I will be adding a compass module.
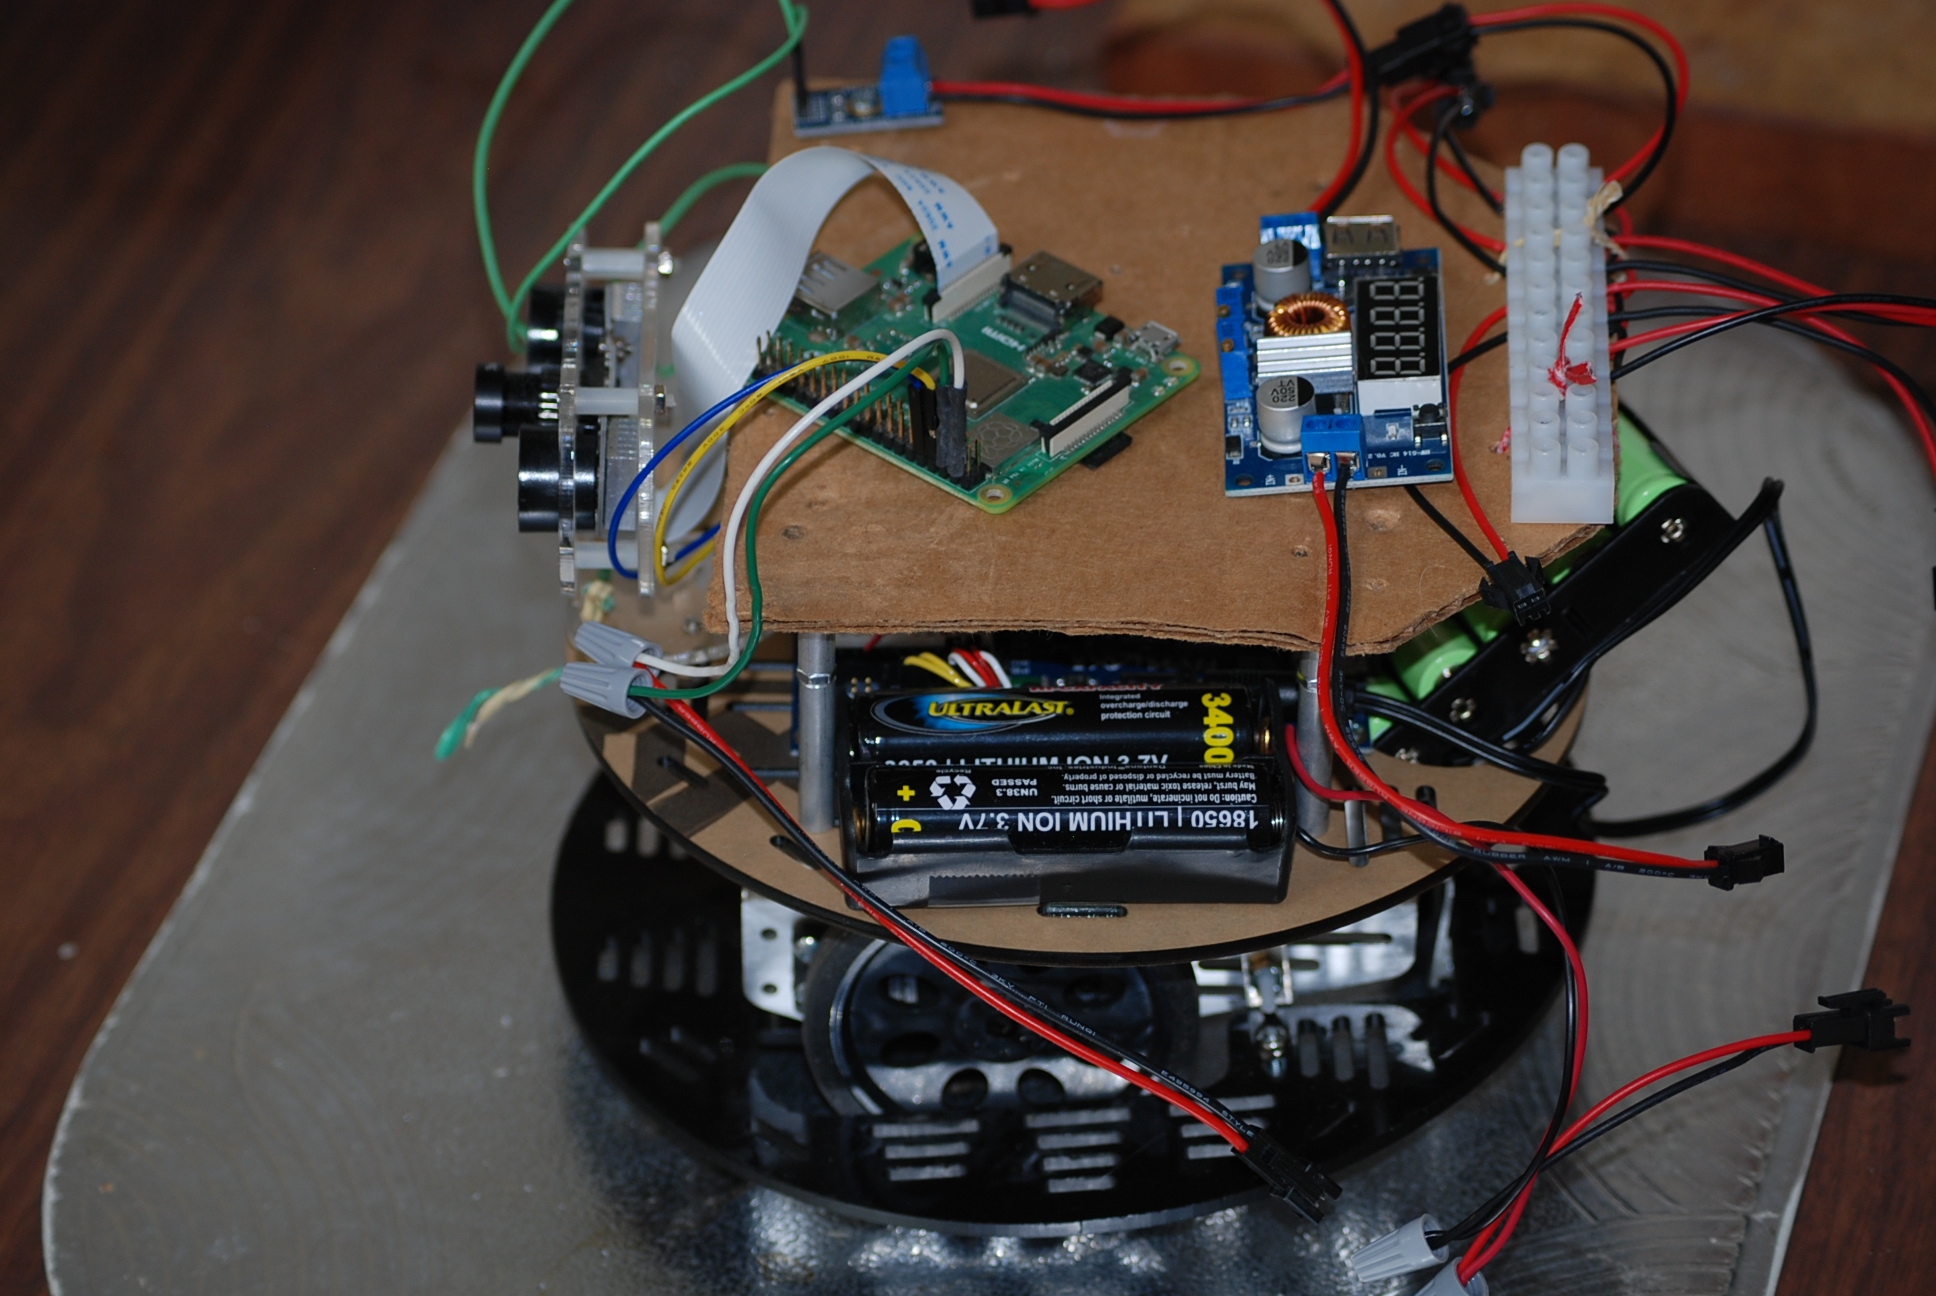
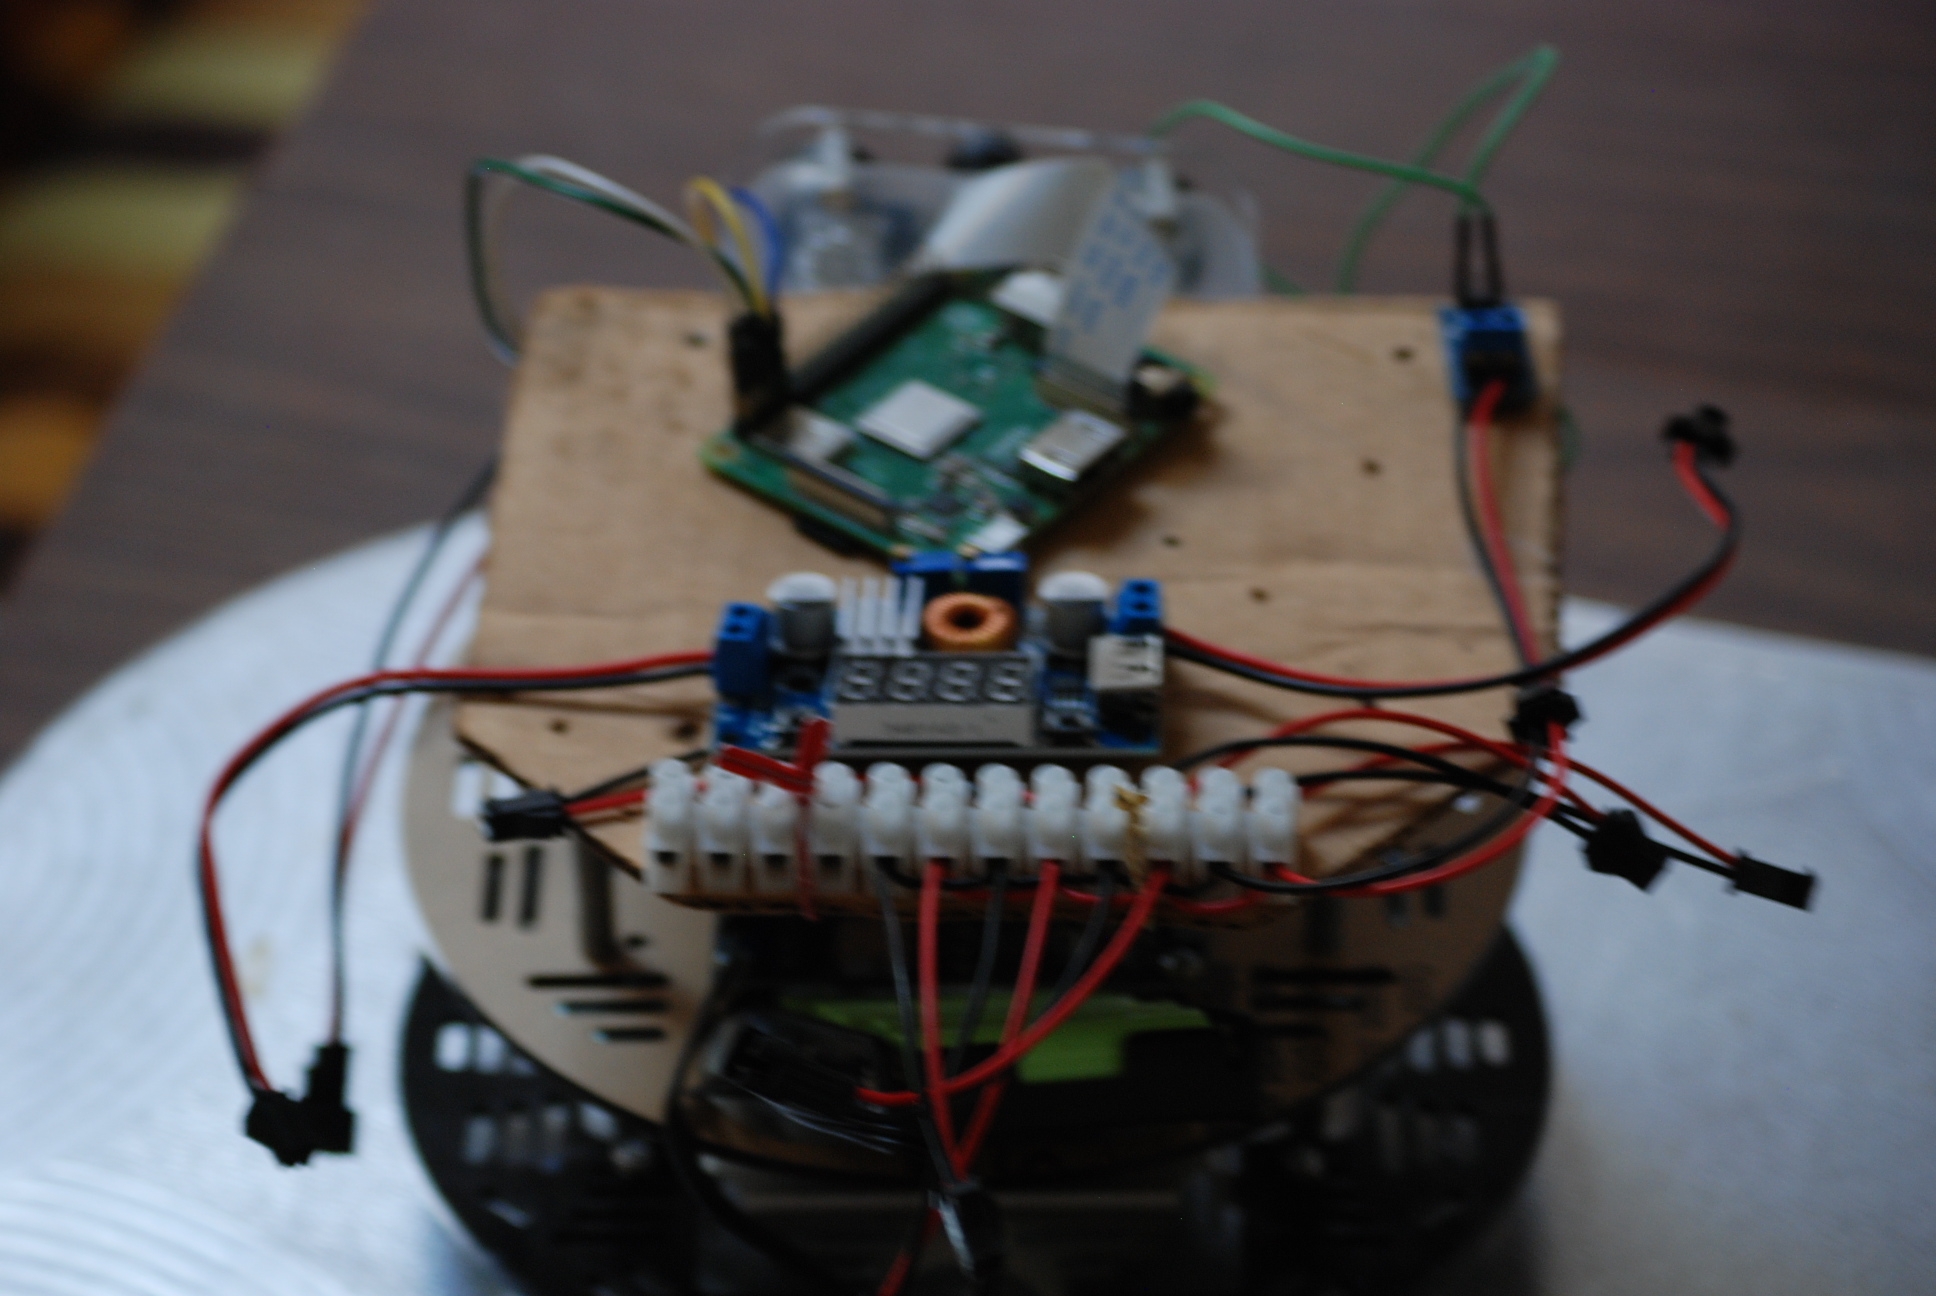
I am also testing out using two separate power sources, one for the Raspberry Pi, and one for the Activity board. The Activity Board power is NiMH batteries, and the Raspberry Pi power is two, two 18650 in series cells. The NiMH power unit is five 3000 mAh cells @~ 7.0V, and the 18650 power unit is two cells, in series, ~8.0V 3400 mAh, with two separate packs hooked up in parallel on my terminal strip. The Raspberry Pi with the WiFi on uses a lot of power, plus the camera that is also on the Raspberry Pi, adds even more stress, especially when the IR lights turn on.
The next step is testing out setting up the bot for a teach/learn condition. Since I can control the bot with a TV remote, and there are some commands for capturing the distance the servos turn, plus the GPS , plus the compass, maybe a little COG program that can make sense of the data and put together a repeatable step script. Not sure if the Activity Board P1 has the resources for that.
Ray
Pretty sharp setup, Ray!
Rsadeika,
Buy a sheet of Birch plywood from Home Depot.
I think Michaels also has it in the crafts section.
Just an update, this is still an active project. Waiting for some cash to free up so I can buy the Parallax NiMH battery charger and a couple of those Ping devices with brackets.
I did try the GPS module that I have, on the bot, and inside the house it cannot locate any satellites, so I guess it is non functional for the bot.
I am still thinking about a P2 bot, but I have not found any P2 code for driving the servo360 device. Plus it would be a kind of real hack to get the 3 pin connector to work with the P2 mini board.
Ray
Expanded PVC is great for making platforms. 1/4" thick is rigid and easy to work with. There are different colors : )
Thanks for all the platform suggestions, I am still making adjustments to my cardboard platform. When I come up with a final solution then I will pursue a particular material platform.
I am now in the process of trying to figure out the best p101_bot power configuration. I think five NiMH, in series, to power the activity board, and 2x2 in series, 18650 batteries, for the RPi. As for the green 3000 mAh batteries, that I bought, not up to the job that is required.
I will have the 18650 solution power up the Raspberry Pi, with the night vision running, it uses a lot of power. The NiMH solution will power the Activity Board and the servos.
I also have to figure out how to control all the connector wires that I have, that are loosely hanging on. A new possible problem, one of my servo360 units is starting to sound like it needs some oil. For some reason it is starting to squeak when the bot is moving, do not know which one it is. The bot does not have that much weight on the wheels, I hope that this will not become a weight issue.
Ray
Any HTML and Python experts? I guess I need some advice as to why the picam1.py progam is not showing up in the HTML program. When I have the picam1.py running I can get it to show up in a browser, but it does not show up in the p101_bot.htm program.
Originally I used a different cam program, and that one did show up in the p101_bot.html program, as expected. I did not have the source, so I would prefer to use picam1.py. Any help would be appreciated.
Ray
p101_bot.html
<!DOCTYPE HTML>
<html>
<head>
    <style>
      a{
        background-color:#637aad;
        border:1px solid navy;
        display:inline-block;
        color:white;
        font-size:18px;
        margin:20px;
        width:100px;
        height:45px;
        font-family:Arial;
        cursor:pointer;
        padding-top:37px
      }
      a:hover{background-color:white;color:navy;}
    </style>
  </head>
  <body bgcolor=3b5898>
    <div align="center">
      <font face="Arial" size=6 color="white">
        P101_bot Robot
      </font>
      <br>
      <img style="-webkit-user-select: none;margin: auto;"         src="http://xxx.xxx.xxx.xxx:8000" width="820" height="380">

      <br>
      <a onclick="navBtns('F');">Forward</a>
      <br>
      <a onclick="navBtns('L');">Left</a>
      <a onclick="navBtns('S');">Stop</a>
      <a onclick="navBtns('R');">Right</a>
      <br>
      <a onclick="navBtns('B');">Reverse</a>
      <br>

    </div>
  </body>
  <script>
    function navBtns(direction)
    {
      httpPost("/bot", "go=" + direction);
    }
    function httpPost(path, param)
    {
      var req = new XMLHttpRequest();
      req.open("POST", path, true);
      req.setRequestHeader("Content-type",
      "application/x-www-form-urlencoded");
      req.send(param);
    }
  </script>

</html>
picam1.py
# Web streaming example # Source code from the official PiCamera package # http://picamera.readthedocs.io/en/latest/recipes2.html#web-streaming import io import picamera import logging import socketserver from threading import Condition from http import server PAGE="""\ <html> <head> <title>Raspberry Pi - Surveillance Camera</title> </head> <body> <center><h1>Raspberry Pi - Surveillance Camera</h1></center> <center><img src="stream.mjpg" width="640" height="480"></center> </body> </html> """ class StreamingOutput(object): def __init__(self): self.frame = None self.buffer = io.BytesIO() self.condition = Condition() def write(self, buf): if buf.startswith(b'\xff\xd8'): # New frame, copy the existing buffer's content and notify all # clients it's available self.buffer.truncate() with self.condition: self.frame = self.buffer.getvalue() self.condition.notify_all() self.buffer.seek(0) return self.buffer.write(buf) class StreamingHandler(server.BaseHTTPRequestHandler): def do_GET(self): if self.path == '/': self.send_response(301) self.send_header('Location', '/index.html') self.end_headers() elif self.path == '/index.html': content = PAGE.encode('utf-8') self.send_response(200) self.send_header('Content-Type', 'text/html') self.send_header('Content-Length', len(content)) self.end_headers() self.wfile.write(content) elif self.path == '/stream.mjpg': self.send_response(200) self.send_header('Age', 0) self.send_header('Cache-Control', 'no-cache, private') self.send_header('Pragma', 'no-cache') self.send_header('Content-Type', 'multipart/x-mixed-replace; boundary=FRAME') self.end_headers() try: while True: with output.condition: output.condition.wait() frame = output.frame self.wfile.write(b'--FRAME\r\n') self.send_header('Content-Type', 'image/jpeg') self.send_header('Content-Length', len(frame)) self.end_headers() self.wfile.write(frame) self.wfile.write(b'\r\n') except Exception as e: logging.warning( 'Removed streaming client %s: %s', self.client_address, str(e)) else: self.send_error(404) self.end_headers() class StreamingServer(socketserver.ThreadingMixIn, server.HTTPServer): allow_reuse_address = True daemon_threads = True with picamera.PiCamera(resolution='640x480', framerate=24) as camera: output = StreamingOutput() #Uncomment the next line to change your Pi's Camera rotation (in degrees) #camera.rotation = 90 camera.start_recording(output, format='mjpeg') try: address = ('', 8000) server = StreamingServer(address, StreamingHandler) server.serve_forever() finally: camera.stop_recording()~~Try a Slash behind xx:8000/stream.mjpg
and xx is the ip you see if you use it in the browser~~
you can call picam1.py in the browser of the Pi, but you want to integrate it in your own Page right?
then you need a iframe not a image.
Mike
Below is a working program for controlling the p101_bot. I added some SIRC code, so you can control the bot with the remote at anytime. Also, you can control it through a web browser.
I will try to add a telnet control option also. This way their will be at least three ways of getting access to the bot.
Ray
/* p101_bot.c June 22, 2021 */ #include "simpletools.h" #include "wifi.h" #include "fdserial.h" #include "simpletext.h" #include "abdrive360.h" #include "sirc.h" #include "adcDCpropab.h" serial *rpi; int event, id, handle; int getFromPageId; char buttonCmd; static volatile float gbotvolts; void botFore(); void botLeft(); void botRite(); void botBack(); void botStop(); /* COG subs */ void bot_SIRC(); void bat_Volts(); static volatile int speed = 30; int main() { // Add startup code here. wifi_start(31, 30, 115200, WX_ALL_COM); pause(150); rpi = fdserial_open(0, 1, 0, 115200); pause(150); cog_run(bot_SIRC,256); pause(150); cog_run(bat_Volts,256); getFromPageId = wifi_listen(HTTP, "/bot"); drive_speed(0,0); while(1) { // Add main loop code here. print("%.2f\n",gbotvolts); pause(200); wifi_poll(&event, &id, &handle); if(event == 'G') { } if(event == 'P') { if(id == getFromPageId) { wifi_scan(POST, handle, "go%c", &buttonCmd); } } if(buttonCmd != 0) { switch(buttonCmd) { case 'F': botFore(); break; case 'L': botLeft(); break; case 'R': botRite(); break; case 'B': botBack(); break; case 'S': botStop(); break; } buttonCmd = 0; } //pause(200); } } /******************************/ void botFore() { drive_speed(-speed,-speed); } void botLeft() { drive_speed(-8,8); } void botRite() { drive_speed(8,-8); } void botBack() { drive_speed(speed,speed); } void botStop() { drive_speed(0,0); } /********************/ /* COGs */ void bot_SIRC() { while(1) { int button = sirc_button(11); if(button == CH_UP) { botFore(); } if(button == CH_DN) { botBack(); } if(button == VOL_DN) { botLeft(); } if(button == VOL_UP) { botRite(); } if(button == MUTE) { botStop(); } } } void bat_Volts() { adc_init(21, 20, 19, 18); float v0; while(1) { v0 = adc_volts(0); pause(100); gbotvolts = (v0*4.9818); } } /********************/I found a surprising source for plywood: Dollar Tree! Look in the craft section, they have at least 2 different sizes. Nice stuff, you get 6 pieces for a buck. Or consider a LEGO-style upper deck, also at DT.
Thanks.
As i mentioned, in another post, I am having concerns about the weight of the bot and its affects on the wheels and servos. So far it looks like I will have two 18650 battery packs for the RPi, and one five cell NiMH battery pack for the Activity board and power for the servos. Next I will charge up the battery packs, and see what kind of run times I get from the battery source.
Ray