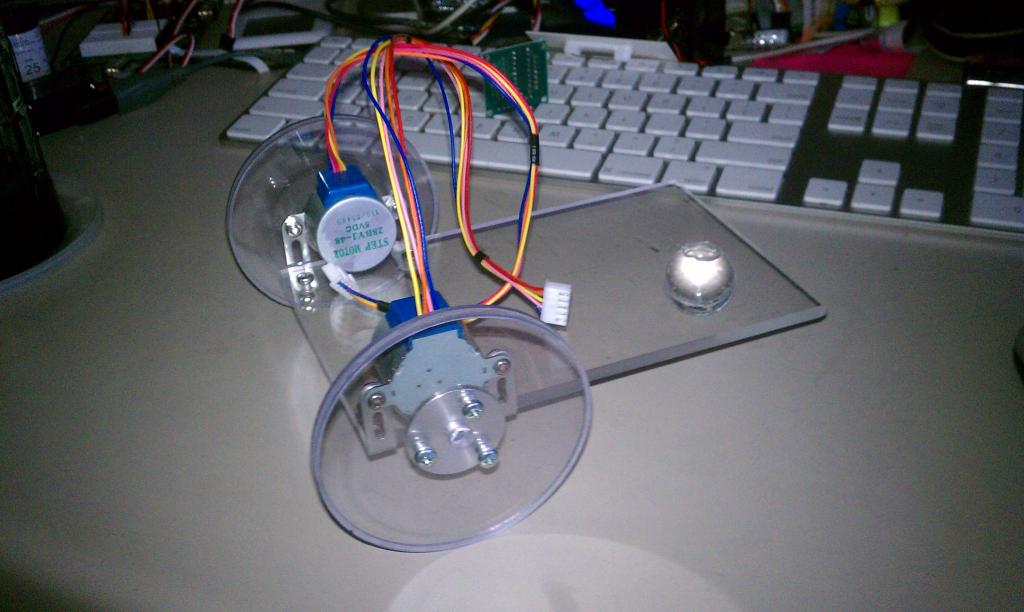
The Visible 'Bot
Since I got my stepper motors, I've wanted to use them in something kinda neat (neat to me anyhow). I'm working on a sun following solar panel, but I really like things than move around under their own power. This week I went to Tap Plastics and scored some cool scrap/cutoff pieces. I started assembling Clyde this morning.

The deck is clear 3/16" acrylic sheet. Each main wheel is two discs of 1/8" clear acrylic with about half the thickness milled away around the circumference. Bolted together they make a nice groove for an o-ring tire (If I can find the right size!). The "tail wheel" is a 1" acrylic ball just glued to the bottom of the deck. Of course, it doesn't move but he's just going to be an indoor critter so it doesn't matter too much.
Each stepper mounted with a couple of Parallax L shaped brackets. I got the hubs from eBay in a convenient 5-pack! Setting up a Homework Board to drive everything.
Time for dinner, then back to the lab! ;-)
Amanda


Comments
Looks like another great project Amanda!
Btw how did you mill the acrylic wheels and find the center? My plywood experiments with a Dremel circle cutting jig haven't turned out as nicely.
The discs were just some pieces I found in the scrap bin at Tap. Half a dozen of them and I thought if I didn't grab them for something I'd regret it. The edges were already milled so all I needed to do was find the center and drill the mounting holes.
Finding the center was pretty easy using this gadget. (Thanks to PJ for the tip!!)
Got it for $4.99 at the local ACE Hardware.
Also might have been Visible Vic/Vince or Transparent Tran/Travis...
Power comes from a 6xAA battery pack under the deck, mounted as far forward as possible to gain traction. Tho' as I feared, the plain wheel doesn't have enough traction to move very effectively. Then I noticed the old tires from Sid... the Scribbler wheels are about .020" bigger than Clyde's wheels. A bit of a struggle getting them to slip on but, they do fit nicely and give him a bit of grip.
Um... yeah, some cable management is called for here. ;-)
(no offense, erco!
I'll have to go hub shopping on ebay.
EDIT: I didn't realize we were playing name games: Ivan the Invisible
That's the front actually. Think BoeBot Layout. Those are the driver boards for the stepper motors. Probably a better way of mounting them, but this is just one of my many projects to occupy way too much free time! :-)
@
Clarence would be a good name too.
I remember that post of P.J.'s - I will have to go look at my ACE too.
Cap screws also.
Yup! I'm powering the board with 9 volts (6xAA cells) and the driver boards from Vin. He's working pretty well. I'm starting to figure out some simple navigation... my first square closed only a couple inches off the mark! :-)
But sadly that trip is a dark, one-way road that leads to shadowy late nights and much harder.... maneuvers.
Like figure eights!
http://www.youtube.com/watch?v=RAzFl2v43FE&feature=youtu.be
Got straight lines and angles figured out. Now to discover the secret of curves! The joys of exploration!
Amanda
Thanks for the idea erco. I just got a 10 pack of the ICs from China. ($2.38)
@