

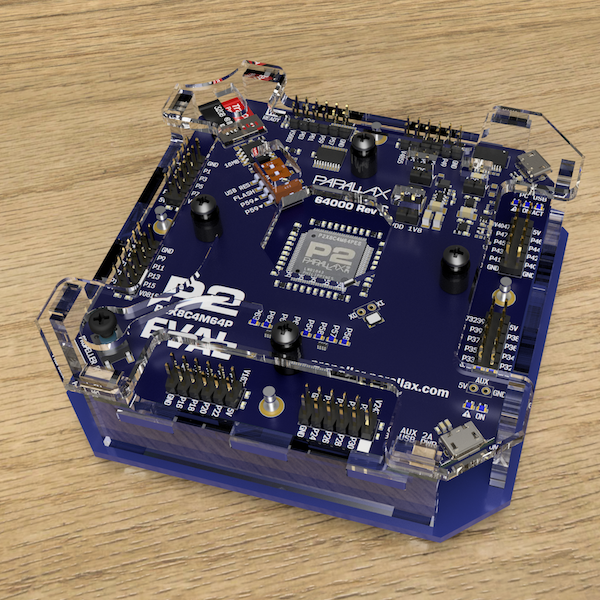
P2EVAL Rev 3 acrylic enclosure
 W9GFO
Posts: 4,010
W9GFO
Posts: 4,010
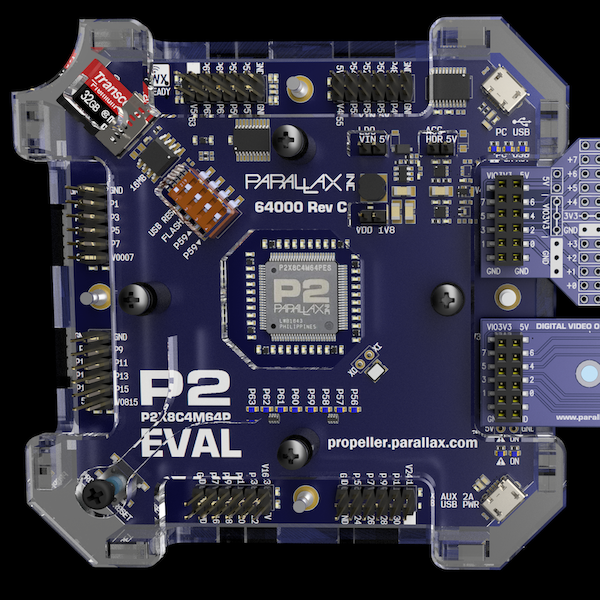
P2 Eval Rev C enclosures now ready to order. Slight redesign to account for the DIP switch being in a slightly different location and cutouts changed so that there is no interference with accessory boards.
www.etsy.com/P2 Eval Rev C
www.etsy.com/P2 Eval Rev C (Top piece only)
www.etsy.com/P2 Eval Rev C
www.etsy.com/P2 Eval Rev C (Top piece only)
Comments
Request: Ilthis is a small thing, but the radius on the inside corners of the connector cutbacks interferes with the accessory boards. Any chance of changing this radius? If you need a picture I can post one for you.
A known issue. It is my understanding that a few swipes of a nail file will take off the corner of the accessory board so that it can fit without interference.
The alternative is to alter the design making the cutouts deeper and/or sharper. The radius is already as small as I can make it while still being able to chamfer the edges - making it a sharper corner would mean that the continuous chamfer around the top piece would not be possible. Deepening the cutouts would require the "neck" to be even narrower - that would be a problem at the lower left where it is already quite narrow due to the reset button.
I would like to see a picture though, it would be useful to compare it against the CAD model to see what the real clearances are.
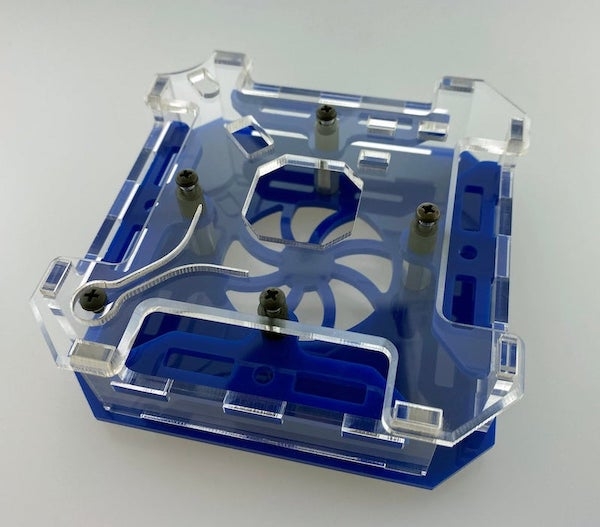
That enclosure fits together so snugly its amazing. I wasnt sure you could actually get those kind of tolerances with hobby-level CNC. When I got mine I tried to test-assemble it with the protective paper on. Nope! Just amazing...
I am not sure that my machine qualifies as "hobby level". It is bigger and more powerful than either of the machines that I saw at Parallax. Having said that, even the cheapest eBay laser can produce the same quality of parts as long as the operator is competent. It won't be as fast and won't last as long, but for a hobbyist it would work fine.
*I always use cast acrylic, extruded acrylic is more consistent in thickness but is much more brittle. Cast is much more durable and it engraves nicely. Extruded acrylic is what you will find at a home improvement store, you have to get cast acrylic from a supplier.
Hopefully by the end of this week, I am waiting on parts...
Thanks
I should be able to post a link to where they may be ordered by tomorrow evening.
It is difficult to see what your fix is from the photos. I know it would mess up your beautiful chamfer, but couldn't you just cut a corner into the chamfer? I don't think it would look too bad. Just my opinion
Asking for a friend.
EDIT: Take my money, please!
No, it definitely was not you, but the description is at least partially accurate.
It is difficult to see the differences, that's why I wanted to post an animated gif. The chamfer remains. You can carefully compare the two images and see that the corners of the accessory boards now have clearance.
Being unfamiliar with the board and your nice acrylic work, I was looking at the wrong location.
I see the fix now .
Thank you, W9GFO!
dgately
Hi David, the Rev B and the Rev A have significantly different top pieces, I wouldn't think that the Rev A case would work well with the Rev B board. If you just need a new top piece you could order a Rev C top piece (link in first post) and leave a note that you need it to be for the Rev A (or Rev B.) Eval board.