

Reflow Hot Plate
 idbruce
Posts: 6,197
idbruce
Posts: 6,197
Hello Everyone
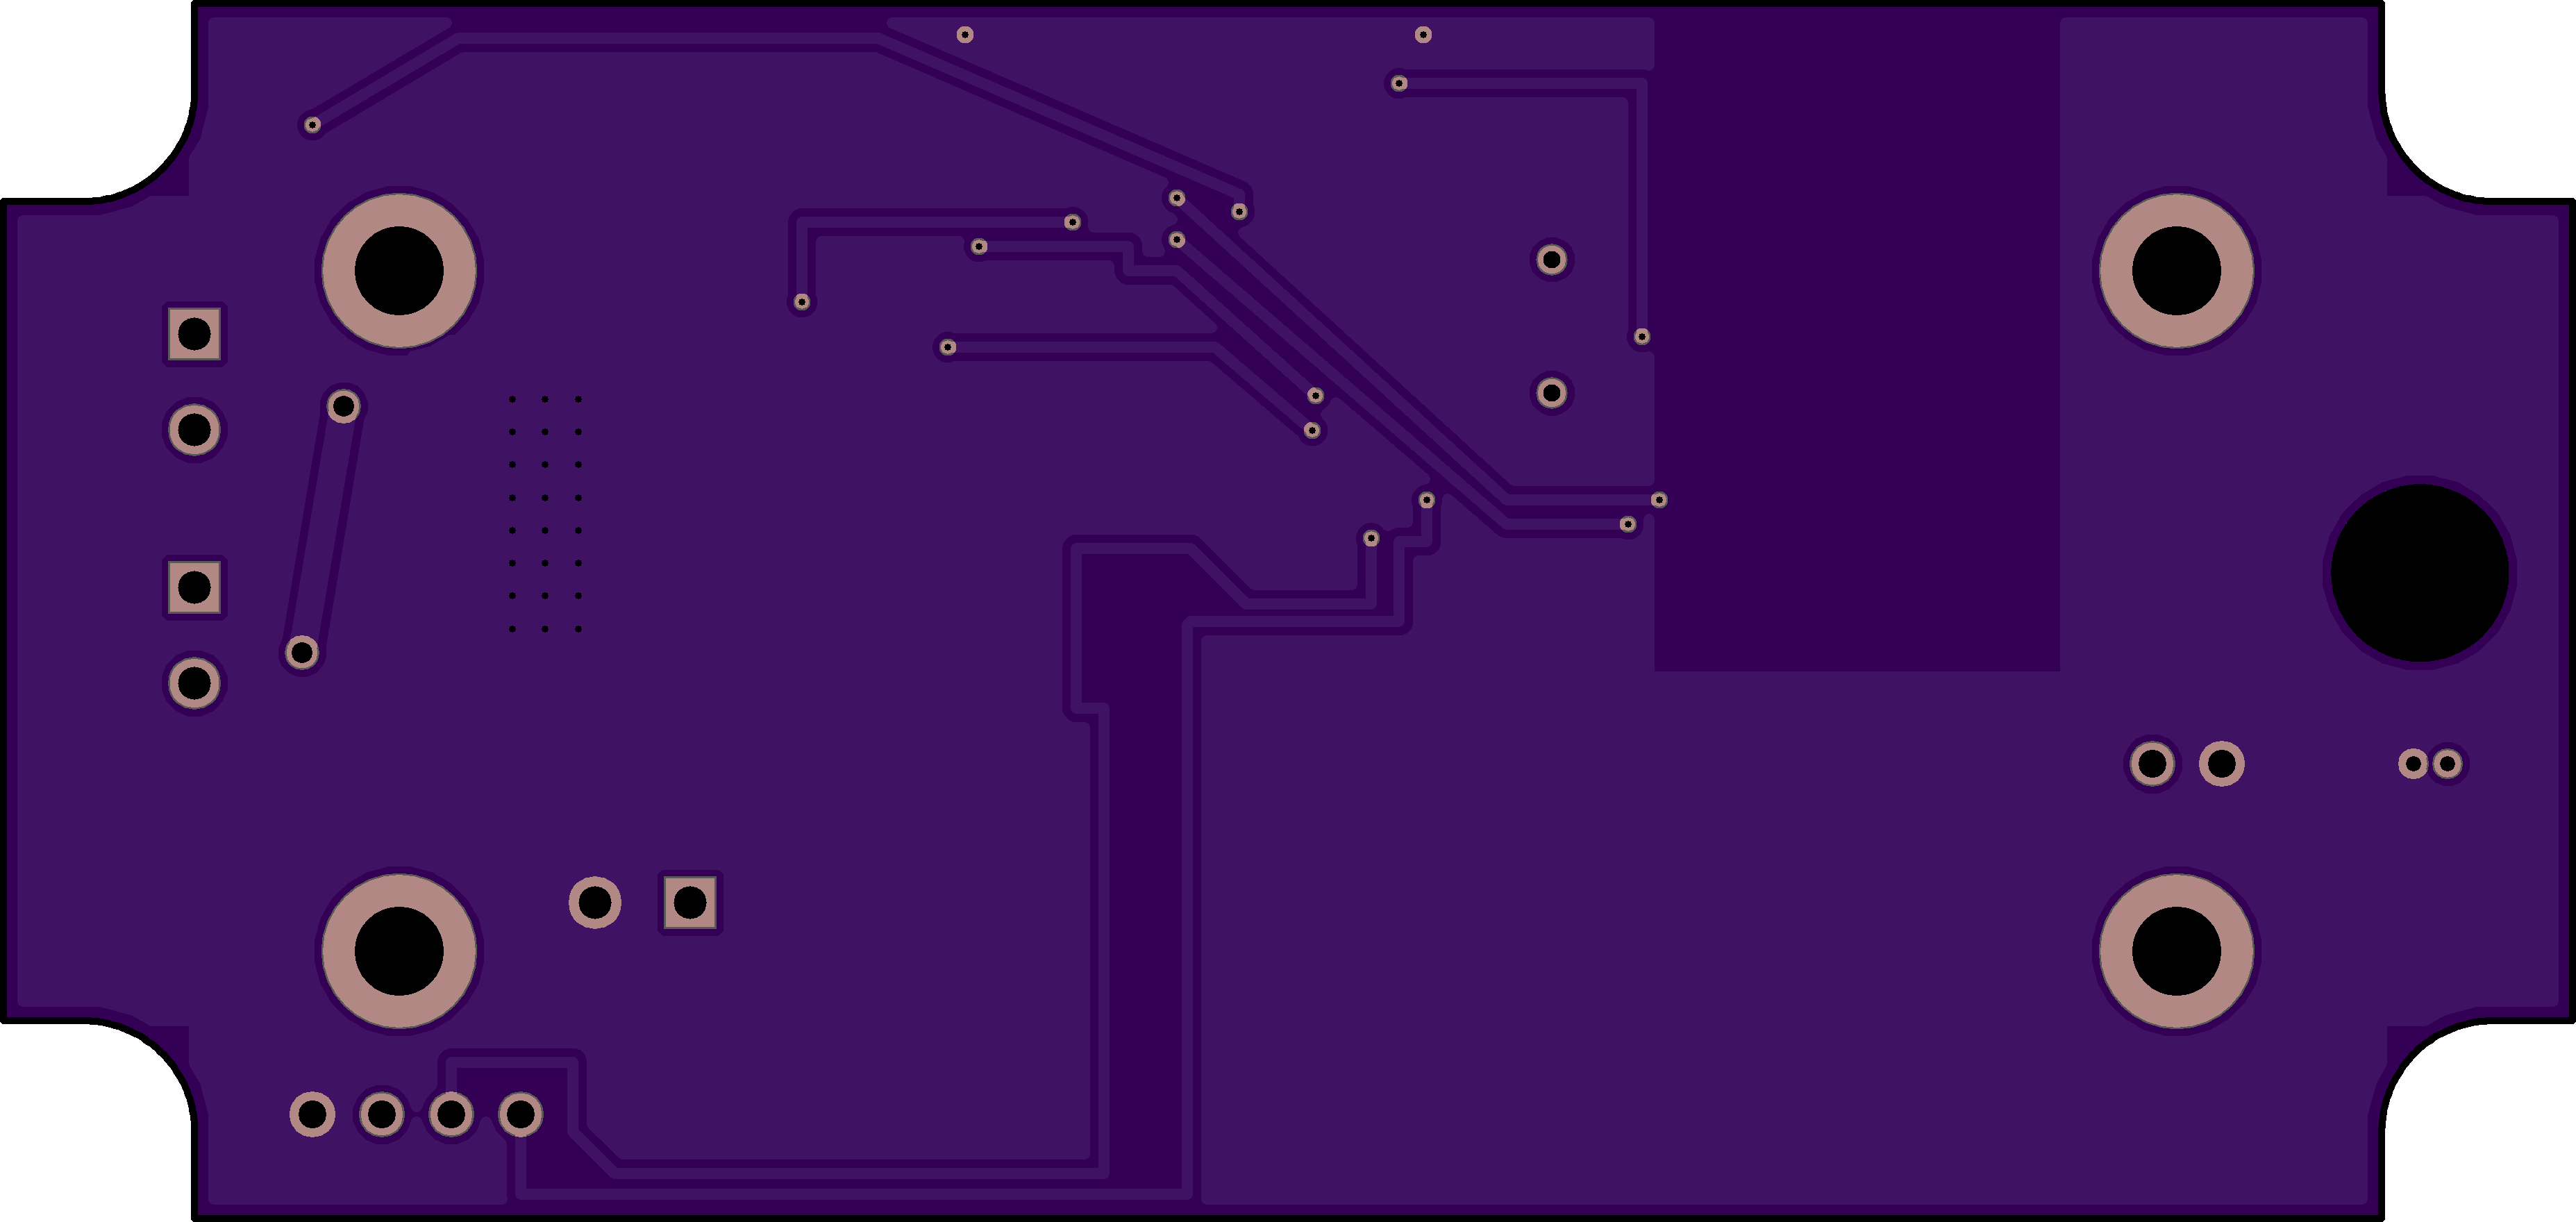
I recently completed the design of a board, which will contain the wonderful Propeller uC.
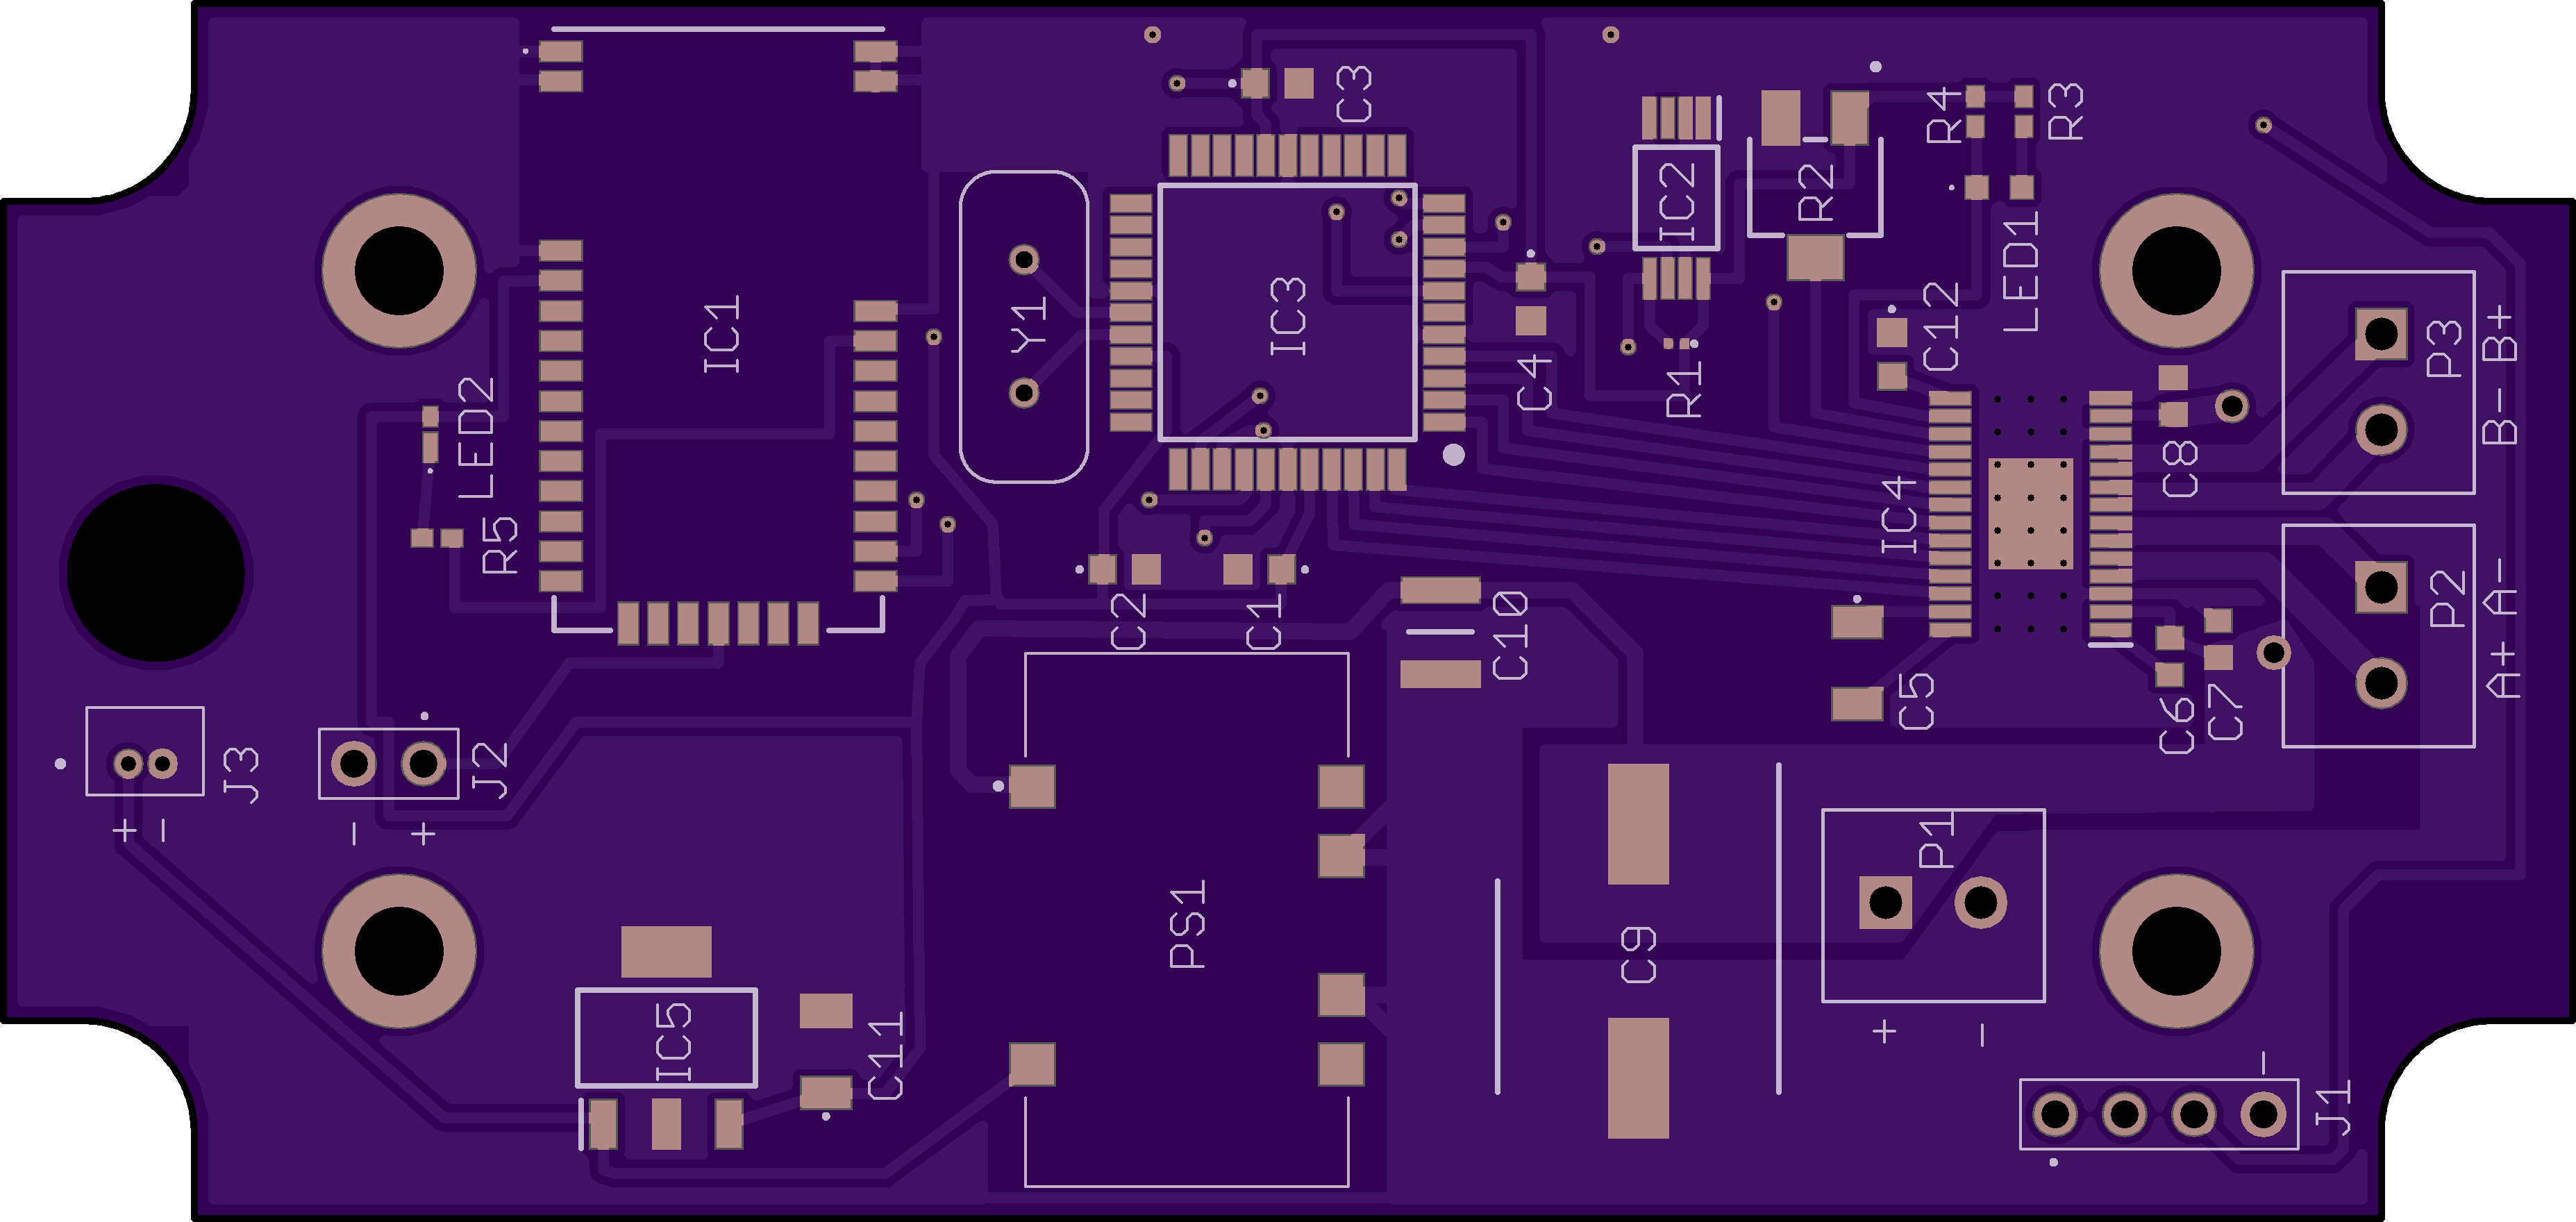

As always, I am working with a very tight budget, so I intend to do the reflow process myself. In the past, I have discussed and I have been wanting a small reflow oven for quite some time. During past discussions, I discussed building a mini oven for doing very small boards. This board is a little larger than the ones that I wanted to do in the past, so I had to come up with a new plan. During my renewed research of reflow ovens and the reflow proess, I came across people doing reflow with hot plates. To be perfectly honest, I love the idea. Considering that it is intended for surface mount applications, the majority of the time, work will only be performed on one side of the board anyway. The hot plate idea allows easy adjustment of the components during the reflow process and you can maintain a constant visual of the entire process.
During an early morning experiment, I pushed a Mr.Coffee heating element (1025W) to see how fast it could heat up and if it could reach reflow temps. It did not climb to desired temperature quickly enough, but it did reach about 450 degrees Fahrenheit, however at that point, the heating element started having a melt down ![]() Literally
Literally ![]()
Considering that I am now changing my direction and switching over from a reflow oven design to a reflow hot plate design, I believe the design process has become much simpler. Also considering that my early morning experiment was a failure ![]() I am changing my plans to make something even simpler. My current plan involves creating a cavity in a firebrick, installing some Nichrome 60 resistance wire in the cavity and strapping it down, covering the firebrick cavity with 1/16 inch thick aluminum plate, and securing the plate to the firebrick. The concept sounds pretty simple and inexpensive. I am very surprised that I did not find a youtube video with this idea and experimentation. I have plenty of components, Nichrome wire, and aluminum plate to experiment with, now all I need is a firebrick
I am changing my plans to make something even simpler. My current plan involves creating a cavity in a firebrick, installing some Nichrome 60 resistance wire in the cavity and strapping it down, covering the firebrick cavity with 1/16 inch thick aluminum plate, and securing the plate to the firebrick. The concept sounds pretty simple and inexpensive. I am very surprised that I did not find a youtube video with this idea and experimentation. I have plenty of components, Nichrome wire, and aluminum plate to experiment with, now all I need is a firebrick ![]()
Comments
Have you considered making your own reflow oven? I built one based on the Controlleo3 from Whizoo.
It works great for small boards and projects. I built mine around a cheap Black and Decker toaster oven. If I remember right, they sell a kit with the controller that has all the parts to covert a toaster oven.
I may have so video of mine around here somewhere - but I need to get to work!
Doc
I have used a hotplate for small boards. After some initial failures, I finally got it right and now use this method on small boards. The two biggest challenges were getting even heat, and finding the right solder paste. My final solution was adding a 7x7inch chunk of aluminum tooling plate 3/4th inch thick that was the same size as the hotplate surface. You heat the hotplate up to about 550F, let it bake a few minutes, and then TURN IT OFF. Place the board on the aluminum, wait about 15 seconds after liquidus, and then slide a tape knife between the board and the aluminum to act as a heat break. Add a gentle breeze from a fan and the solder solidifies quickly. Done.
I use 63/37 leaded paste. Forget using leadfree unless you are ready for some painful rework and a learning curve. ChipQuik makes some paste that works well. I prefer the more active fluxes even if post-reflow cleaning is required (get a ultrasonic cleaner. Works awesome!)
For bigger boards, a toaster oven in skilled hands can work wonders. Lots of good videos on Youtube.
Not having skilled hands, I use an unmodified toaster oven. I put an aluminum plate in oven to even out the heating across the PCB, and used Kapton tape to attach a thermocouple to the aluminum so I can monitor temperature. I do a bit of a step up process, and like you, about 15 seconds after the solder flows, I open the over door and use a fan to blow cool air across. I've had really good luck with it. I have 12 different P2 accessory type boards on the way, so the next couple weeks is going to keep that oven busy.
Here is my stance, my hot plate design, and of course I could be wrong")
With the capabitily of heating the wire up to 800 degrees fahrenheit, it should not take long to heat up the 2.13 Cu. In. volume of air within the internal chamber, at which point, I am assuming that it will begin heating up the 0.020 inch thick aluminum plate rather quickly. I believe that with a mosfet, several thermistors, and PWM, I can create a hot plate with inexpensive materials that I have on hand, which should have a nice reflow curve. Hopefully at the bare minimum, I will be able to create something to fufill my needs. I hope, but I could be wrong")
EDIT: Of course I am hoping for the best, but there is the possibility that the aluminum could become elastic, flex and droop, or the masonite could catch fire. However there won't be much air for flames") I intend to break it in slowly, charing the masonite
I intend to break it in slowly, charing the masonite ")
EDIT #2: Additionally, it might take a lot longer than I anticipate to heat up the aluminum plate
EDIT #3: If the aluminum sheet becomes elastic, I will try to replace it with a thin steel sheet.
Suggestion: you dont give dimensions, but that looks really small. Small enough to fit on a single fire brick maybe? If so, gouge/machine/carve out the center of the fire brick to your dimensions. Make a “bathtub”. Drop the nichrome wire in. Use steel wire “staples” (ties, really) to hold nichrome to the bottom. Aluminum plate goes on top of that with a thin layer of ceramic sheet (or something to between to act as an electrical insulator). Use another fire brick for a lid. Totally non-combustible and good insulating ability. And its literally a 15 minute build.
Buy a fire extinguisher for you and a sixer of beer for any amused bystanders. Make sure your fire insurance is paid! 🤣
Not including any rubber feet or stand-offs, the external dimensions are 0.395 in. X 4-1/2 in. X 6-1/2 in., and the internal heating chamber dimensions are 1/8 in. X 3-1/4 in. X 5-1/4 in.
EDIT: I have updated the drawing to include the dimensions..... A fuse is my electrical insulator")
You can get a re-flow hot plate on Amazon for about $70
Yea, but I already have all the parts to make this hot plate, so why should I invest more money without at least trying it? I am an inventor, a maker, and an experimenter")
+1
Mike
Did you get the parts for free ? I look at it this way, I’m guessing you spent maybe $20-$30 on parts plus the time to make it. I’d rather buy it already working. Unless you intend on mfr. these on a large scale, hopefully you can produce it for $20 and sell them for $70.
Hopefully you can post a picture of your working unit when your done.
The fun is priceless
The power budget here seems light, 36w is low ?
The Al plate is also quite thin as you want even heating across the whole area. (see #3)
Aliexpress has lots of examples, even if you do not buy one, you can 'get a read' on the Watts and metal mass needed.
I must admit that I did not put much thought into even heating across the whole area and of course, even heat distribution is an absolute necessity. Both hot and cold spots would certainly be bad.
And of course you would need a lot of power to heat up a big chunk of aluminum or othe material, but as you said, the plate is quite thin. The real questions are is 36W enough power to heat up that thin plate and how bad will the hots be?
Of course I am no expert in thermal dynamics by any stretch of the imagination, but I cannot imagine 850 F in a confined space and under that thin plate, and not being able to heat it up, but I could be wrong") However I do know that when it does reach the top of the plate, it will already start cooling
However I do know that when it does reach the top of the plate, it will already start cooling ")
However I do wonder about even heat distribution with a single heating element being so close to the plate. If it was still in a confined space but about a foot away, I am fairly certain there would be even heating, but then you would also need a lot more power to heat up that space and rapidly process the reflow curve")
If nothing else, maybe I am just making a coffee warmer") However when it is made and before getting all carried away with electronics and programming, I will throw a couple small SMAs on there just to see if the solder uniformly melts. If the solder doesn't melt, then I definitely won't have any other choice but to pursue another direction.
However when it is made and before getting all carried away with electronics and programming, I will throw a couple small SMAs on there just to see if the solder uniformly melts. If the solder doesn't melt, then I definitely won't have any other choice but to pursue another direction.
I got this one https://www.aliexpress.com/item/1005005382797068.html?spm=a2g0o.productlist.main.7.7232b5a44eb2JQ&algo_pvid=1f2a51ef-6823-4621-a53f-36c53846f21d&algo_exp_id=1f2a51ef-6823-4621-a53f-36c53846f21d-3&pdp_npi=3@dis!USD!25.98!16.89!!!!!@211be54b16829461657886006d07ff!12000032830143335!sea!TW!1860420694&curPageLogUid=ljn1a7jKP33t
It's a bit small 30mm*30mm. But I don't do large boards and can easily do partial soldering, step by step. I'm qute happy with it.
Okay, the results are in") At the moment, it is just a glorified coffee warmer
At the moment, it is just a glorified coffee warmer ") I had to alter my design a little, because the ceramic floor tile was just a bit to hard to work with, so I used tile underlayment instead. The aluminum plate does get hot, but it seems that the tile underlayment is soaking up most of the heat. If I could get the heat to go to the aluminum plate, instead of the underlayment, then I might get somewhere. It also seems that the outside atmosheric temperature might be cooling it a bit too fast.
I had to alter my design a little, because the ceramic floor tile was just a bit to hard to work with, so I used tile underlayment instead. The aluminum plate does get hot, but it seems that the tile underlayment is soaking up most of the heat. If I could get the heat to go to the aluminum plate, instead of the underlayment, then I might get somewhere. It also seems that the outside atmosheric temperature might be cooling it a bit too fast.
Either I am not using my IR temp gun properly or it is malfuctioning, because that plate is definitely getting warmer than 100 F but I cannot get the temp gun to read higher.... or maybe I am misjudging 100 F")
I do believe that it does make a nice coffee heater") Not sure what I am doing now. I may continue to experiment with controlling the heat somehow or just abandon it.
Not sure what I am doing now. I may continue to experiment with controlling the heat somehow or just abandon it.
Here is a youtube video about the making of a reflow hot plate, made from low cost parts, and if you visit his web page, there he includes a part list, point of purchase, and code to make it work.
https://youtube.com/watch?v=9q0mh3y_XBc
Try sticking some tape, eg masking tape on the AL plate, then point the gun at that. You should get a more accurate reading
I've noticed using the thermal camera its quite easy to be measuring whatever is being reflected in the AL, rather than the AL itself
@idbruce ,
I have to question your 36W. In the video you posted, it mentions some larger versions at 3000W, but the one in the video is only 300W and seems to be adequate.
36W is 12% of that. (300W) ... So it's plausible that the 100F readings you are measuring are correct assuming there is some ambient loss and reflection errors.
@ Tubular - Thanks, I will give that a try, just out of curiousity.
@Beau - Yea, he mentions the 3000W, beause he created an earlier one with a 3000W clothes iron, then he made another 300W hot plate with an inexpensive heater he got form aliexpress. I checked it out and they several wattages available and very inexpensive, but they run off 220V, although I am sure 110V will work. Both of his hot plates work, but I like the 300W one a lot better.
It is worth mentioning that he purchased the 400W, not the 300W heater from AliExpress, and I guess he figured he was only getting 300W out of the 400W unit. It is also worth mentioning that he is using solder paste with a low melting point.