

P2 and Spin2 example for a 2-Axis Joystick project
 dnkmk
Posts: 10
dnkmk
Posts: 10
Hi I'm a newby and recently proud owner of the P2 revb
Maybe this is not the right place to ask, if so please be kind to me ![]()
Tried my first baby steps with
1. Parallax standard and continuous servo's (works)
2. Parallax UV light sensor (works)
Now I'm working with the Parallax 2-Axis Joystick and having trouble finding the right starters info for Spin2 ![]()
Does anyone know a good example program in Spin2 for the Joystick?
I've connected my Joystick to a Parallax 64020 P2 Edge Breakout Board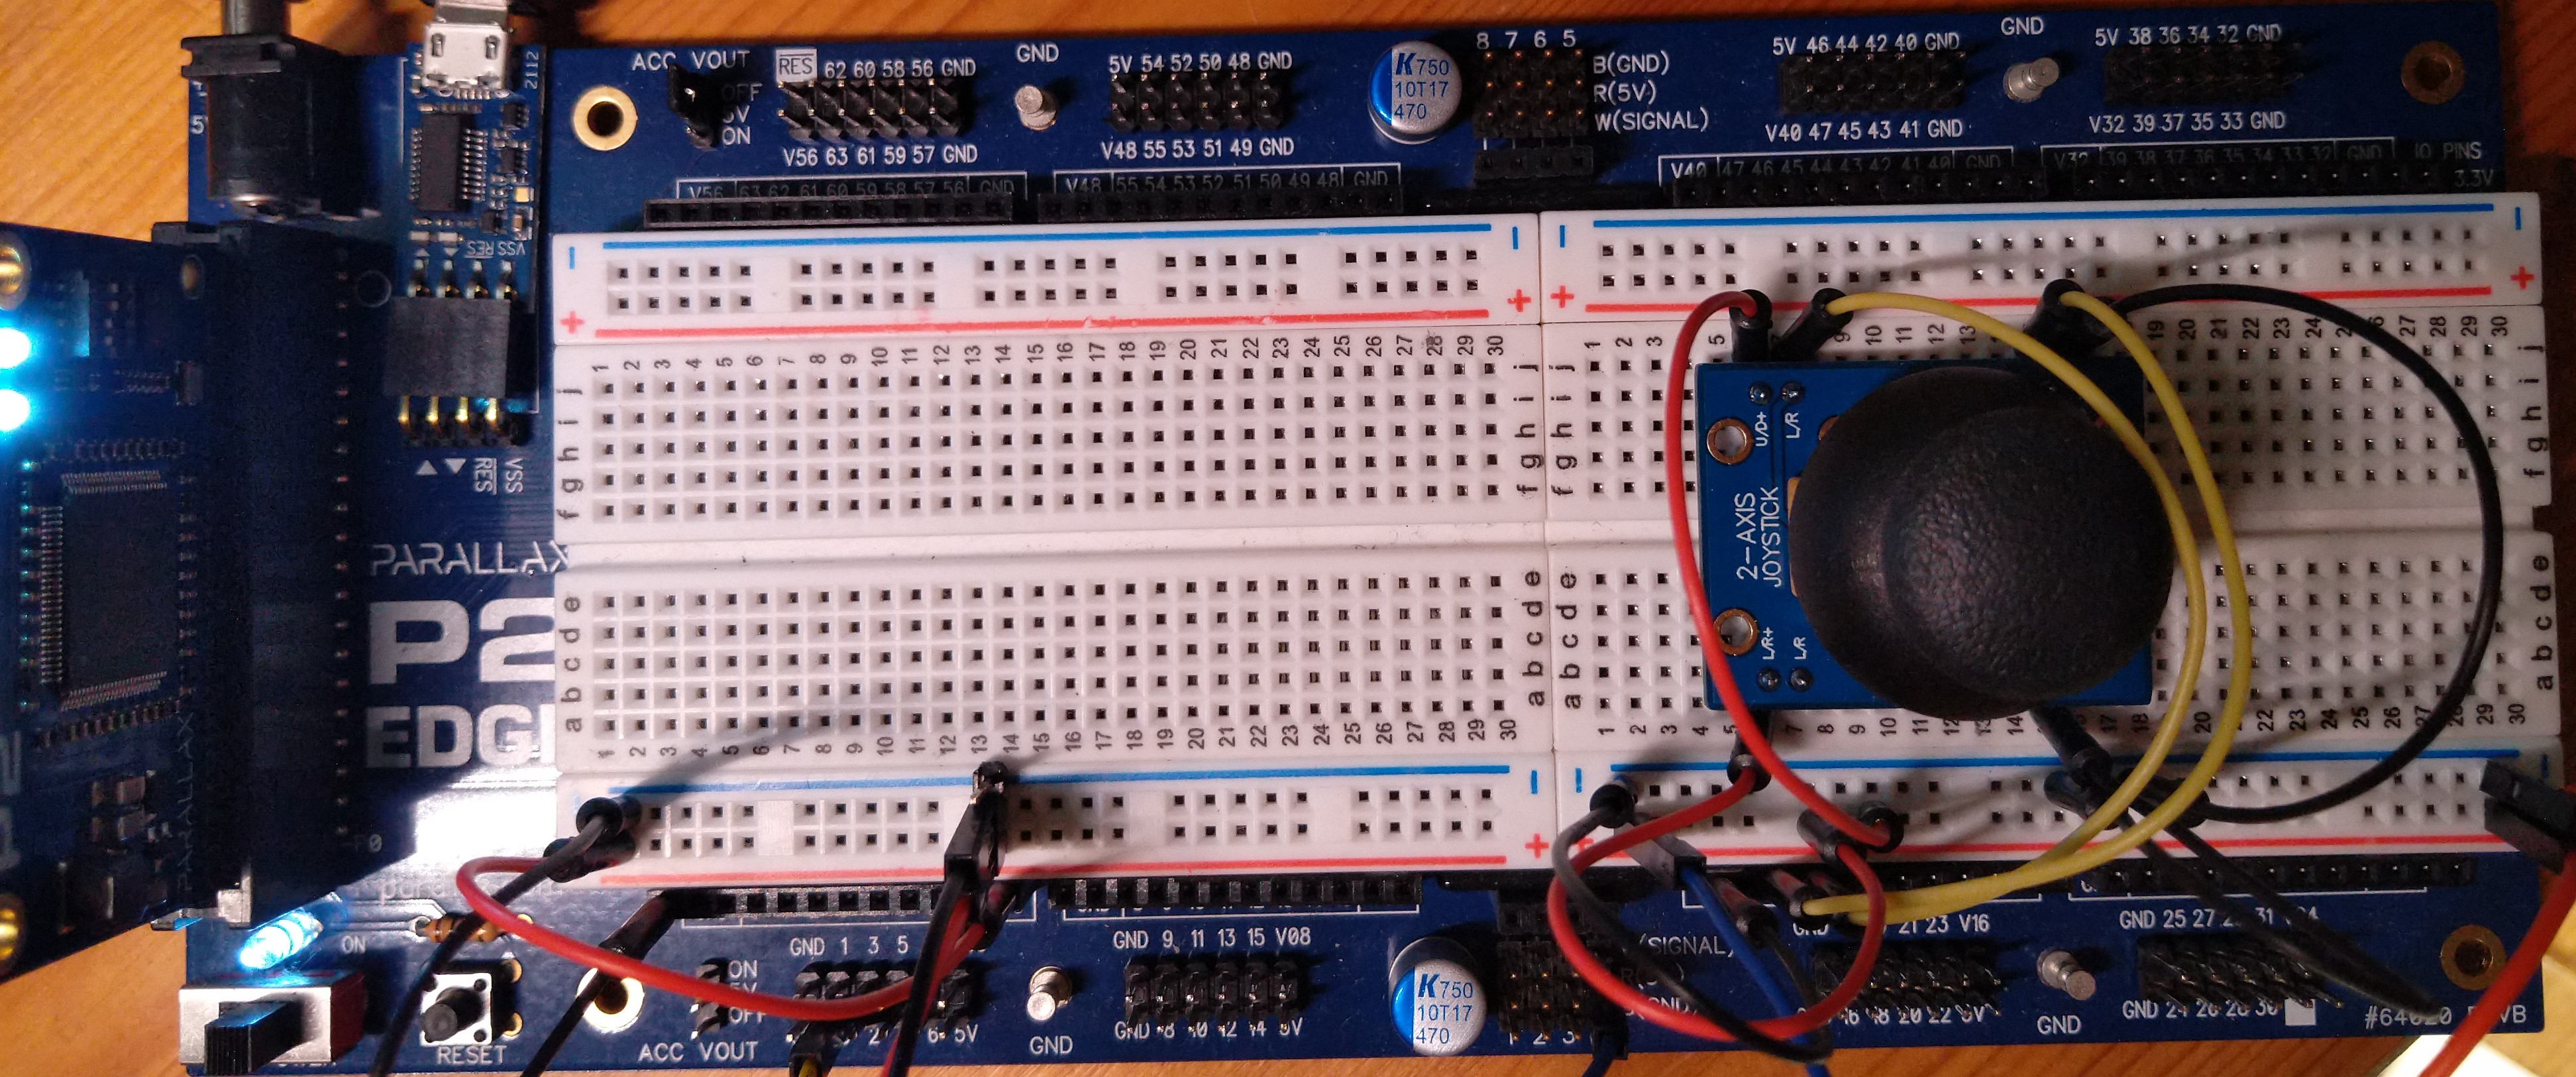
Later I will try to learn about connecting and controlling The Parallax feedback 360 high speed servo
Help is very appreciated ![]()
Comments
The P2 has analog capability which makes using a joystick like that very easy. The attached object takes care of simple ADC details for you. This is just the object, you'll need to add it to a program and assign your pins. I suggest you start with one channel and use the start() method in the object. It will give you 0..3300 back as you move the joystick. You can use the startx() method to specify desired minimum and maximum reading from the ADC. With a joystick, for example, you could use -100 to +100 which would give you speed (in percent) and direction.
Thanks a lot Jon,
the thing is, I'm a beginner and hope you can understand that "you'll need to add it to a program and assign your pins" is yet a bit too much for me.
I've connected the two ADC's to smart pin 16 and 17 but can't seem to get it to work as a program like your jm_servo_multi_demo.spin2.
Its connected to 3.3v
Well, it is St. Patrick's Day, I'm Irish, and you are using a board with my name on it... so you're in luck. As you can see, doing the basics is simple and doesn't take a lot of code.
Your job is to modify and play with the program so that you fully understand it and can move forward with any project.
If, down the road, you're wanting to control a servo, you need to scale the joystick value to the servo pulse value. This is a method I use to do things like that:
pub map(value, inmin, inmax, outmin, outmax) : result

'' Maps value in range inmin..inmax to new value in range outmin..outmax

  if (value <= inmin)
    return outmin
  elseif (value >= inmax)
    return outmax
  else
    return (value - inmin) * (outmax - outmin) / (inmax - inmin) + outmin
If you visit www.jonyjib.com you will see a lot of joystick-controlled camera platforms and accessories. All have Propellers (P1, and newest product uses the P2). I coded them all. Joysticks -- especially the low cost versions -- are rarely good out on the ends, and never spring back to the same place. For JonyJib projects, we trim the ends, and create a dead band in the middle based on the start-up position of the joystick.
Have fun.
Jon, cheers !!!
hope you had a good St. Patrick's Day, I for one did after your response.
The joystick demo works like a charm, much appreciated indeed.
Your my hero.
Now I have working demo's of UV-sensors, Servo's and Joystick and examples to try out several other devices and sensors.
Next on my list is the Parallax Feedback 360° High Speed Servo
My goal is to integrate all lessons learned into a hardware abstraction layer and for that I must learn to play around with all devices combined and then assigning them to their own cog's.") and with your code's I'm confident I'm on the right path.
and with your code's I'm confident I'm on the right path.
Some day I hope to be a P2/spin2 expert
Parametric dead bands for joystick and light sensors will be necessary to incorporate into my program
I was worried during my first steps but now my confidence has grown and I thank you for your extra info regarding Jonyjib.
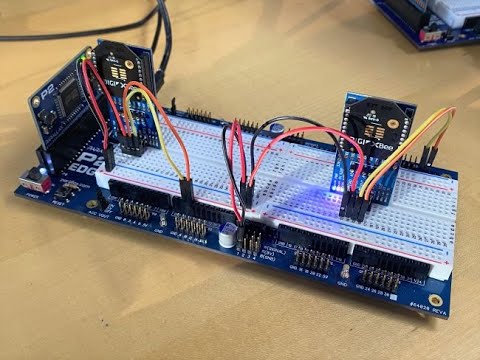
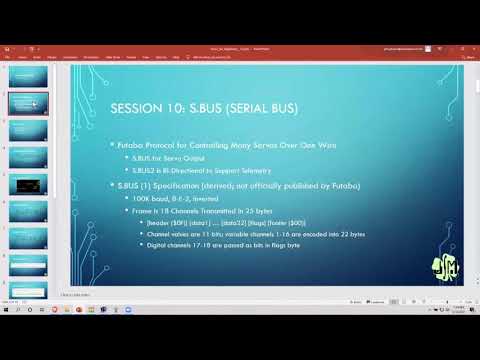
Glad I could help. I've done a number of talks for Parallax on the P2 that you can find on YouTube (see below). If you have the time, they might be worth watching. While most are about a specific topic, I tend to cover alternative programming strategies that are available to the P2 (e.g., straight Spin2, inline PASM2, smart pins, any combination).
--


--
--
--
--
--
--
--
--
--
--
--


--
--
Jon,
I've been playing around with the Joystick and found a strange difference between the both pot meters Azimuth(X) and Altitude(Y)
when I check the centers of both X and Y ADC's of the joystick the volts are not centered?
for X centered the integer reads ~1654, moving the jog all the way left reads 760, all the way right reads 2800
X center should be ~1780 but is close to the centered ~1654. Difference is 126
for Y centered the integer reads ~1668, moving the jog all the way down reads 3050, all the way up reads 1014
Y center should be ~ 2032 and lies further away from the centered ~1668. Difference is 364?
could this be a faulty setup or are these differences normal for the 2-Axis Joystick or is this the needed dead band adjustment you were speaking of?
Regards
Jon,
Thanks for these links, will work them thru.") although it will take some time I presume.
although it will take some time I presume.
Dann
Below is my (rough beginners) code for reacting on quadruple Parallax UV light sensors
These sensors are placed squared towards the sun (Top Set (TL_UV & TR_UV) and Bottom Set(BL_UV and BR_UV))
This algorithm performs very well but is highly dependent on the sensors being balanced (calibrated) to the same levels (under equal circumstances) and the use of shaders placed at strategic positions on top of the sensors.
Proud to have managed this far with the help of Jon McPhalen")
I do have a problem (amongst others) with telling the concerning COG or loop to wait/sleep for 2 minutes.
Can anybody point me in the right direction ( see WAITMS(120_000) ) ???
Any help is appreciated.
`
PRI COGTrace() | MinLight, toggle, ACTUAL_UV
Minlight := 0_5 '0.5
TRACK := 0
toggle := 0
ACTUAL_UV := TSET
PREV_UV := ACTUAL_UV
REPEAT
WaitUS(1_000_000 / 360) ' Servo wait
CASE TRACK
  0:                        {Hold motors}
    PINLOW(LED2)

    If(toggle == 1)
      Motor.Start(AZIMUTH_MOT,1,XHOLD)
      Motor.Start(ALTITUDE_MOT,1,YHOLD)
      toggle := 0
  1:                        {Enable tracking}
    PINTOGGLE(LED2)

    {Azimuth movement}
    If(TSET > MIN_UV)
      XERROR := 0
      If(ABS(DIFFAZI) > THRESHOLD_UV)
        XONLINE := 0
        If(DIFFAZI < 0)
          Motor.Start(AZIMUTH_MOT,1,XRIGHT)
        If(DIFFAZI > 0)
          Motor.Start(AZIMUTH_MOT,1,XLEFT)
      Else
        XONLINE := 1
        Motor.Start(AZIMUTH_MOT,1,XHOLD)
        PREV_UV :=  (TSET + BSET)/2
    Else
      XERROR := 1
      Motor.Start(AZIMUTH_MOT,1,XHOLD)

    {Altitude movement}
    If(BSET > MIN_UV)
      YERROR := 0
      If(ABS(DIFFALT) > THRESHOLD_UV)
        YONLINE := 0
        If(DIFFALT > 0)
          Motor.Start(ALTITUDE_MOT,1,YUP)
        If(DIFFALT < 0)
          Motor.Start(ALTITUDE_MOT,1,YDOWN)
      Else
        YONLINE := 1
        Motor.Start(ALTITUDE_MOT,1,YHOLD)
        PREV_UV :=  (TSET + BSET)/2
    Else
      YERROR := 1
      Motor.Start(ALTITUDE_MOT,1,YHOLD)

    If((XERROR)OR(YERROR))
      ERROR := 1
    Else
      ERROR := 0

    toggle := 1
    If((XONLINE)AND(YONLINE))
      ONLINE := 1
      Motor.Start(AZIMUTH_MOT,1,XHOLD)
      Motor.Start(ALTITUDE_MOT,1,YHOLD)
      WAITMS(120_000)
    Else
      ONLINE := 0

WAITMS(10)
`
Since you say you're new and you've invoked my name (insert evil laugh), please allow me to make a couple suggestions:
-- use a formatting style that is easier on the eyes and consistent
-- break big chunks of code in a case block into smaller chunks using functions
My personal formatting style is inspired by what I think professional programmers using C and Python do. In short:
-- everything is lowercase except user-defined constants (which are UPPERCASE)
-- use underscore to separate words in function names and user constants
-- variables may use camelCase
Here's how I would reformat the code you shared above.
var

  long  toggle
  long  minLight
  long  actualUv
  long  track


pri cog_trace()

  minLight := 0_5
  toggle   := 0
  actualUv := TSET

  track    := 0
  prevUv   := actualUv

  repeat
    waitus(1_000_000 / 360)                                     ' servo wait

    case track
      0 :
        hold_motors()
      1 :
        move_azimuth()
        move_altitude()

    toggle := 1
    if (xonline && yonline)
      online := 1
      hold_motors()
      repeat 120
        waitms(1000)
    else
      online := 0

    waitms(10)                                                  ' ?


pri hold_motors()

  pinlow(LED2)
  if (toggle == 1)
    motor.start(AZI_MOTOR, 1, X_HOLD)
    motor.start(ALT_MOTOR, 1, Y_HOLD)
    toggle := 0


pri move_azimuth()

  pintoggle(LED2)
  if (tSet > MIN_UV)
    xerror := 0
    if (abs(diffAzi) > THRESHOLD_UV)
      xonline := 0
      if (diffAzi < 0)
        motor.start(AZI_MOTOR, 1, X_RT)
      elseif (diffAzi < 0)
        motor.start(AZI_MOTOR, 1, X_LF)
    else
      xonline := 1
      motor.start(AZI_MOTOR, 1, X_HOLD)


pri move_altitude()

  if (bset > MIN_UV)
    yerror := 0
    if (abs(diffAlt) > THRESHOLD_UV)
      yonline := 0
      if (diffAlt > 0)
        motor.start(ALT_MOTOR, 1 Y_UP)
      elseif (diffAlt < 0)
        motor.start(ALT_MOTOR, 1 Y_DN)
    else
      yerror := 1
      motor.start(ALT_MOTOR, 1 Y_HOLD)
If you adopt this style you'll need to move variables shared by the functions called from cog_trace() to the global space. I would make a var section right above the cog_trace() function (it is okay to have multiple var sections in a Spin program, and I think this is a good reason to do it).
Something that becomes more apparent with this style is that you have delays at the top and bottom of your cog_trace() loop. Why?
Due to the way that waitms() and waitus() work, the longest delay for either is just over 10.7 seconds (at 200MHz). The max delay is (2^31/TICKS_PER_US microseconds). No worries, you can do this:
  repeat 120
    waitms(1000)
...and it becomes a little more obvious that the delay is 120 seconds.
You might also consider more explicit names for LED1 and LED2.
Dear Jon,
You made my day again, to say the least.
When a student is building his/her confidence and awe about a subject the need for guidance and example is often substantial.
When a teacher speaks clear words carefully chosen the sooner the student can focus on the subject.
I’m on a mission and one of the mission objectives is a hardware abstraction layer for a heliostat-like device.
The code you cleaned up, for example, is part of an alpha release.
It’s quick and dirty programming to determine the dynamic accuracy of the HAL’s combination of light sensors and servos versus the solar tracking accuracy and hold conditions without a RTC and Compass module. (I will hopefully build them in later)
During my debugging sessions I’m often lost, jumping from one procedure to variables, to constants etc. to find the bug or adjust some values.
Your suggestions are very welcome and indeed a sight for sore eyes like mine.
Just what I needed, I didn’t even think about simplifying procedures and formatting style until you made your suggestion.
This moment for me heralds a beta version where I will adopt your formatting style and use of functions.
I’m convinced about the results and the use of P2 EDGE and EVAL boards for my prototyping efforts.
Your support in this way is nearly as important as the boards itself to help get a student on the right track for which I’m very grateful.
Regarding your question about both delays in the loop, it is indeed erroneous and the apparent result of poor readability and a brain cramp on my part 😉.
The weather here is momentarily clouded but when the sun is back, I will try the delay and fine tune this time-to-wait according to the conditions of the several day periods.
Parallax rules, and so do you!
I'm glad I could be helpful.
When I wrote for Nuts & Volts magazine I put into print several times: It's never quick. It's always dirty. I think you'll find that when you have a consistent style that is easy on the eyes, little 'gotchas' will become more apparent and will be reduced over time.
Thanks. Good luck with your project, and keep having fun experimenting.