

Another P2 Edge Cartridge
 CJMJ
Posts: 226
CJMJ
Posts: 226
in Propeller 2
A little slimmer than my original. Rounded the upper corners. Closed up the openings except for the LED windows. Added a vent at the top and a bottom plug to help hold it together when not in a socket or transporting it. The zip file contains the .stl files and a screen capture showing my slicer setup.

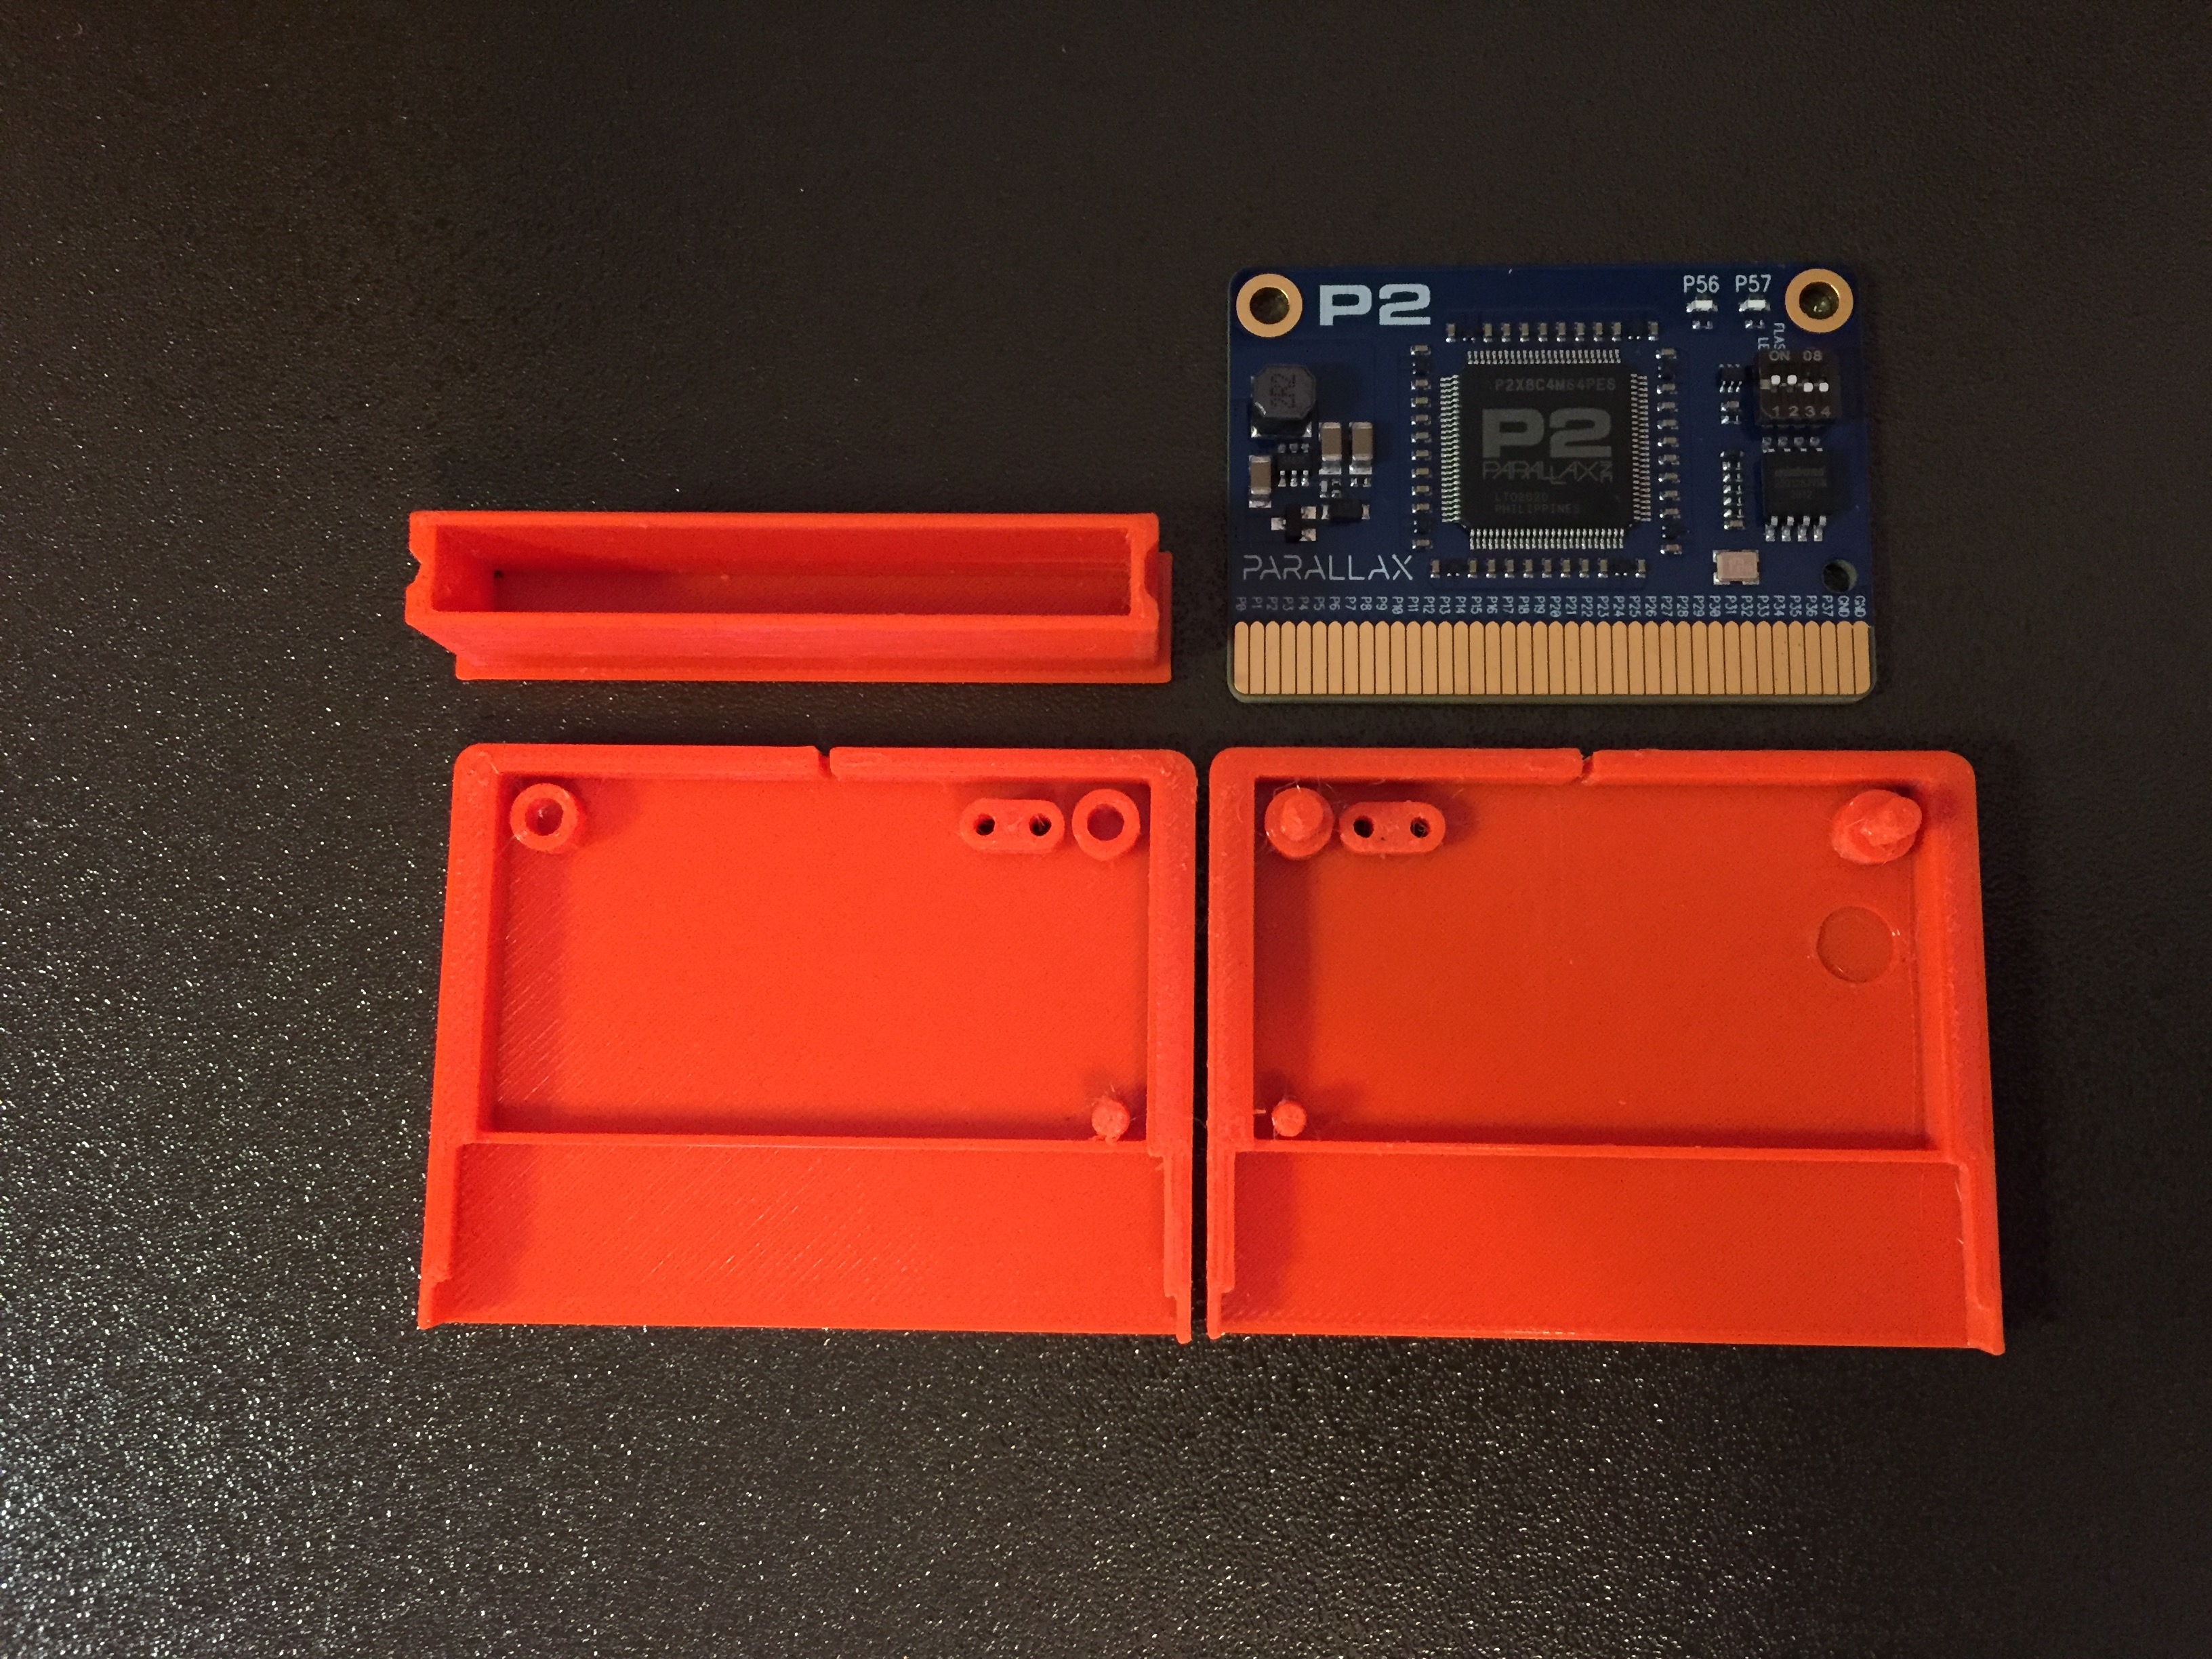
Enjoy!
Comments
That looks great, CJMJ!
+++ Fantastic CJMJ.
After so much avoidance and other priorities, that's the reason I'd like to buy a 3D printer.
For price, you cannot go past the Creality Ender 3. Your first few prints will be a few upgrades. The glass base is a worthwhile extra, and grab a couple of spare nozzles.
Tip: Don’t let your filament soak up moisture. When you’re not using the printer, cut the filament off and store in ziplock bag. You’ll be amazed! After I let my filament on an open spool and some rainy days, my filament was snapping and the print jobs were not the best. My son dried it in a heat chamber at work, and great prints again.
Thanks @Cluso99 I'll check it out.
Great design, CJMJ!
Only a hint: as it is now, without fresh air intake coming from the bottom, the vent at the top will mostly work like a chimney, where both hot air scapes, and fresh air is admitted, simultaneouslly, in a coax-like, double flow arrangement.
If the enclosed P2 Edge is to be pushed hard during operation, in a way that heat accumulates faster than it can be drainned (chilled), perhaps increasing the number/size of vents could help.
In case cartridge still heats-up above some reasonable limit, consider having extra vents, at the bottom line under P2 and the power regulator (and at the top surface too), in order to leverage the temperature difference, increasing the air flow, and avoiding heat build-up.
Hope it helps.
Henrique
@Yanomani I agree. The vent was a test. It will be very easy to place additional vents across the top and across the bottom brace, if necessary. I actually had to remove some additional material right above the regulator. I plan on instrumenting it with temperature sensors like I did the first version.
TIP: Don't pull the cartridge from the bed after printing. Allow the bed to cool then slightly twist each piece to break its adhesion to the bed. I deformed my first print because the wall is only 1mm thick and the vent created a weak spot. Once the piece cools it's sufficiently rigid.
BTW: IIRC the LED windows are 2mm in diameter. I discovered that the Parallax String Traps had some cylindrical acrylic junk left over from the CNC process. The smallest cylinders fit into the windows perfectly, however, they were just a tad too long. So I'm trying to figure out a way to trim them down. If you try to use a couple, be careful to not push them in too far. They could damage the LEDs.
Hey guys,
What would you think if we removed that orientation hole? Leaving a silk ring in it's place to provide the orientation clue.
@CJMJ do you think that 3rd hole is needed in your cartridge to provide mechanical support/etc... ?
@VonSzarvas Well, without it there's no longer any way to force the proper orientation [front to back] of the Edge in the cartridge. It provides minimal mechanical support.
If the mounting holes were diagonal [one at the top and the other at the bottom/middle] that would help maintain the forced orientation.
We kept it in the end")
Great. I've been unavailable for awhile with a new job. As soon as I can purchase one of the new P2 Edge designs I'll create a new shell.
Sounds good. In the meantime I ordered one of the 3D printers Cluso99 recommended. I've not had time to unpack it yet, but will make sure I do that to print your cartridge!
If shipping doesn't get held up, we could have the first RevC Edge's coming off the line this Thursday or Friday. They might be another couple weeks or so before they get through test/etc. and then full production and into the store.
In the meantime, there should be one more small run of RevB's hitting the store early this week. Not sure they will stay in stock for too long given the backorders, but just mentioning that so you don't order one of those by mistake (unless you want another RevB of course, before the opportunity is gone forever!!). The shop page will be very clearly updated to mention RevC once they hit the store, and no doubt there will be some social buzz buzz at the time too.
Thanks for mentioning the Rev B. I have 2 Rev A's but I wanted at least 1 Rev B for my collection. What was the main difference between the Rev A and Reb B again?
Rev A to Rev B introduced most of the changes with the full list to be found in the front of the Parallax Propeller 2 Rev B/C document, while Rev B to Rev C only disconnected the adjacent pin input to the ADC block that was causing glitching in the measurements.
I think they where talking about the Edge module rev C not the Chip rev C.
Edge rev C has a quite nicer (wider) input voltage range and a more precise clock source.
Mike
Ah, yes that would make more sense
Well, I received my Rev B P2 Edges and the first thing I noticed was the mounting hole and the alignment pin hole is a little [fraction of a millimeter] wider apart. The result is the cartridge doesn't quite close like it should on that side. I'm designing a new cartridge.
Yes, it was nudged for a couple manufacturing reasons.
I can confirm that RevB onwards will remain the same.