Development suite for propstickUSB etc
 Graham Stabler
Posts: 2,510
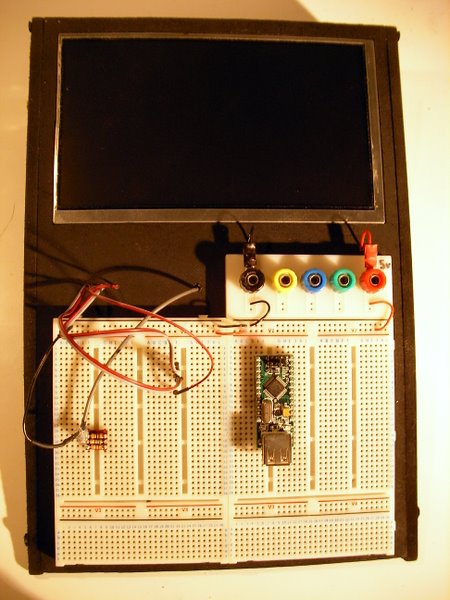
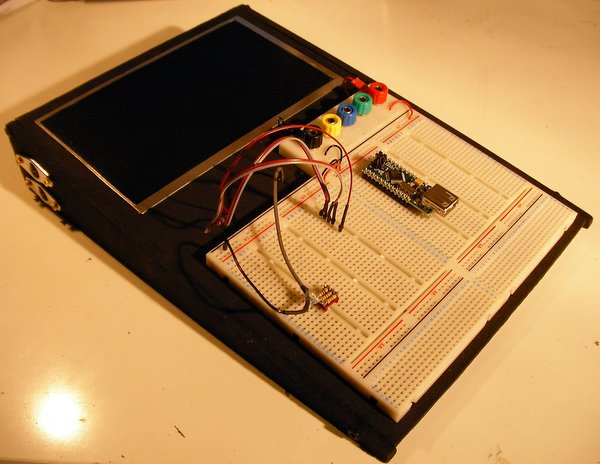
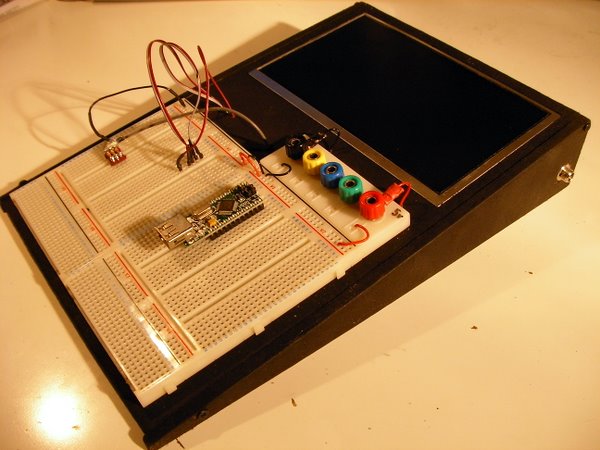
This is the development system I have set up for more serious hard ware stuff, I either stick a propstick USB into the breadboard or later I will be able to clamp the cheap development boards in place.
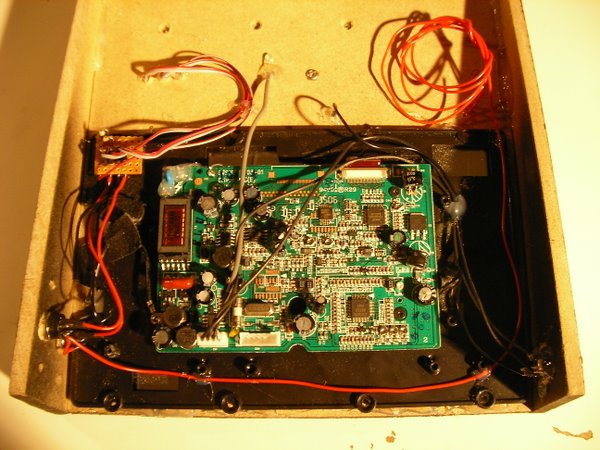
The screen is a 7" LCD screen for TV signals taken from an in-car portable DVD head-rest screen (argos in the UK for about 80GBP and you get two screens). I'm running it on a regulated wall wart at 7v, it doesn't require any of the control signals it used to have but I may add a wide screen selector switch.
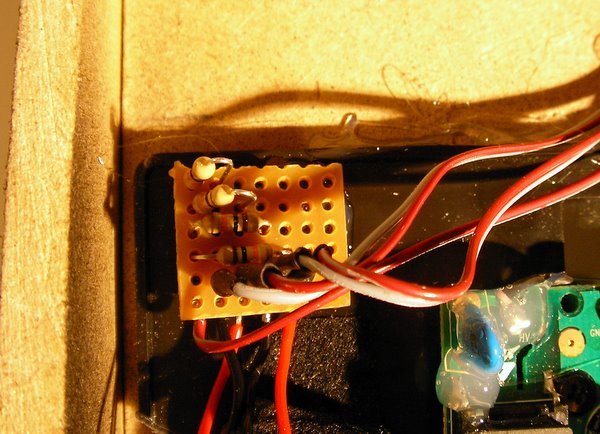
The breadboard came screwed into a plastic housing (Maplin in UK) which I removed. Power to the breadboard will come from a 5v regulator when I get one and clips on to the banana sockets. There are keyboard sockets on the side and I put all the required pull up and current limiting resistors on a little vero board. The clock and data feed out via ribbon cables for plugging into the board wherever required. When using the proposed development boards I'll just add the little header sockets wherever required.
Similarly the video in to the screen comes out of the front face but in this case I put the resistors at the propeller end which makes more sense. I used a kind of header socket with some of the pins cut off to make a neat plug in unit, the other wire forms a local earth.
Construction is again MDF with the almost instant mat black spray paint finish. Total construction time was two half-arsed evenings.
Graham


Post Edited (Graham Stabler) : 12/20/2006 8:17:47 PM GMT
The screen is a 7" LCD screen for TV signals taken from an in-car portable DVD head-rest screen (argos in the UK for about 80GBP and you get two screens). I'm running it on a regulated wall wart at 7v, it doesn't require any of the control signals it used to have but I may add a wide screen selector switch.
The breadboard came screwed into a plastic housing (Maplin in UK) which I removed. Power to the breadboard will come from a 5v regulator when I get one and clips on to the banana sockets. There are keyboard sockets on the side and I put all the required pull up and current limiting resistors on a little vero board. The clock and data feed out via ribbon cables for plugging into the board wherever required. When using the proposed development boards I'll just add the little header sockets wherever required.
Similarly the video in to the screen comes out of the front face but in this case I put the resistors at the propeller end which makes more sense. I used a kind of header socket with some of the pins cut off to make a neat plug in unit, the other wire forms a local earth.
Construction is again MDF with the almost instant mat black spray paint finish. Total construction time was two half-arsed evenings.
Graham
Post Edited (Graham Stabler) : 12/20/2006 8:17:47 PM GMT


Comments
Graham
▔▔▔▔▔▔▔▔▔▔▔▔▔▔▔▔▔▔▔▔▔▔▔▔
Hmm, "If you can't say something nice, don't say anything at all"
······· "No such thing as a dumb question" unless it's on the internet
········"What happens in Vegas ends up on the Internet"
Technologically challenged individual, Please have pity.
www.conelek.com/index.php?cPath=58_67_83
deSilva, the breadboard came from Maplin.co.uk but they are exactly the same as the one you link to.
Graham
I got the same (x2)displays for 35quid (shipping included) used from ebay. It's a great buy and I use a single 9volt to power my propstick usb and monitor. My breadboard is much smaller though. Great looking case. Good work.