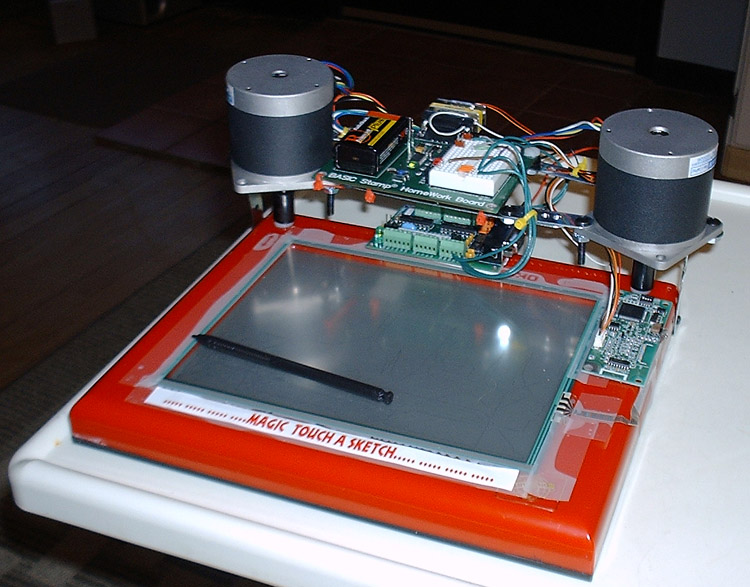
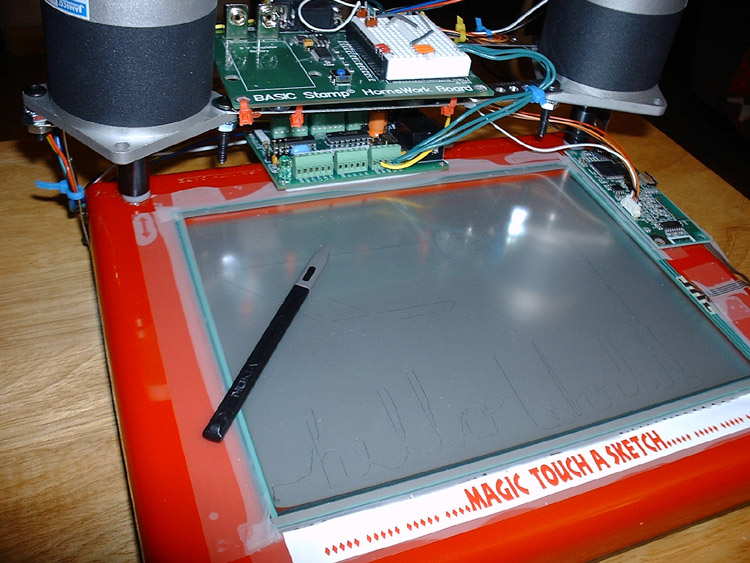
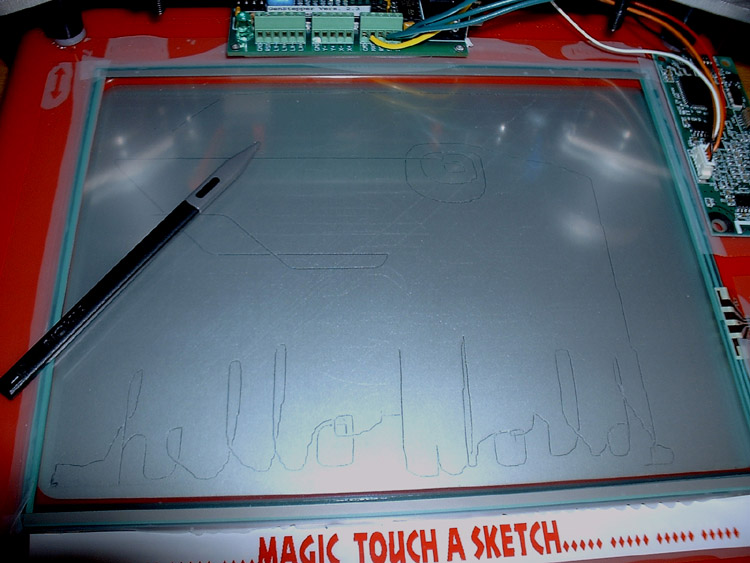
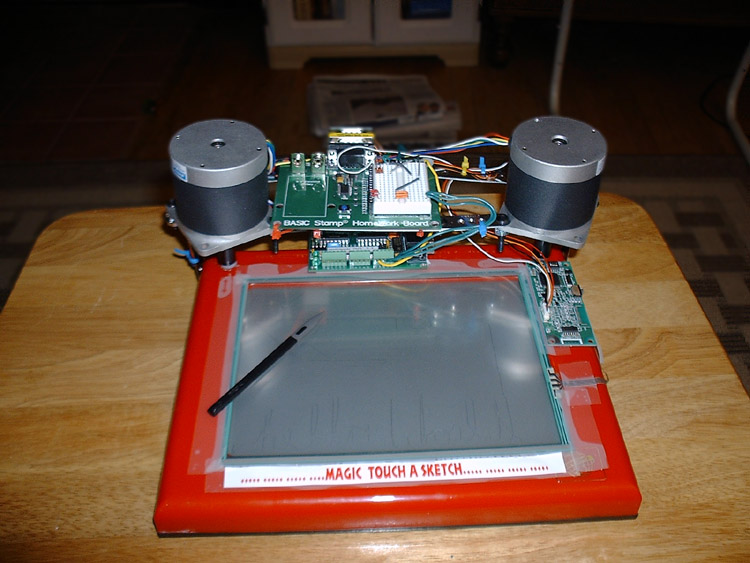
My third project: TOUCH A SKETCH
This is a take off on the old "add·some stepper motors to an etch a sketch".· I added a touch screen.
·(It's the same one as Mouser sells. Fujitsu·· http://www.mouser.com/index.cfm?&handler=data.listcategory&D=*817N0100554T506*&terms=817-N010-0554-T506+&Ntt=*817N0100554T506*&Dk=1&Ns=SField&N=0&crc=true)
Add 2 steppers, and voila!· Draw right on the screen!· You do have to watch your speed some, but it is really surprisingly fast.··· Since you can touch the screen anywhere, and it will draw a line to that point from where it was at, you can get some really cool designs by just touching the screen at certain places.· Perfect diagonals of any angle!· I just finished it tonight.· I will draw some more on it and post the pics after I get some sleep.· I've been up a long time now.
I also used the bistepper control http://www.parallax.com/detail.asp?product_id=30004. It was difficult to·code for a beginner, but I did get some help from the manufacturer.· Even though the Stamp is not multitasking, the bistepper controller takes over, so the stamp can send the horizontal and vertical motor right after each other, and the motors both go at the same time.
Getting the serial touch screen was somewhat difficult to figure out.·
The earliest version of the TAS·used a 9 volt on the Homework board, but I finally added a power supply.· The original steppers I used were not strong enough or fast·enough, so I had to really add some biggies.
It works surprisingly well.· It is entirely self contained except for the power supply.·· I put a really big cable, so I could pick up the "touch a sketch" to erase it.· Everything is bolted on pretty strongly.
The serial cable can be unhooked from the Basic Stamp board and hooked up to a PC, in case you want to send drawings from PC code.· It does not show in the picture, but there is a small graphics LCD attachment that shows the x,y so I can readjust my code when calibration needs done.· You can see it in the code.
Please do not make fun of my code.· Although suggestions are greatly appreciated.
NOTE:· My son Nathan helped me in my learning curve on this.· Thanks Nate!!· I never could have figured out the way the bytes were sent without you.· Perry Cain· perry@suppleye.com
PS.· It would be really cool to size the components down and put them inside the etch a sketch.· It would require some really powerful, tiny steppers.· The electrical components could certainly be made small enough...
Post Edited (neoteric) : 3/6/2006 7:52:11 PM GMT


Comments
▔▔▔▔▔▔▔▔▔▔▔▔▔▔▔▔▔▔▔▔▔▔▔▔
Chris Savage
Parallax Tech Support
csavage@parallax.com
Will do a video tonight or tomorrow if I can.
Thanks for the kind words!
·
▔▔▔▔▔▔▔▔▔▔▔▔▔▔▔▔▔▔▔▔▔▔▔▔
Chris Savage
Parallax Tech Support
csavage@parallax.com
I can't tell, from the picture, how it runs....so a video would explain it all to me!!
Attach some dc motors with those offset pager weights on them....have an accelerometer looking for these 'shakes' and then you could hit the big ERASE button and have the whole thing vibrate itself clean!
Wonderful!! hehe
▔▔▔▔▔▔▔▔▔▔▔▔▔▔▔▔▔▔▔▔▔▔▔▔
·
Steve
"Inside each and every one of us is our one, true authentic swing. Something we was born with. Something that's ours and ours alone. Something that can't be learned... something that's got to be remembered."
Very neat project...
[noparse]:)[/noparse]
▔▔▔▔▔▔▔▔▔▔▔▔▔▔▔▔▔▔▔▔▔▔▔▔
Just tossing my two bits worth into the bit bucket
KK
·
Sooo...· If anyone knows an alternate source where I could get a new controller, let me know.· Mouser item # 817-N16B-0558-B230
Otherwise, we are a month away from a video....··· I did get the calibration working, based on the "two points" suggestion, and some math help from the group.·
A loose connection? fused?
▔▔▔▔▔▔▔▔▔▔▔▔▔▔▔▔▔▔▔▔▔▔▔▔
·
Steve
"Inside each and every one of us is our one, true authentic swing. Something we was born with. Something that's ours and ours alone. Something that can't be learned... something that's got to be remembered."
No loose wires, multimetered the touchscreen controller and it is getting power at the board.·· Nothing coming from the serial port though.
Thats the extent of·testing with my current skill set.·· I may borrow a logic probe from someone this weekend, but I'm not that great at using one of those...
Thanks.
Did the controller have to be polled to ouput things on the serial port? (did you have to send something to it for it to output...).
** I'm just eager to see the video! [noparse]:D[/noparse]
▔▔▔▔▔▔▔▔▔▔▔▔▔▔▔▔▔▔▔▔▔▔▔▔
·
Steve
"Inside each and every one of us is our one, true authentic swing. Something we was born with. Something that's ours and ours alone. Something that can't be learned... something that's got to be remembered."
Flattered by your desire to see the video· [noparse]:)[/noparse].
The ground is still tied in.· The serial·board just dumps data out it's serial port from the capacitance touch screen.
You don't need to set it high or anything.
I can hook it to a PC as well, and it's not getting anything there either...
Sadness.
It looked like a cool setup.
▔▔▔▔▔▔▔▔▔▔▔▔▔▔▔▔▔▔▔▔▔▔▔▔
·
Steve
"Inside each and every one of us is our one, true authentic swing. Something we was born with. Something that's ours and ours alone. Something that can't be learned... something that's got to be remembered."