Fairy simple project for Christmas
 iseries
Posts: 1,526
A couple of years ago I was going to make a bottle with lights in it controlled by the propeller but it never got off the ground.
Recently I was looking on Amazon and came across these fairy LED's. They came in different colors and only needed coin cell batteries to make them work. These are the ones I purchased: Fairy LED's
Once I got them, I check to see how much current they needed to light up. It turns out at 3 volts they only need about 20ma of power. Next, I check the specs on the P1 which states it can drive 40ma on each pin.
This seems fairy simple, all I need to do is break down the unit and attach it to one of the pins on the Propeller and I'm good to go.
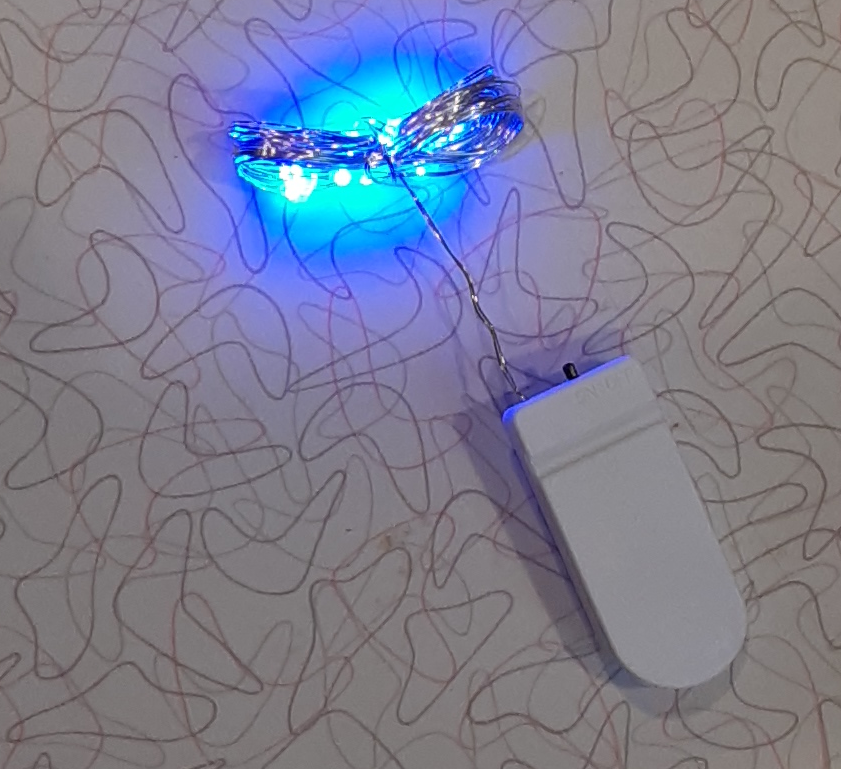
This is what an individual unit looks like:
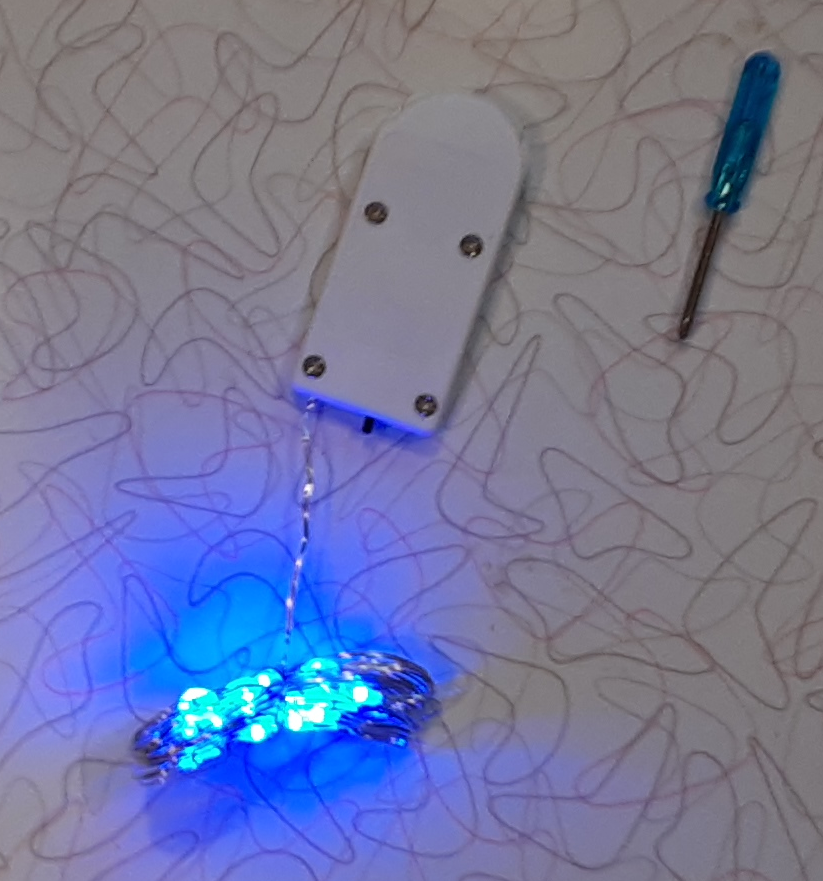
Turning it over we see that there are 4 screws holding the unit together and they even give you the small screwdriver to open it:
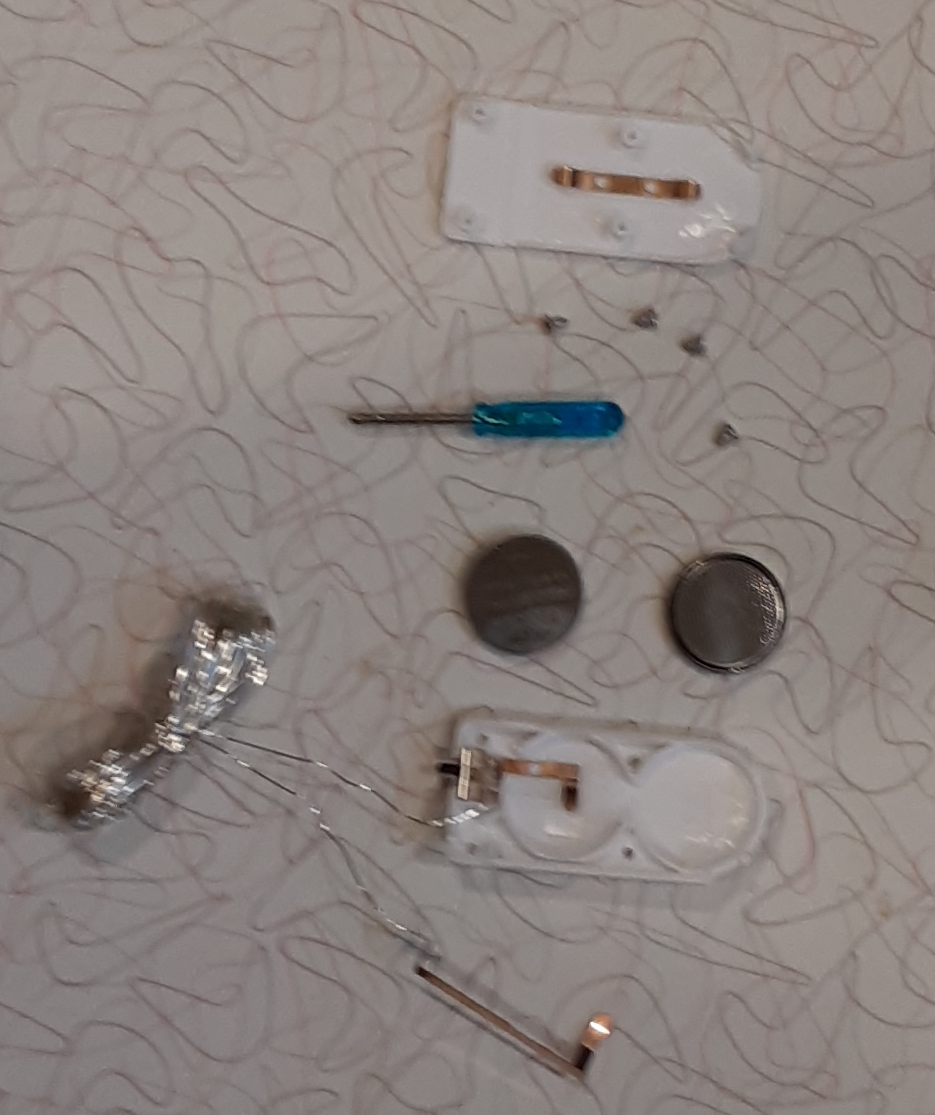
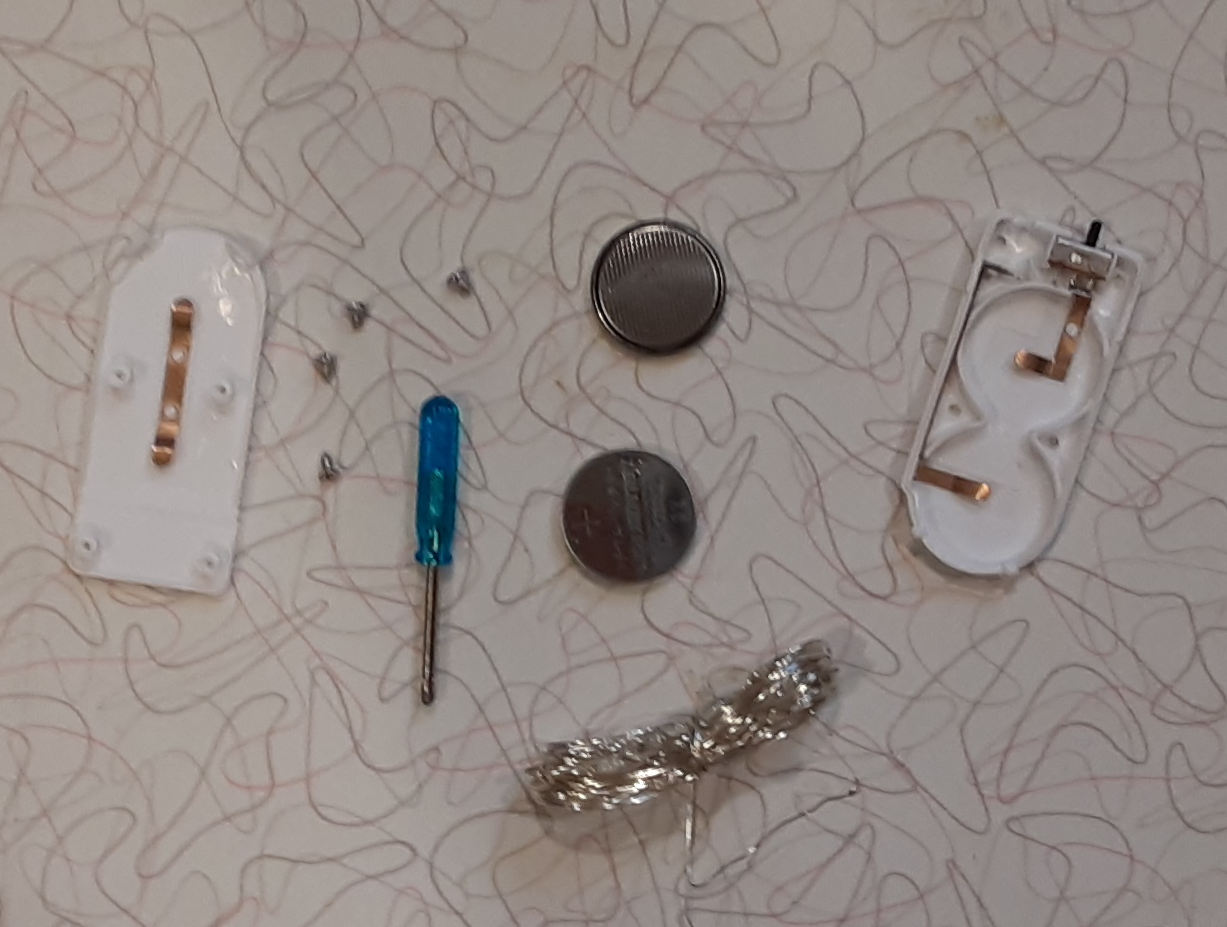
After opening it up this is what is inside. The positive lead is the long metal piece:
After unsoldering the two leads I bent one of them, so I knew which end was positive. Now your left with two 2032 coin cells and a case with a nice slide switch. I put the unit back together for safe keeping:
Now came the hard part. Solder those little wires into a connector so I can hook it up to the Propeller.
The way I wired it up is I hooked the positive side to 3 volts and the negative side to each pin so setting a pin to low will light the fairy LED's.
Here is the finished setup using two plugs since I could not get all the positive wires to fit on one connector pin.
Running Fairy Lights Picture
These are the current reading I got with each of the string of fairy LED's
BLUE - 21ma
PURPLE - 20ma
YELLOW - 20ma
RED - 38ma
WHITE - 18ma
GREEN - 24ma
So with all the LED's lite it's still less than the 400ma regulator on the Propeller mini.
Now where did I put that wine bottle?
Mike


Comments
Most. confusing. background. ever.
I hope you'll post the finished bottle!
You've never seen a vintage formica countertop?
-Phil
Sorry, got sidetracked looking for fairy patterns to use. Ended up at XLights trying to see if that would work with the P1. A little over kill for lighting up a bottle.
Anyway, here is the bottle with all 42 feet of wire and 120 LED's. I think I'm wired after that bottle, but my wife said I picked a crappy bottle, and we will work on finding another one.
Fairy Lights in the Bottle
Here is the code I settled on to drive the LED's. I think I'm going to change up the pattern as the P1 Mini gets a little toasty.
Cheers,
#include "simpletools.h"

#define PIN1 7
#define PIN2 6
#define PIN3 5
#define PIN4 15
#define PIN5 14
#define PIN6 13

void setLEDS(int);
void setChase(int);


unsigned char LEDS[6] = {PIN1, PIN2, PIN3, PIN4, PIN5, PIN6};
int Leds = 6;


int main()
{

  setLEDS(1);

  while(1)
  {
    pause(1000);
    setChase(0);
  }
}

void setLEDS(int state)
{
  for (int i=0;i<Leds;i++)
    if (state)
      high(LEDS[i]);
    else
      low(LEDS[i]);
}

void setChase(int state)
{
  setLEDS(state);

  for (int i=0;i<Leds;i++)
  {
    if (state)
      low(LEDS[i]);
    else
      high(LEDS[i]);
    pause(500);
    if (state)
      high(LEDS[i]);
    else
      low(LEDS[i]);
  }

  setLEDS(state);
}
Mike
I had a chance to hookup an INA260 unit just to see what power I was really drawing.
With all on chase it reads about 175ma and with all off chase it was about 31ma at 7.51 volts.
This is close to my original current calculations.
By varying ever 10 seconds the two patterns the P1 runs worm but not hot.
Mike
I've upped my game!
After looking at this for a while now I noticed that the LED's were rather bright even running them at the lower voltage.
Well, the only way to dim them is to use PWM and vary the duty cycle applied to the LED's. That will require a little more code then just setting the LED's high or low. I will have to use a cog and pulse each of the pins at a frequency to lower the light level each LED gives off.
Now we need to pulse all the LEDs at the same time, so they all look the same. To do that we could use 6 cogs and put each LED into a cog, but the better alternative is to just cycle through all the LEDs and turn them on or off when they hit the duty cycle I want.
void DoLEDS(void *par)
{
  while (1)
  {
    for (int j=0;j<100;j++)
    {
      for (int i=0;i<Leds;i++)
      {
        if (BrightNess[i] > j)
          low(LEDS[i]);
        else
          high(LEDS[i]);
      }
    }
  }
}
So now I need to change all my code from on/off to a brightness level. While I was at it, I decided to add a new pattern to the sequence called Ramp.
Here is the updated code with the new sequences:
#include "ina260.h"
#include "simpletools.h"

//#define DEBUG

void DoLEDS(void *);
void setBrightNess(int, int);
void setLEDS(int);
void doChase(int);
void doRamp(int);

#define PIN1 7
#define PIN2 6
#define PIN3 5
#define PIN4 15
#define PIN5 14
#define PIN6 13
#define INACLK 18
#define INADTA 17
#define BRIGHTNESS 25

unsigned char LEDS[6] = {PIN1, PIN2, PIN3, PIN4, PIN5, PIN6};
volatile unsigned char BrightNess[6];
int Leds = 6;

int i, j;

int main()
{
  int sequence;

  for (i=0;i<Leds;i++)
    BrightNess[i] = 0;

  i = INA260_open(INACLK, INADTA);

  setLEDS(1);

  cog_run(&DoLEDS, 50);

  sequence = 0;
  while(1)
  {
    for (i=0;i<10;i++)
    {
      switch (sequence)
      {
        case 0: doChase(0);
                break;
        case 1: doChase(1);
                break;
        case 2: doRamp(0);
                break;
        case 3: doRamp(1);
                break;
      }
      pause(1000);
    }
    i = INA260_getVoltage();
#ifdef DEBUG
    j = INA260_getCurrent();
    printi("Sequence: %d, Voltage: %d, Current: %d\n", sequence, i, j);
#endif
    if (i < 650)
    {
      setLEDS(0);
      while (1)
        pause(1000);
    }
    sequence++;
    sequence = sequence & 0x03;
  }
}

void setLEDS(int percent)
{
  for (int i=0;i<Leds;i++)
    setBrightNess(i, percent);
}

void doChase(int state)
{
  if (state)
    setLEDS(0);
  else
    setLEDS(BRIGHTNESS);

  pause(500);
  for (int i=0;i<Leds;i++)
  {
    if (state)
      setBrightNess(i, BRIGHTNESS);
    else
      setBrightNess(i, 0);
    pause(500);
    if (state)
      setBrightNess(i, 0);
    else
      setBrightNess(i, BRIGHTNESS);
  }
}

void doRamp(int state)
{
  if (state)
    setLEDS(0);
  else
    setLEDS(BRIGHTNESS);

  pause(500);
  for (int i=0;i<Leds;i++)
  {
    if (state)
      setBrightNess(i, BRIGHTNESS);
    else
      setBrightNess(i, 0);
    pause(500);
  }
}

void DoLEDS(void *par)
{
  while (1)
  {
    for (int j=0;j<100;j++)
    {
      for (int i=0;i<Leds;i++)
      {
        if (BrightNess[i] > j)
          low(LEDS[i]);
        else
          high(LEDS[i]);
      }
    }
  }
}

void setBrightNess(int led, int percent)
{
  BrightNess[led] = percent;
}
Because I now run the LEDs at 25% I am able to run with very low current and the P1 runs a lot cooler.
Mike