Solder Paste Recommendations?
Hello.
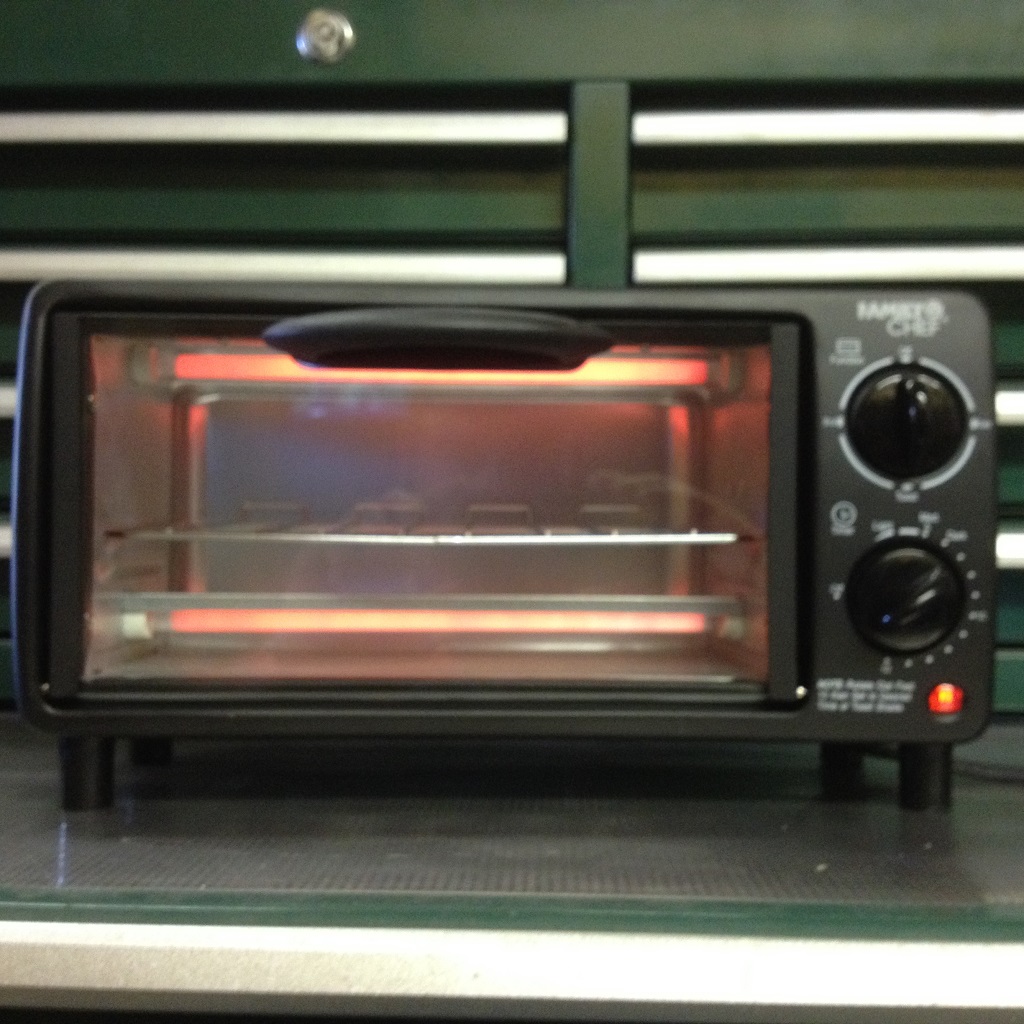
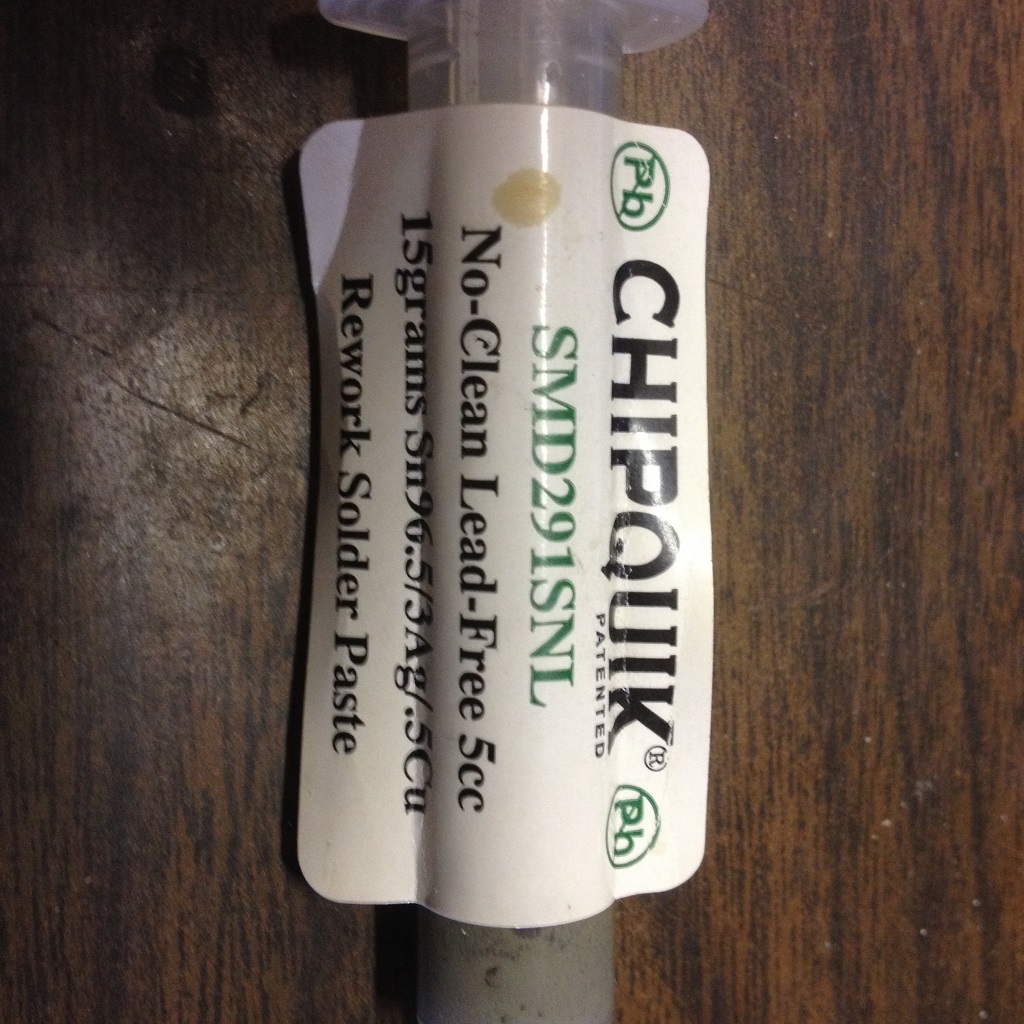
I purchased a really tiny 2 slice toaster oven(470 watt) this weekend with the hopes of making a reflow oven. I only paid $12.50 for the oven (been reading too many erco posts ), and have decided to take a minimalist approach to this version. No fancy controls, as is hobbiest level reflow oven. I did an initial test with 5 year old lead free solder paste and although it wasn't pretty it was functional.
I want to order some fresh paste to do further experiments, and would appreciate any recommendations of which solder paste to order. I am not opposed to lead paste as I assume it would have a lower flow temp, but would also like to try lead free paste (fresh) as well.
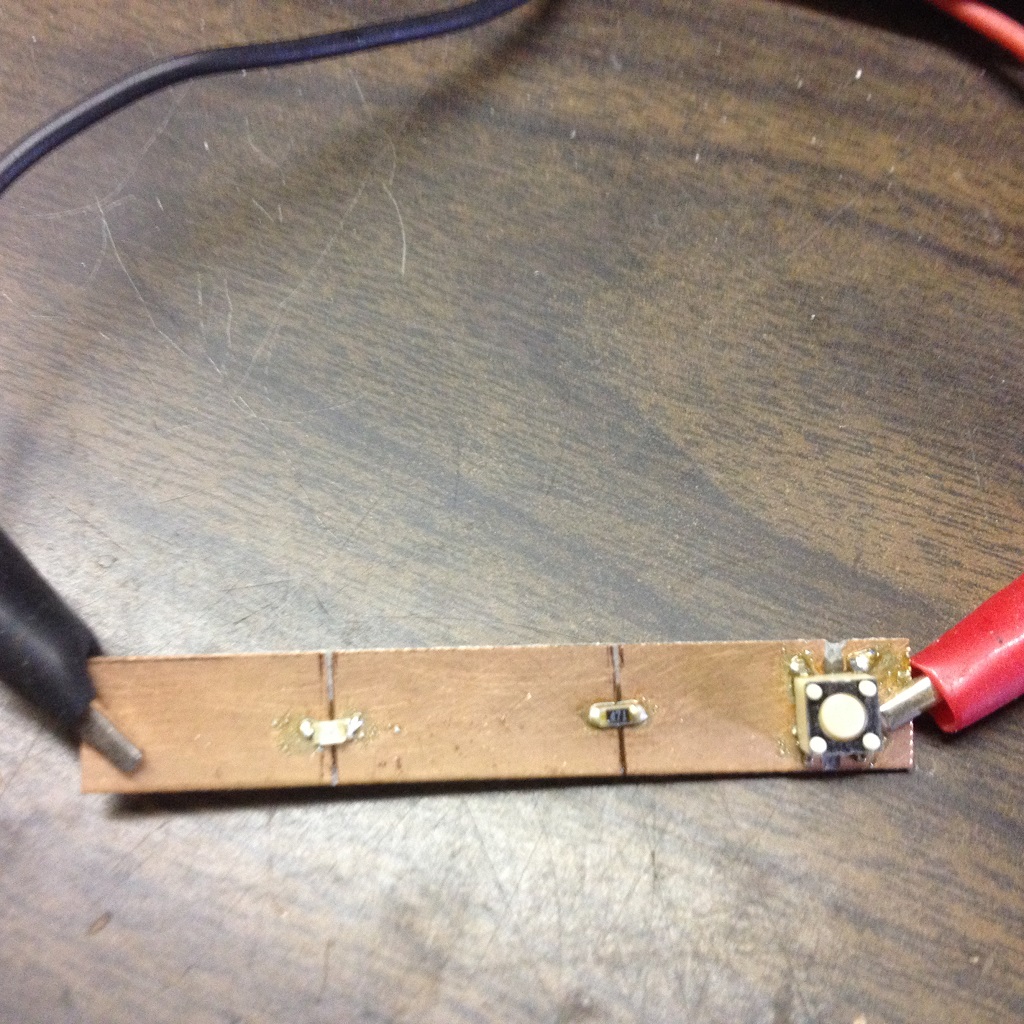
Attached are some photos of the oven, the paste I used, and the first test which is a pushbutton controlled green led.
Thanks!


I purchased a really tiny 2 slice toaster oven(470 watt) this weekend with the hopes of making a reflow oven. I only paid $12.50 for the oven (been reading too many erco posts
I want to order some fresh paste to do further experiments, and would appreciate any recommendations of which solder paste to order. I am not opposed to lead paste as I assume it would have a lower flow temp, but would also like to try lead free paste (fresh) as well.
Attached are some photos of the oven, the paste I used, and the first test which is a pushbutton controlled green led.
Thanks!


Comments
-- http://www.zeph.com/zephpaste.htm
The other day I needed to knock-up a couple quick PCBs for a miniature IronMan display for a Hollywood FX shop. I used the DipTrace to layout the boards, the Pulsar Pro system to etch, and ZephPaste to solder in a toaster over.
One tube of ZephPaste will last a long time. Be sure to order plungers as they are not included with the tubes.
http://www.zeph.com/zephpaste.htm
Edit: Thanks for the reminder about plungers Jon!
I have lots of 10ml syringes I use with my lab, do I really need a special plunger? I'm very tempted to try a plunger from one of my other syringes unless you think it's a good idea to get one from Zeph.
Nice tiny traces on your board. I also use the Pulsar system for prototypes and "I want it now" boards. What etchant do you use (I use ferric chloride, but have some sodium persulphate that I have yet to use)? I have had trouble with smaller traces undercutting. I did switch to sponging the board rather then let it sit in the etchant which seems to help quite a bit with undercutting and really speeds up the etching time, but I haven't tried it on a small trace board. I really want to experiment with the smd prop and eeprom which I have some of but was reluctant to give it a try with a homemade version. Maybe I'll give it a shot...
Rick bought a Quissinart oven based on a forum thread. He also cut a sheet of 1/8th" aluminum that we put the boards on. We put the board in the oven for two minutes at 200 degrees, ramp up to 275 for another two minutes, then crank the heat to 400-425 until the solder flows; when all joints are liquid we wait about 15 seconds, turn of the oven, then carefully open the door. We let it sit for a minute or so before removing. While were were making the IronMac boards for DEFCON I got a little too agressive with removal after soldering and some of the parts slid off their pads....
Me, too. I also warm the etchant (Ferric Chloride) in a water bath before using. I've done 10mil traces but tend to stick with 15mil or larger.
I had a lot of trouble at first but found that putting my cleaned boards (with 00 steel wool, dish soap, and household ammonia) into a bath of 99% alcohol makes a difference. The water in my neighborhood is very hard, and I think that contaminants from the water were preventing traces from sticking. It was a nightmare: the blue paper would lift and all the traces would be floating in the water!
This weekend I'm going to do another small board with LEDs for a friend who's making a Terminator display.
http://www.homedepot.com/p/Cuisinart-Exact-Heat-Toaster-Oven-Broiler-TOB195/100645374
I have made a few thousand boards with this oven.
1@175
1@250
1@325
2@400
1@500
It never gets to 500 in that time. The oven beeps to tell you if the temp was reached that you entered.
Crack the door when done and this is a very consistent system.
I've been there!!!
I also wipe the board with fine steel wool and rub the board with rubbing alcohol while wearing mechanics rubber gloves. I'm going to try your cleaning method next time. Do you mix the dish soap and ammonia together or are those separate steps? (I don't want my wife to come home and find me on the floor babbeling about cheerios and their relevant effect on neutron stars...
Concerning small traces I used to run into broken/open traces, but found that the problem could be quickly cured with a glob of solder on an iron and tinning all of the traces. Somewhere around here I have some kind of chemical that you can dip a board into and it tins all of the copper, but I never used it. I can't find it now but I think it is an MG product.
traVis.
That's identical to the oven Rick and I use. Will try your formula on my next board. Thanks for the tip.
I put some Dawn dish soap on 00 steel wool and clean throughly. In theory, the Dawn should get rid of all the oil but I get a little more hardcore and add a few drops of ammonia to the board and scrub/polish for another few minutes. After rinsing the board under hot water, I shake off as much water as I can and then I drop it into 99% alcohol. Again, this is to rid my board of dissolved solids in the Burbank water supply.
When I'm ready, I pat the board dry with a shop cloth, then I run it through the laminater to get some heat into it. I let it cool a bit, the place the paper onto the board and secure with a bit of blue (painter) tape. I run the board through the laminater 8 to 10 times. This is more than Frank says is needed, but I'm taking no chances. I let the board cool, cut the tape with a scalpel, then drop the works into warm water. Since doing it this way I have had NO problems. As we discussed, I use sponge etching with warmed (125 degrees) Ferric Chloride. In a few minutes, the board is ready to rinse, remove toner, and tin (dip in bath of Liquid Tin for a few minutes).
Then I warm up the oven, get out the ZephPaste syringe, my parts, and go to town. From finished design to finished board is usually an hour or so.
To date I haven't done any double-sided boards; going to try this weekend.
how important is a profile? Could this be done (excluding production runs) by a simple warm the board, turn both elements on and open the door after a certain amount of time? Of course there are a hundred variables here, but as I said earlier I am trying to achieve the simplest version of a SMT oven. I'm fighting the urge to jump into a Propeller controlled oven at the moment (very hard to resist) just to see how simple this can be....
V.
Nice tips! 8 to 10 times through? That may be where I am having problems. What temp setting are you at?
http://www.zeph.com/zephpaste.htm Ouch! 12 grams of tin/lead no-clean paste for $24.75.
-Phil
Yep; one pre-heat before attaching the transfer paper, then 8 to 10 times through. After enough failures to make me really made (even bought a new laser printer), I'm not taking chances. I'm using the laminator that came with the system a few years ago (GBC H220). I think Frank suggests a different model now, that is supposed to be better.
I think I've read enough forum posts to know not apply additional flux.
I used my first solder paste through a stencil last week and was amazed at how well it worked. The paste should do the trick on its own.
I also have tried letting the board cool between passes, but I think that tends to peel the toner rather then help. Do you use the foil to cover the traces before etching?
Thanks to all of you for your help.
I did too -- and I agree: it doesn't make a difference.
Yes. I've chatted with Frank on the phone about the process and he maintains this is critical. Toner is porous; the foil seals everything for a better etch. I run the foil through about three times.
Manufacturers of components put a recommended profile in the datasheets. Not every component will show the exact profile, but there is a purpose behind the effort for them to create a profile. Proper evaporation is very important(versus boiling water) especially in high humidity. If you are making a real product for the market and you want to reduce the risk of component failure, it is best to at least attempt to follow a temp profile. As far as Propeller controller ovens, I have done all that stuff with thermocouples and PC based software that managed profiles really well on this same Quisinart. In the end, I find it just almost as easy to change the temp once a minute for 5 minutes. If you are doing massive volume, then of course you need a fully automated oven, including breaking the door open. If you don't have a door break, then the manual temp entry keeps you on your toes to watch the oven. If you don't break the door, then you are adding a much longer cool off phase than any profile will reflect.
It's not required; my understanding is that solder paste is a mix of flux and micro solder balls. After tinning and rinsing the board, I wipe it off with 99% (not rubbing!) alcohol, apply the paste, then the parts.
Thank you. I am trying to keep this version simple and stupid (like me!). This oven has no temp controls so I may have to toggle the on off switch to follow a profile. This thing is SCREAMING for a propeller. Must... resist....
For my profile I think I'll just go with a timed method and see what happens.
I also use the foil. Makes a bunch of difference. Three times? Another great tip. I'll give that a try. I've only been running through once. What setting do you have your laminator set to Jon? I've talked to Frank before when I first got started with his products. Really nice guy and very helpful!
P.S. I have some of the Flex pcb sheets that I haven't got around to trying yet. Have you used them? I wonder if those would hold up to a toaster oven?
traVis.
Repeat
outa[ssrpin]~~
waitcnt((80_000_000 * timeON) + cnt)
outa[ssrpin]~
waitcnt((80_000_000 * timeOFF) + cnt)
Time on and off is in seconds for a heating element, there is no need to drive it faster since heat is rather slow to react. You can test by hand turning on and off the oven at some rate and make notes, then duplicate the process with the Prop. This would only take a few hours of trial and error to lock it in on the Prop. But, you must break the door at the end and insure the correct cool off phase is within some reasonable proximity of the degrees per sec based on an average of profiles from several components you are baking. In other words, you may break the door 100% or some other percent to get a nice cool off phase.
PS trying to do some closed loop system is a real waste of time for a home brewed oven.
Frank is very helpful. I speak with him a couple times a year.
The only section I have is 3mil or 5mil -- I use the 5mil settting (I'm assuming it's hotter).
Preheat oven to 275 degrees F (135 C)
When everything is ready, set the oven to 330 degrees F (165 C)
Put in the board(s)
Wait 30 seconds
Set the oven to 450 degrees F (230 C)
Watch for the solder to reflow
Wait another 30 seconds after solder reflows
Turn off the oven, open the door
Wait 30 seconds and remove the boards
I've been using FCT Assembly NC676 solder paste with good results (http://www.fctassembly.com/nc676.php).
The product is "Liquid Tin" http://www.mgchemicals.com/products/prototyping-and-circuit-repair/prototyping/liquid-tin-421/
It works good, but is nasty stuff to work with.
Bean