S2 Parallax Scribbler UV series... Part 3 of 5 :- Chinese Brush Strokes "Eternity"
S2 Parallax Scribbler UV series... Part 3 of 5 :- Chinese Brush Strokes "Eternity"
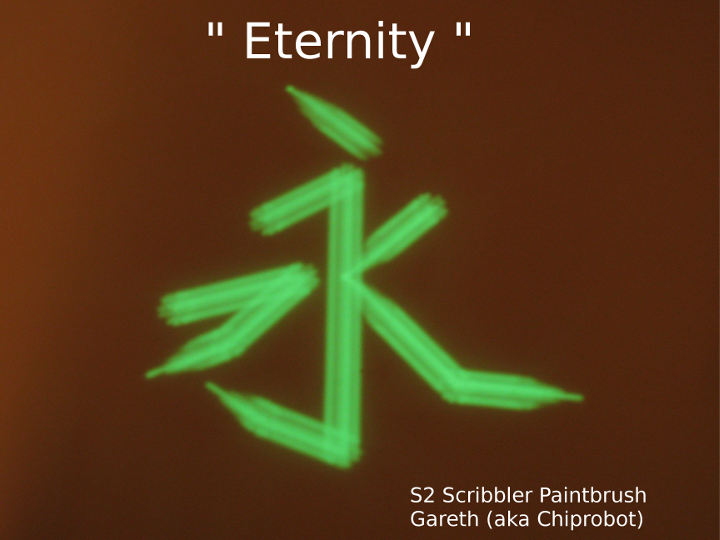
Its been a long haul and reluctance to "Really Void" the warranty on my S2, however in the interest of plastic surgery my "Hot Knife" took just 5 minutes.
The result is a neat painting robot that just lends itself to painting Chinese characters, using strokes with leading and/or trailing swoops, single lines and any combination to suit....
[video=youtube_share;-zfu0Vltgwk]
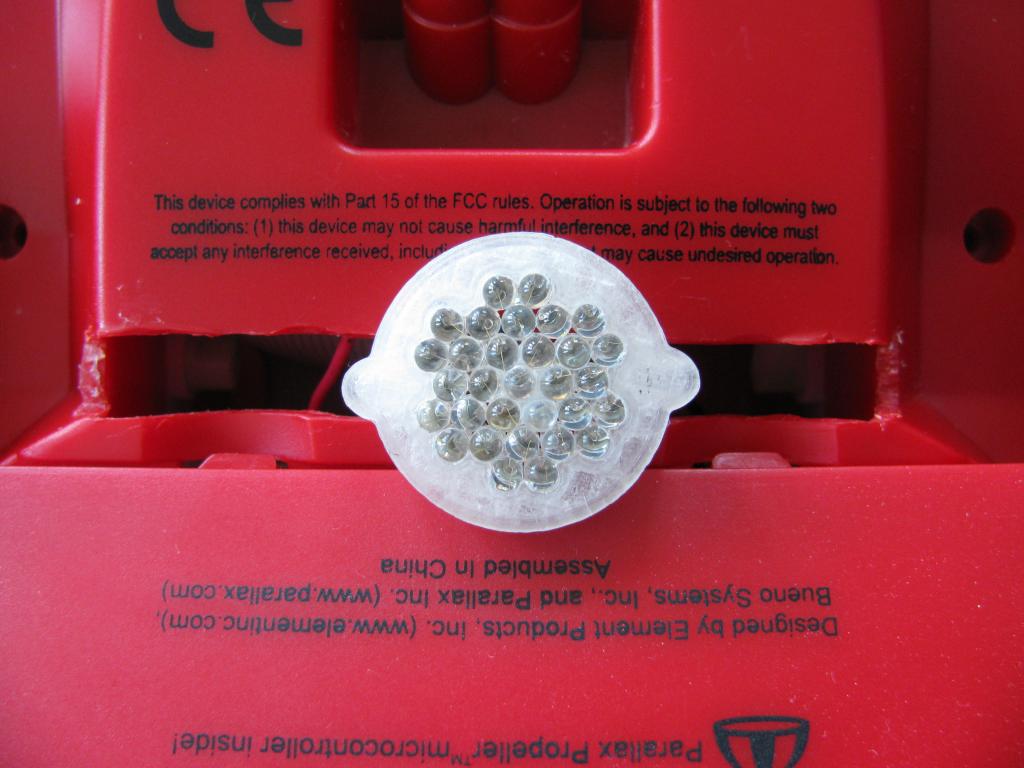
The Paint Brush is made from essentially 31 x 3mm UltraViolet Leds arranged in 4 groups which can be switched ON/OFF individually via the S2s Hacker Port.
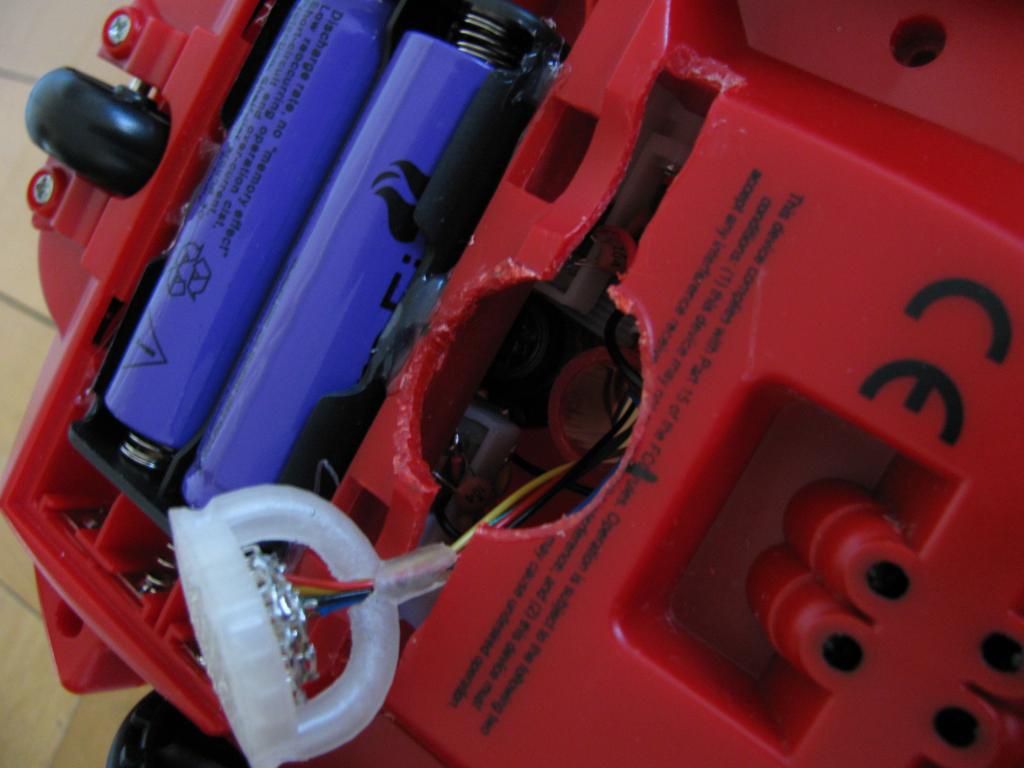
NB. I can print a new 3D part for the slight gaps i made.. honestly.....
I am using "Logo" via an XBee link and added the following Extra commands :-
EYE1
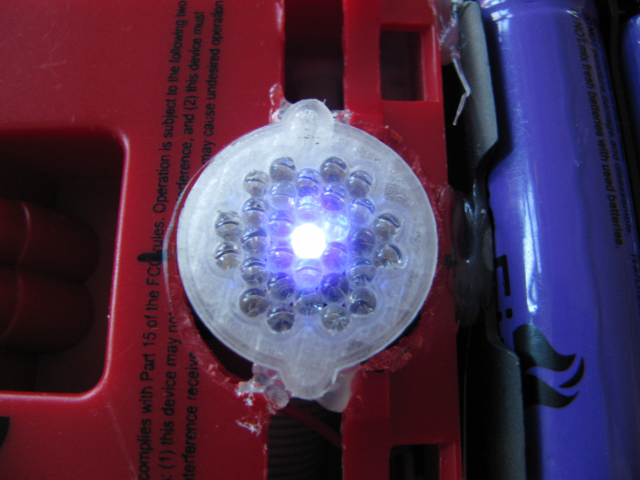
EYE2
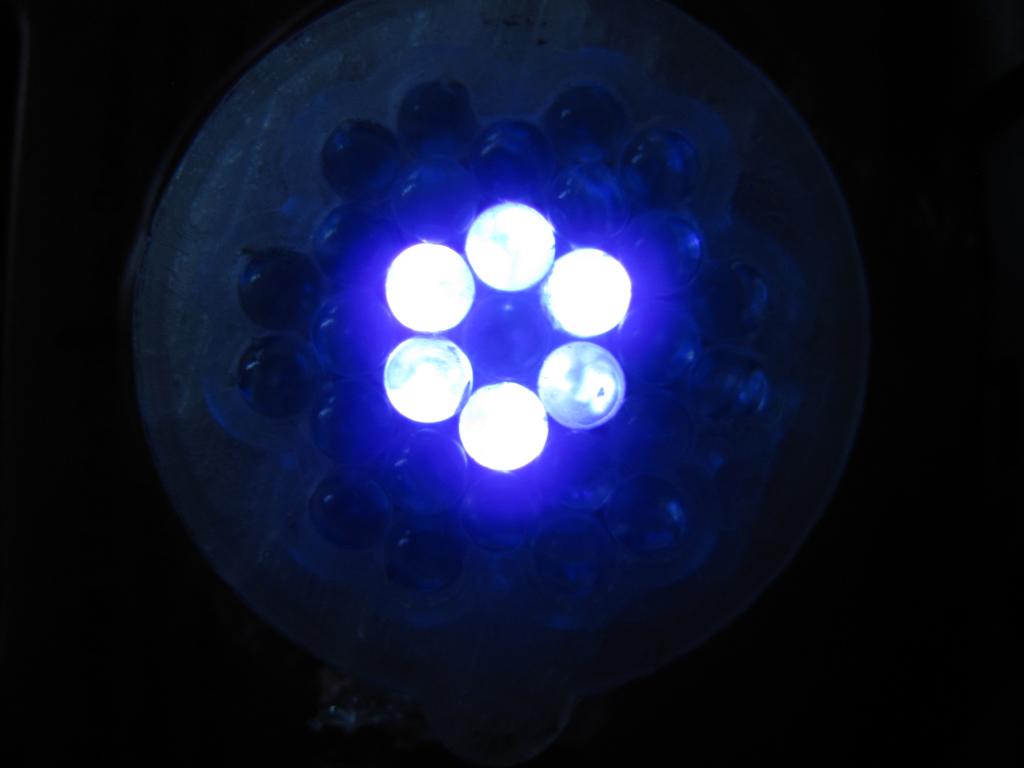
EYE3
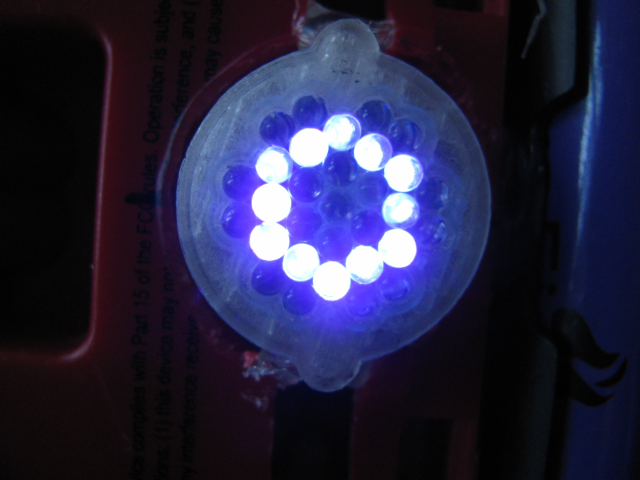
EYE4
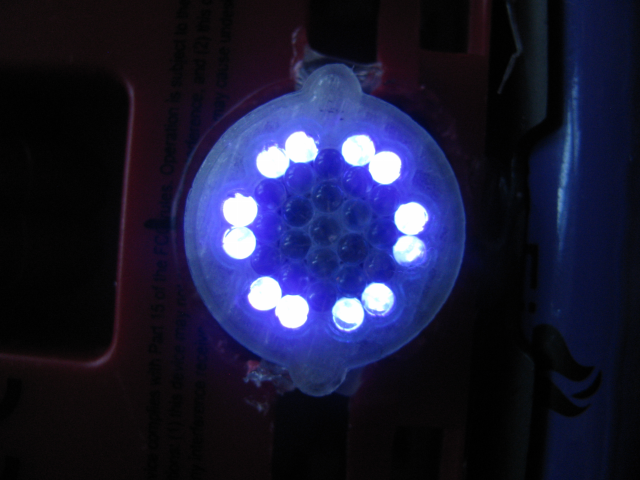
EYE0 & EYE5 !!!!!!!!
EYE0 Disarms the UV Leds completely.
EYE5 Arms the UV Leds however defaults them off ready for a paint stroke ie ink in brush ready to dab.
These are just some of the paintbrush combinations possible: in total there are 16 possibilities.
FD stock forward command.
FDI Forward with "Fade In" brush stroke.
FDO Forward with "Fade Out" Brush stroke.

Its been a long haul and reluctance to "Really Void" the warranty on my S2, however in the interest of plastic surgery my "Hot Knife" took just 5 minutes.
The result is a neat painting robot that just lends itself to painting Chinese characters, using strokes with leading and/or trailing swoops, single lines and any combination to suit....
[video=youtube_share;-zfu0Vltgwk]

The Paint Brush is made from essentially 31 x 3mm UltraViolet Leds arranged in 4 groups which can be switched ON/OFF individually via the S2s Hacker Port.

NB. I can print a new 3D part for the slight gaps i made.. honestly.....
I am using "Logo" via an XBee link and added the following Extra commands :-
EYE1

EYE2

EYE3

EYE4

EYE0 & EYE5 !!!!!!!!

EYE0 Disarms the UV Leds completely.
EYE5 Arms the UV Leds however defaults them off ready for a paint stroke ie ink in brush ready to dab.
These are just some of the paintbrush combinations possible: in total there are 16 possibilities.
FD

FDI

FDO


Comments
And Printed it on my Ultimaker using Clear PLA
Hardest part was soldering the 31 Leds into 4 concentric rings ...
This was before the cosmetic surgery, however it shows the rough placement of the brush .......Dead centre
First test shows the blasting of the UV Leds onto a sheet of Phosphor vinyl.
and a few manual sweeps.....
STL files for the 31 Led carriage can be found over at "Eternity" Ultraviolet Paint Brush controlled by S2 Scribbler Robot
And all I want is my customary 10% for getting you in touch with SERVO!
You have done fantastic work!
The "Eternity" ideogram seems that comes from a painter's hand than from a robot!
We may never know!
Hmmm.... I would bet some "Raps" that it would actually work..... Firstly i must add the one thing i like about my "Eye" version is the streak_ing effect which happens by its self with the over_abundance of leds..i had thought of giving the eye a bit of rotation to express more random_mess. (random_ness)
Less leds in a line would be easy to rotate and you could adjust the angle to get some streak_ing variance along a paint stroke path and I guess it would be easier to control.
Another idea is to place a lens in front the current eye configuration and alter the focal length to get brush stroke variance. I would hate to "Hot knife" my S2 any more though.
... indeed .... however you can bet your bottom dollar it will "Pop out like a pimple (Zit)" at some stage....
Indeed the S2 is a fantastic platform.... I am even considering making my own 3D Printed chassis for it (at least the top half....so I can house more internal bits) and keep the general sleek look that Lamborghini would be proud of.
I think the trick is to modify first and worry about the cosmetic consequences afterwards ..... (somehow, by some means it can be patched back into shape)
Regards G
Each time I let it loose on the canvas I still expect it to make a few radically wrong brush strokes here and there... however no...no....no... perfect every time ... The S2 is a calligraphers nightmare.
Agreed that the platform is excellent, but sometimes you need to squeeze out a bit more real estate or make mods that may not be reversible. I am finally wrapping up my S2 project that I started back in November and rather than modifying the chassis, I have a laser cut backpack that sets right on top of the S2 to provide the abilities I was after. I am hoping to finish my drawings this weekend so I can cut out the parts next week. The wiring for my first project with it will be quick so pictures will soon follow.
NB.Good luck with the Shell of your project and will look forward to checking out its carrosserie.
Regards G
Could a sleeve be made that could go between the top and bottom portions of the chassis to create more space. Longer screws would be needed of course Cosmetically it would create a sort of Oreo sandwich cookie look... Just an idea.
Attached is a doctored sketch of a thick S2 - with a matching red middle sleeve.
.... So lets have a quick mock-up to see if it is viable (It would fit the print_bed on my Ultimaker).........(this should be a part 4 of 5 i think...hmmmm maybe we see....)
First stage is done by scanning the top shell with a flatbed scanner :-
Yes i know its warped (via Gimp) as I am not sure about copyright infringements (maybe someone can enlighten me here)
I will use Blender to trace the outline and extrude: plus create the cavities for motor,IR sensors and errr something with the on/off programming port.... (this could take some time........)......
ok... not complete....however in right direction....
I have been at it for a number of weeks now, and i can just about add any primitive mesh to a scene, fairly close to where i want it to be...
Keep up the good fun.
-Tommy
Extending the programming port should not be too hard. The LEDs could be moved up with plexiglass tubes - then maybe add a second switch. Love the S2 cut out.
Hope this can work!
Gareth, The S2's design is open source. Check out this thread for eDrawings files and PCB artwork.
Wow the eDrawing is exactly what I need, only I would require it in STL/OBJ or even VRML format, which after a couple of hours searching seems not to be possible with .easm format.
Seems exporting is a "NoNo" (even from solid works, make me happy if I am wrong here).
Regards G
Edit 3 hours later :- intensive searching and a favour off a
Solidworks Bod who could extract the shell and gearboxes for me.
I can now Streeeetch the Limousine.
It is a fantastic work!.
In the past I tried to make the model using Google sketchup but it was extremely difficult because chassis has a lot of curves, and I made only some internal parts of the robot.
I know that is very difficult (or impossible) but can anyone pass these drawings into the Sketchup?
That is starting to look like a S2 Hummer.
Gareth, can you share the files? I spent hours trying to make the eDrawings useful for me and never resolved it. I am still hoping that Parallax will dig out the raw PRO-E or Solidworks files........
Bad News :- The S1 shell is not exactly the S2 shell . They look very similar however the GearBox motor mounts are offset by about 5mm , which means that it has to be altered ( I guess they had to do this to enable the S2 wheel encoders to fit (the motor shell size is actually the same) , this is why each wheel has a Red spacer to take up the slack).
Good News :- The skirt and mounting holes line up exactly, and as far as i can tell also the LEDs and Serial port...
So currently a skirt is being tweaked (using a derivative of S1 vertices) to secure the motors to the S2s bottom shell so it can partially function with the top lid off. This should make a good starting shell to built upon.
I will have to anyway ask the Parallax Staff if I can release the STL files of the modified chassis. (as it is still unclear how Open source the drawings are, I don't want to step on anyone's toes if you know what I mean).