BS2 Wireless Remote with LCD and some Buttons
Hello All,
So I am making a wireless remote for my Boe-Bot. Once it is done it will have a LCD that will display a greeting upon powering on for 3 seconds or so, then go blank but stay lit. The two axis joystick will control the Boe-Bots movements forward, backward, left and right; and it will have two buttons for 90 degree left turn and 90 degree right turn. When the joystick is moved the lcd will display the direction of travel. If it is a diagonal move it will display, for ie, "forward" on the top line and "right" on the bottom. If a button is pressed it will display "right turn" or "left turn" depending on what button is pushed. The whole project will be enclosed so i added a little power switch.
Here are some pics of what i have so far and some code. It's still being worked on so more to come once I get the XBee's in the mail this week
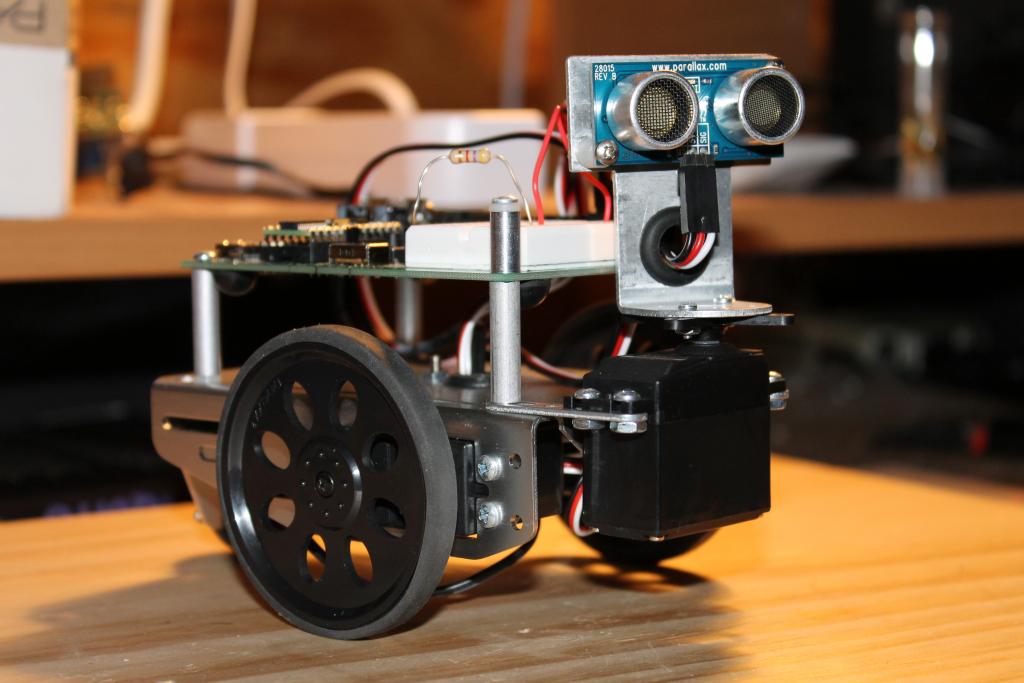
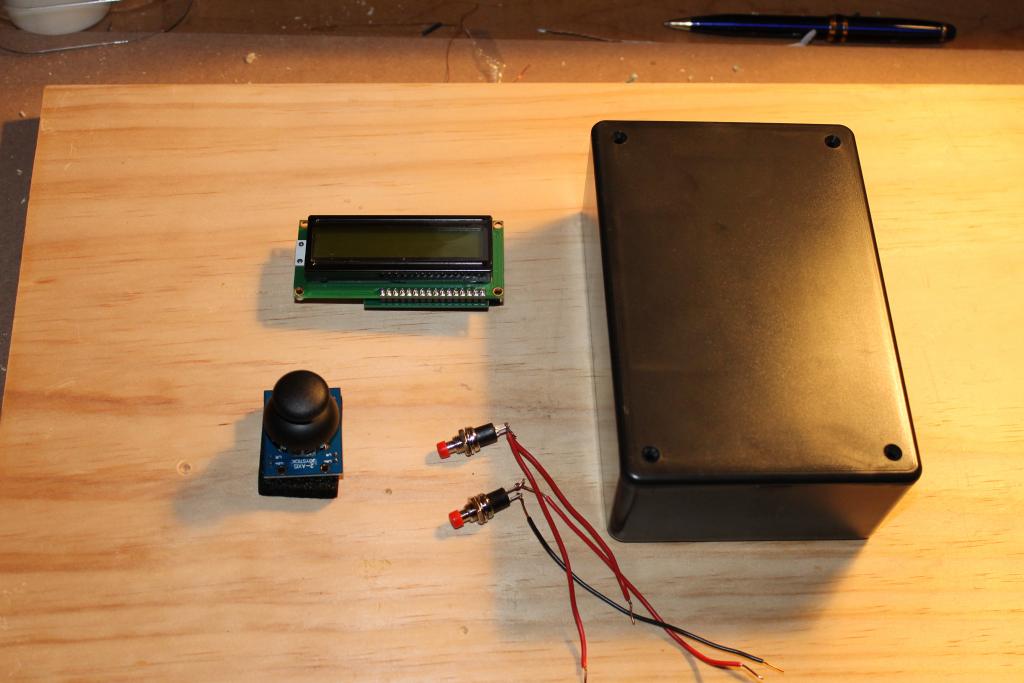
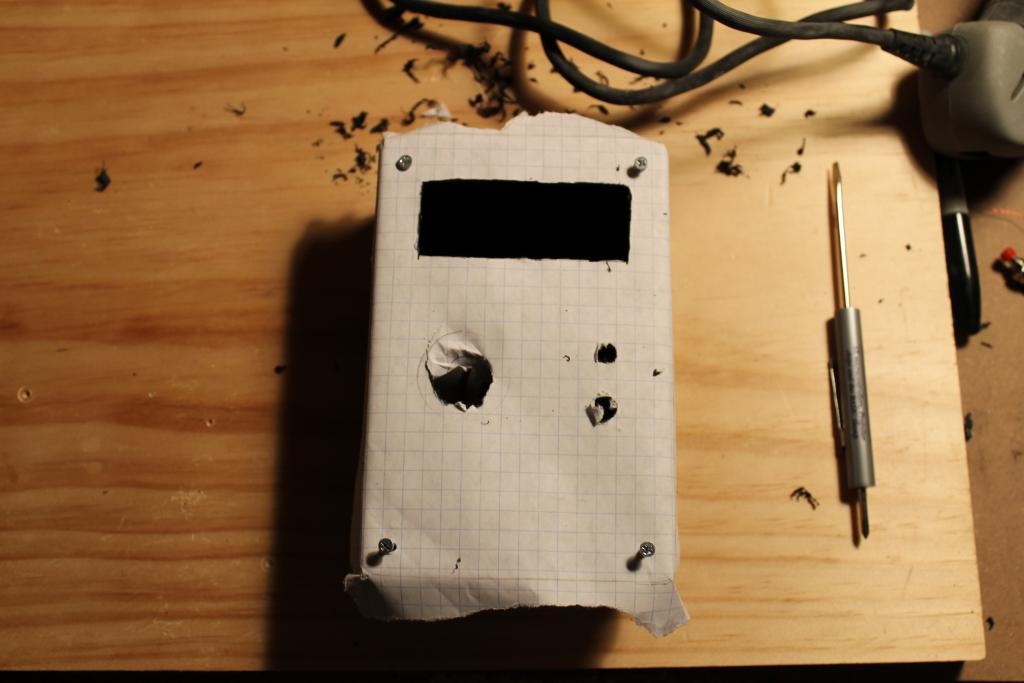
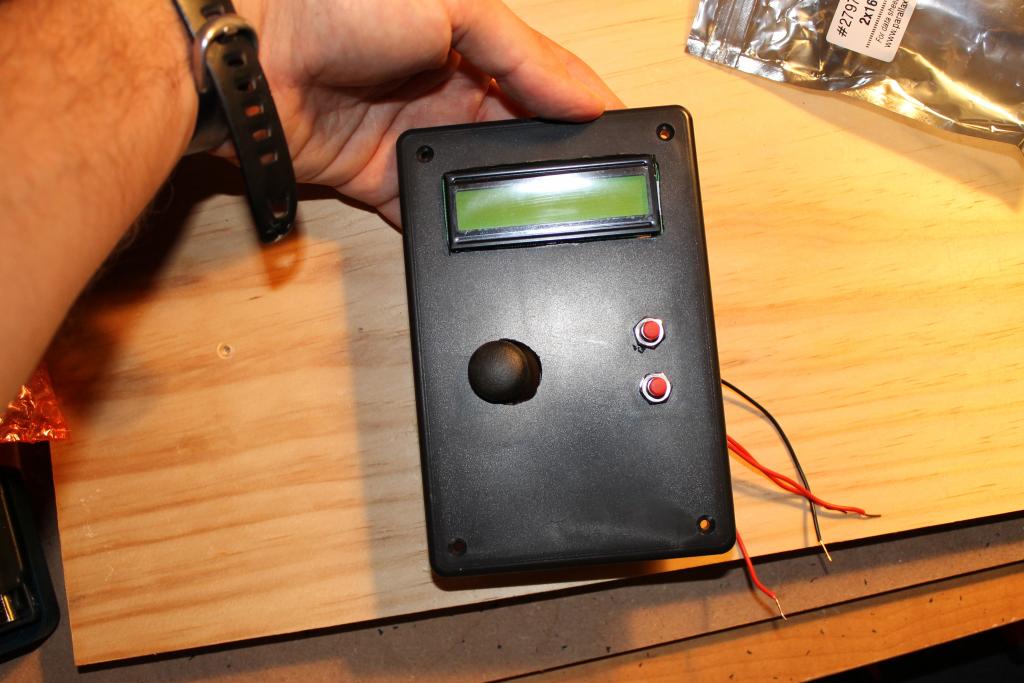
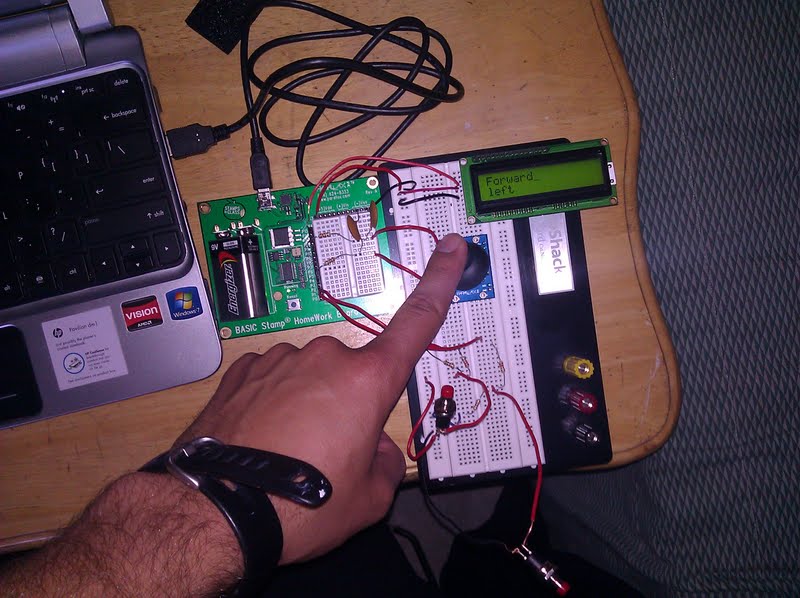
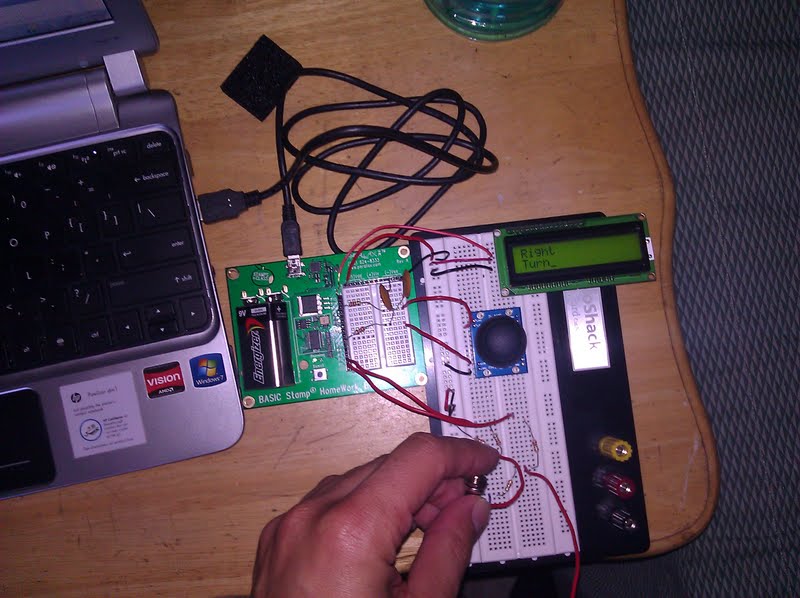
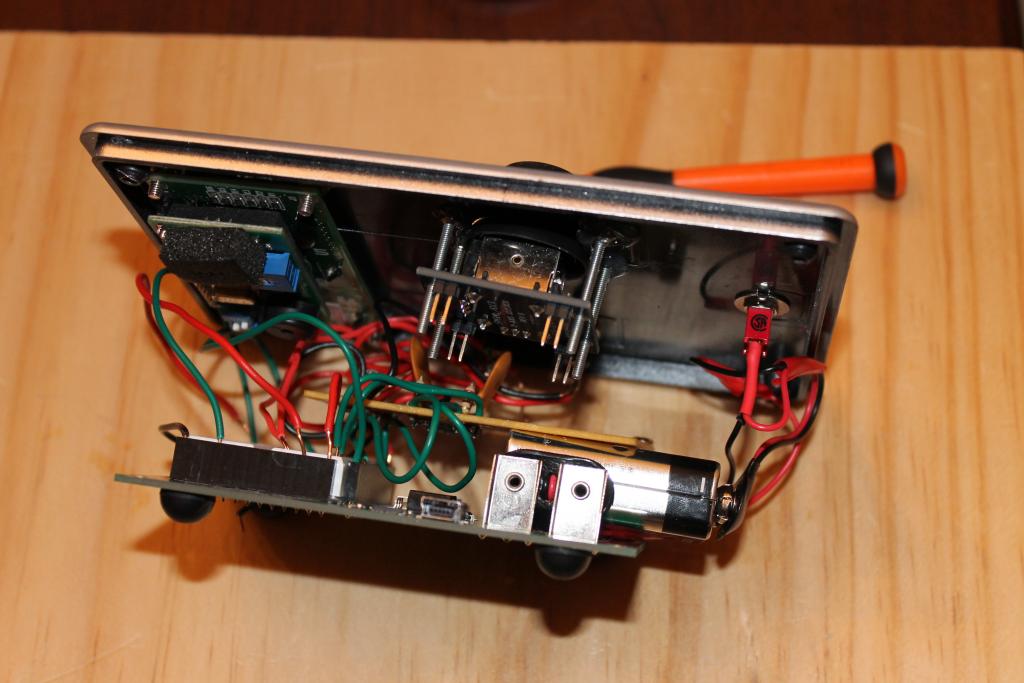
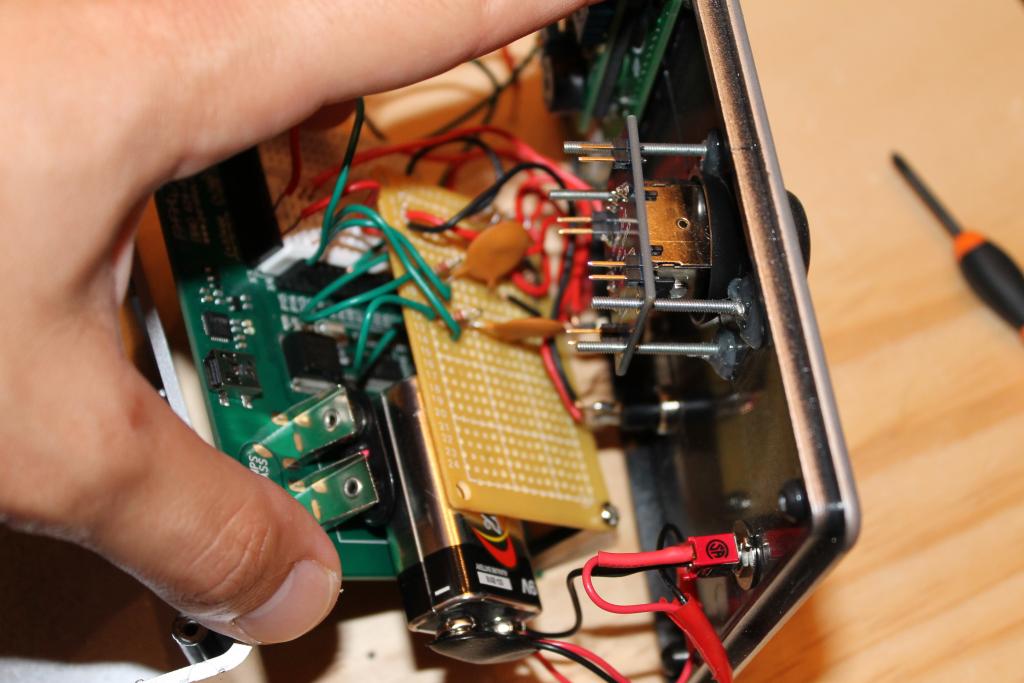
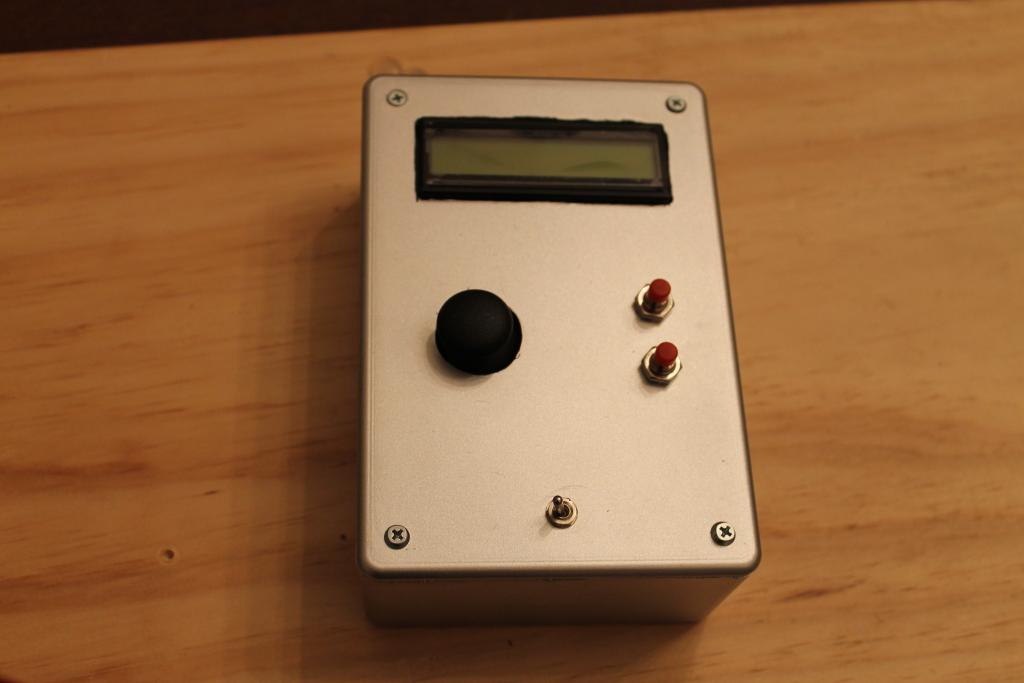
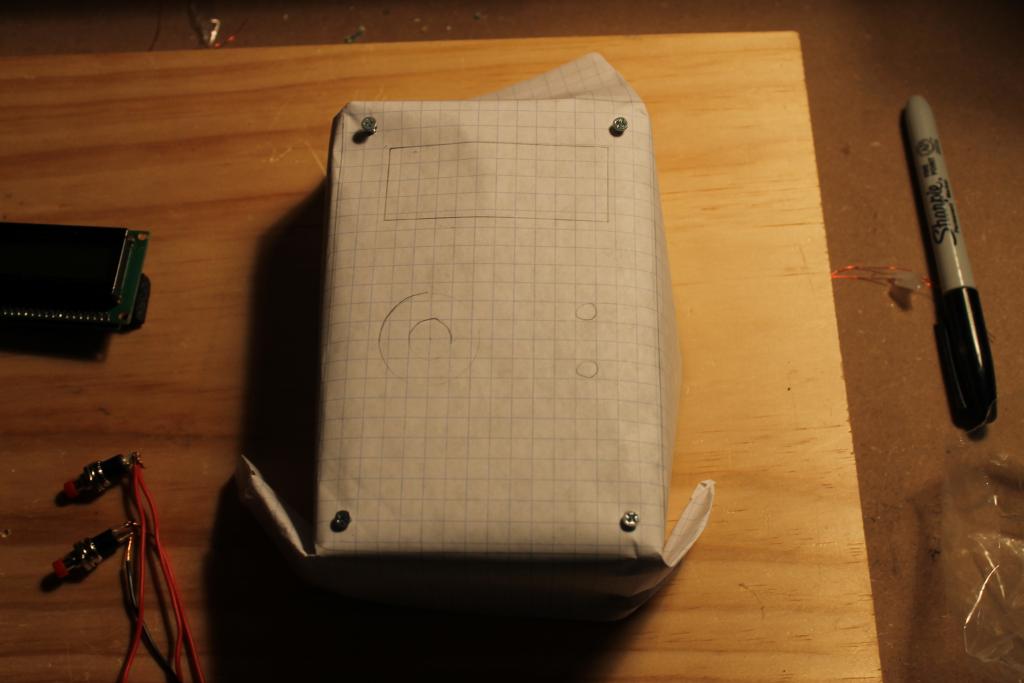
I added a pre-drilled pc board for all the connections for the two buttons and the 2 axis joy stick to make room. I ordered some headers and extention cables. I will hook the lcd up to the bs2 via headers and extention cable. The Xbee will aslo be connected directly to the bs2. So still a work in progress.
I hope this isnt considering cross threading. I have a very similar thread at educational group project for all of us that are new to electronics
So I am making a wireless remote for my Boe-Bot. Once it is done it will have a LCD that will display a greeting upon powering on for 3 seconds or so, then go blank but stay lit. The two axis joystick will control the Boe-Bots movements forward, backward, left and right; and it will have two buttons for 90 degree left turn and 90 degree right turn. When the joystick is moved the lcd will display the direction of travel. If it is a diagonal move it will display, for ie, "forward" on the top line and "right" on the bottom. If a button is pressed it will display "right turn" or "left turn" depending on what button is pushed. The whole project will be enclosed so i added a little power switch.
Here are some pics of what i have so far and some code. It's still being worked on so more to come once I get the XBee's in the mail this week


I added a pre-drilled pc board for all the connections for the two buttons and the 2 axis joy stick to make room. I ordered some headers and extention cables. I will hook the lcd up to the bs2 via headers and extention cable. The Xbee will aslo be connected directly to the bs2. So still a work in progress.
' {$STAMP BS2}
' {$PBASIC 2.5}


'----------------[Initialize]---------------------------
PAUSE 5
SEROUT 15, 84, [22,12]

SEROUT 15, 84,50, [22,17, "Hello", 13, "Geno"]
PAUSE 1000
SEROUT 15, 84, [22,12]
PAUSE 5
'---------------[Variables]-----------------------------
LR            VAR     Word
UD            VAR     Word
btn1wrk       VAR     Byte
btn2wrk       VAR     Byte

'---------------[Constants]-----------------------------
BUTTON btn1, 1, 0, 0, btn1Wrk,0, No_Press
BUTTON btn2, 1, 0, 0, btn2Wrk,0, No_Press
Btn1          PIN     1
Btn2          PIN     2
stickUD       CON     23
stickLD       CON     25

'-------------------------[Main]---------------------------

Main:

HIGH 4
PAUSE 2
RCTIME 4, 1, UD
HIGH 11
PAUSE 2
RCTIME 11, 1, LR
DEBUG HOME, "UD =", DEC UD, CLREOL, CR,
"LR = ", DEC LR, CLREOL
IF UD > stickUD THEN GOSUB Forward
IF UD < stickUD THEN GOSUB Backwards
IF UD = stickUD THEN GOSUB Clear
IF LR > stickLD THEN GOSUB Right
IF LR < stickLD THEN GOSUB Left
IF LR = stickLD THEN GOSUB Clear
IF btn1 =1 THEN
DEBUG CR, "Button 1 pushed"
GOSUB Left_Turn
DEBUG CLS
ENDIF
IF btn2 = 1 THEN
DEBUG CR, "Button 2 pushed"
GOSUB Right_Turn
DEBUG CLS
ENDIF

No_Press:
 GOTO main

GOTO main


'-------------------------[Sub Routine]-----------------------
Forward:
SEROUT 15,84, 20, [17, 128, "Forward"]
PAUSE 200
RETURN
Backwards:
SEROUT 15, 84, 20, [17, 128, "Backwards"]
PAUSE 200
RETURN
Right:
SEROUT 15, 84, 20, [17, 148, "Right"]
PAUSE 200
RETURN
Left:
SEROUT 15, 84, 20, [17,148, "left"]
PAUSE 200
RETURN
Clear:
SEROUT 15, 84, [12,17]
PAUSE 200
RETURN

Left_Turn:
IF  Btn1 = 1 THEN     SEROUT 15, 84, ["Left", 13, "Turn"]
                      PAUSE 1200
IF  Btn1 = 0 THEN     SEROUT 15, 84, [12]
                      PAUSE 5
                      RETURN


Right_Turn:
IF btn2 = 1 THEN      SEROUT 15, 84, ["Right", 13, "Turn"]
                      PAUSE 1200
IF btn2 = 0 THEN      SEROUT 15, 84, [12]
                      PAUSE 5
                      RETURN
I hope this isnt considering cross threading. I have a very similar thread at educational group project for all of us that are new to electronics


Comments
Now the Lcd is on the control board with the 2 axis joystick and push buttons. made it a little easier to close the lid on the remote box.
Xbee's came in the mail sortly after i finished remaking the control board, so i'm still playing around with the xbee's and code.