PCBs so easy a monkey could do it!
And im just the monkey to prove it, well for a few bananas!
ok here is what you need
1: a copper clad board
2: some good sharpies (the markers)
3: muratic acid
4:hydrogen peroxide
5:mesuring cup glass or plastic not metal
6:shallow container again glass or plastic
7:tongs glass or plastic
8: a container of water
9: a place to get rid of the waste
I bought a copper clad board from radioshack and thought out my circuit as what i wanted it to have and roughly how big i wanted it to be
i placed a 40 pin dip socket on the board with pins bent and traced the pins to the place i wanted it to be then i started drawing the traces i wanted
oh acetate can be used to erase mistakes.
results
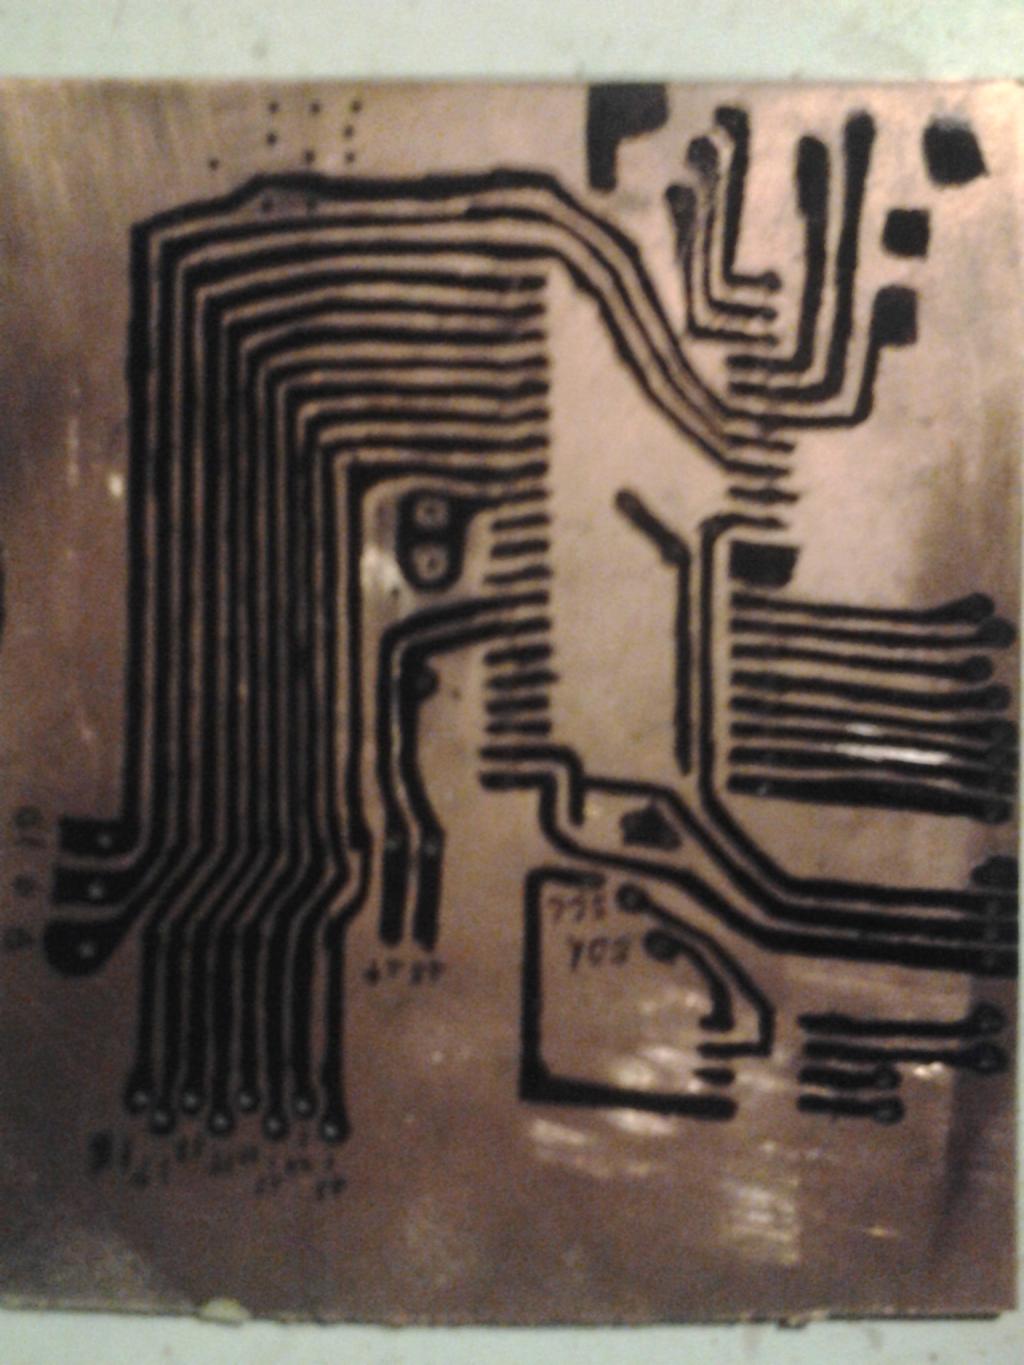
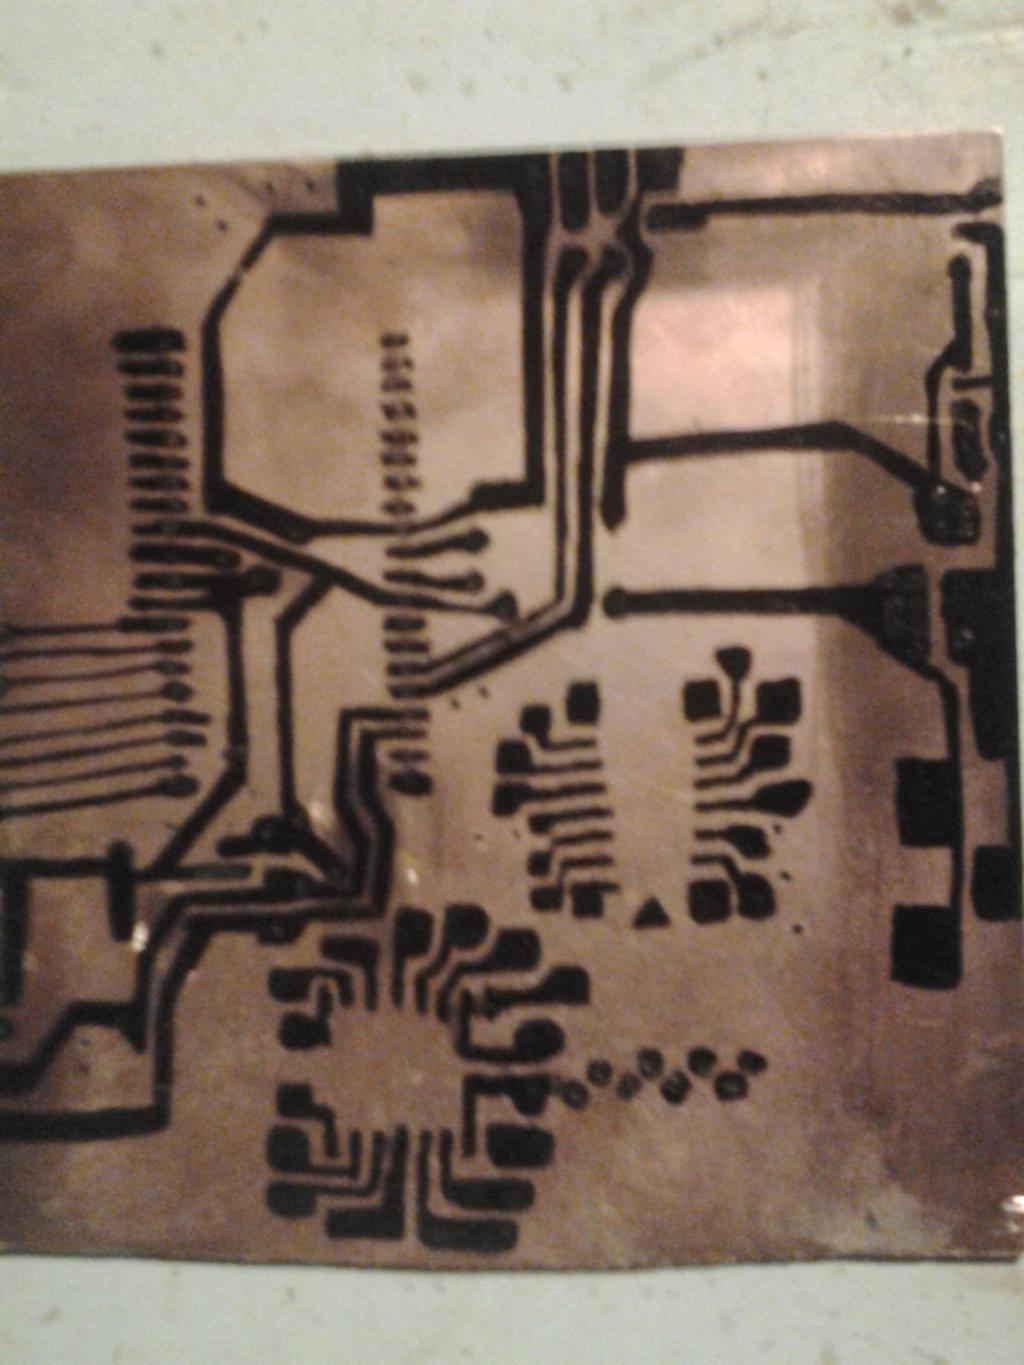
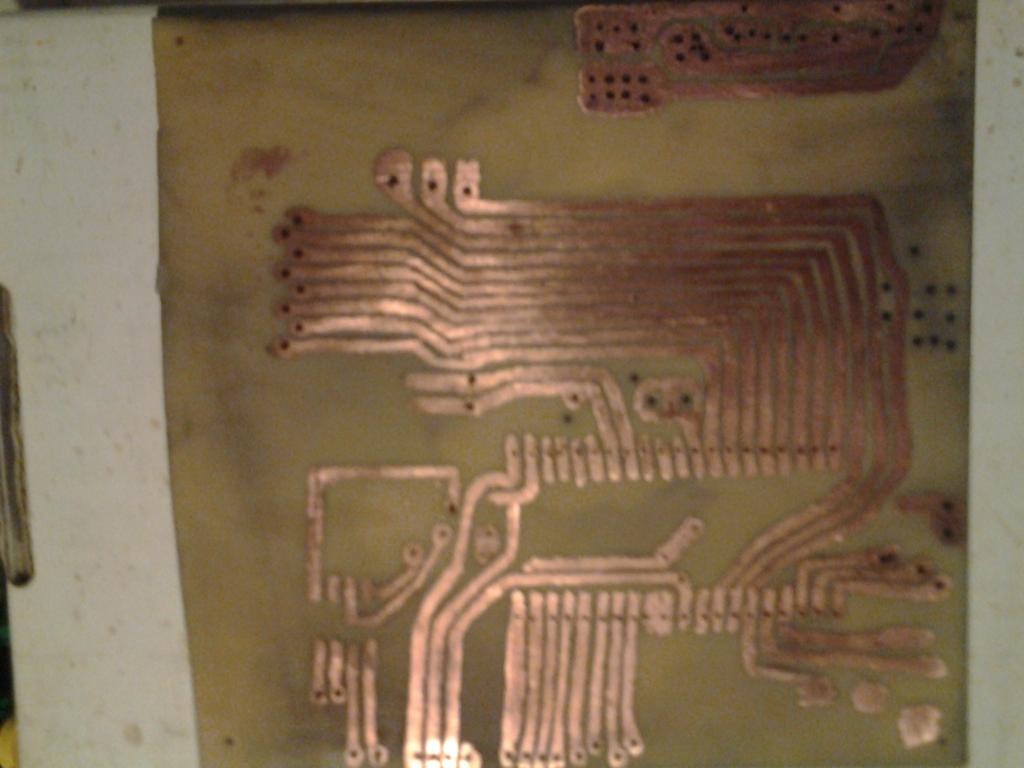
front and back if you cant tell I am going for a sort of surface mount but with dip chips
well now the muratic acid mix
i used 1 part muratic acid to 1 part hydrogen peroxide
and poured just about enough to make 1 inch in the Pyrex dish i no longer use due to a chip that's key here don't use the container for food again!
some might say "na just wash it out it is fine," really i would not risk it.
then place your PCB to be in gently with tongs not fingers!
gently move or slosh the container if like me your pcb is double sided flip it with the tongs periodicly mine took about 12 minutes to go to this.
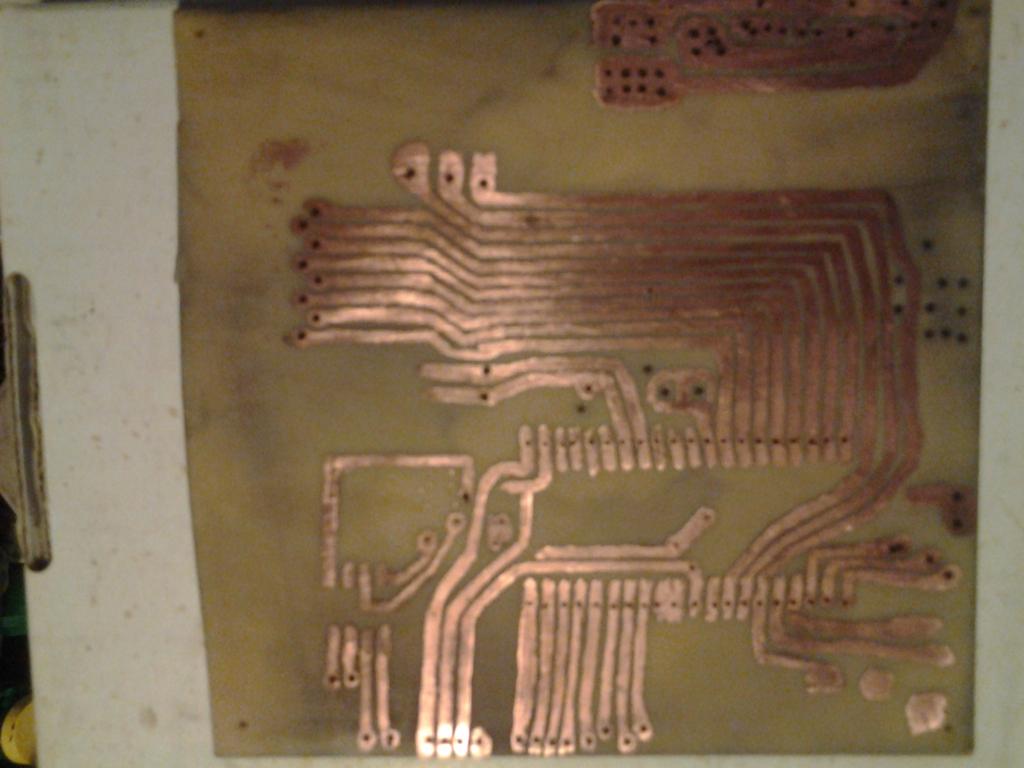
and next the soldering forgive the mess i was all about speed here.
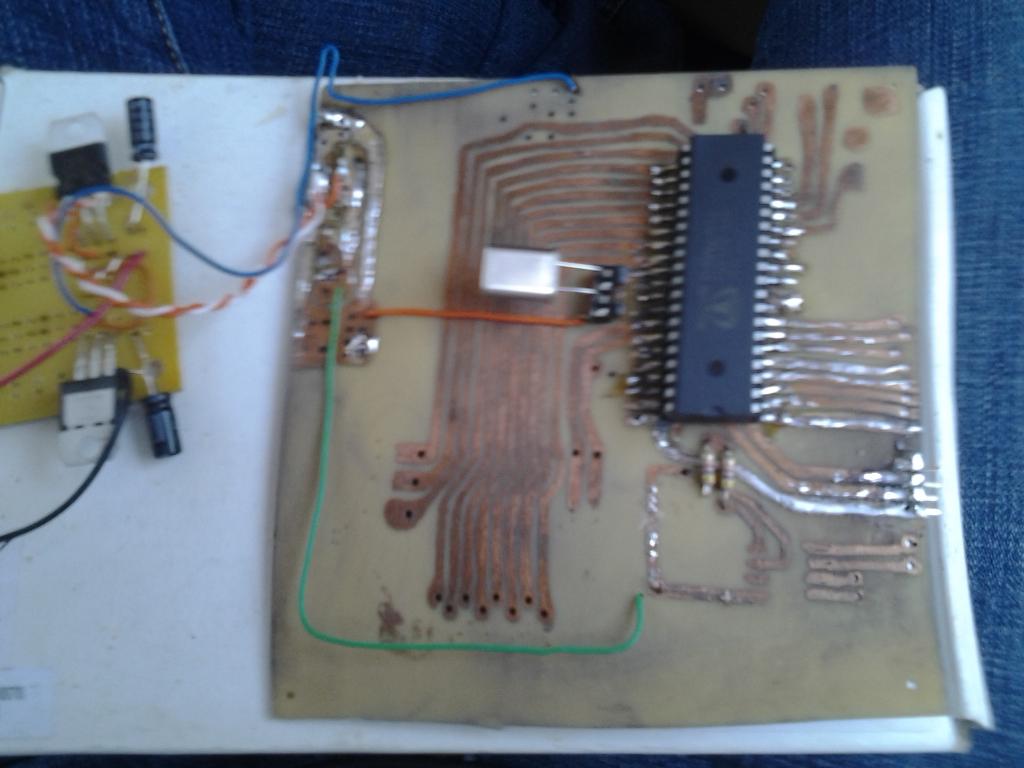
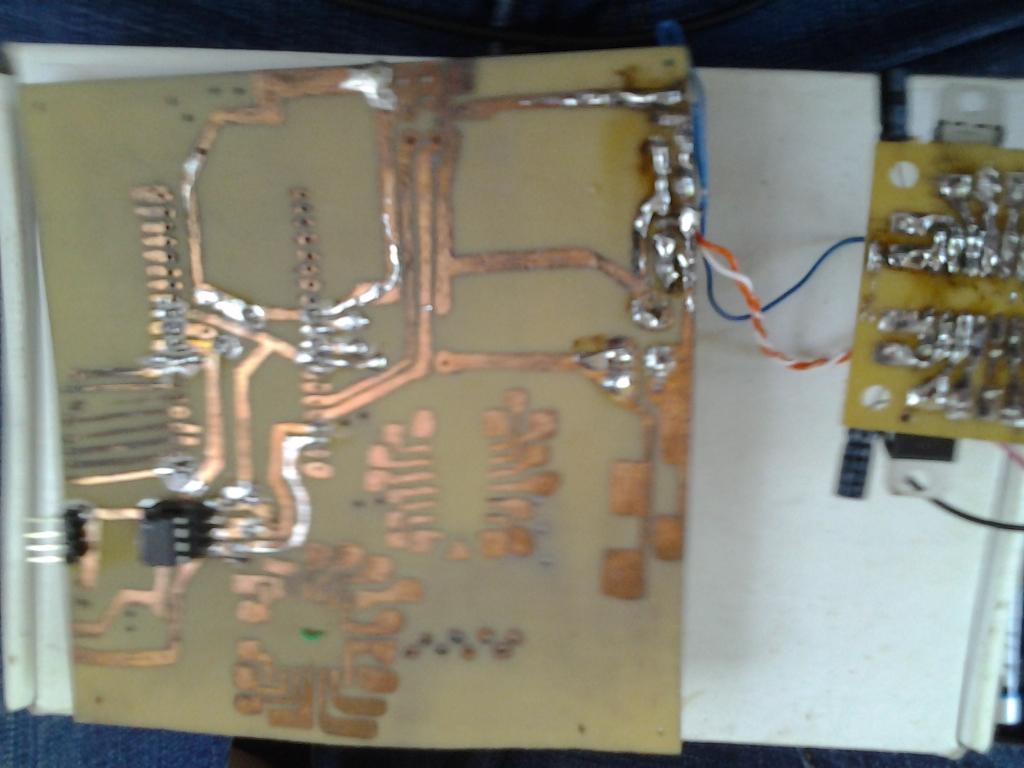
what you see is a board with a prop a EEprom and places for an RTC a keyboard connector the buttoncell and crystal for the RTC and the connections for the DAC for tv out and a place for my audio amp circuit and some prototyping pads.
points to note
thick ink is better.
do this in very well lit environment to make sure your lines are solid
look at the board from different angles make sure no copper can be seen through the ink
if you made a mistake don't let it worry you we all make some on our first try I made a few on this board but it still works.
all of this was
$4.15 copperclad
$7.00 1gallon muratic acid at lowes
$0.88 hydrogen peroxide
and of course the cost of the prop eeprom and regulators blah blah blah
but the pride in your first homemade PCB......... priceless
ok here is what you need
1: a copper clad board
2: some good sharpies (the markers)
3: muratic acid
4:hydrogen peroxide
5:mesuring cup glass or plastic not metal
6:shallow container again glass or plastic
7:tongs glass or plastic
8: a container of water
9: a place to get rid of the waste
I bought a copper clad board from radioshack and thought out my circuit as what i wanted it to have and roughly how big i wanted it to be
i placed a 40 pin dip socket on the board with pins bent and traced the pins to the place i wanted it to be then i started drawing the traces i wanted
oh acetate can be used to erase mistakes.
results


front and back if you cant tell I am going for a sort of surface mount but with dip chips
well now the muratic acid mix
i used 1 part muratic acid to 1 part hydrogen peroxide
and poured just about enough to make 1 inch in the Pyrex dish i no longer use due to a chip that's key here don't use the container for food again!
some might say "na just wash it out it is fine," really i would not risk it.
then place your PCB to be in gently with tongs not fingers!
gently move or slosh the container if like me your pcb is double sided flip it with the tongs periodicly mine took about 12 minutes to go to this.

and next the soldering forgive the mess i was all about speed here.


what you see is a board with a prop a EEprom and places for an RTC a keyboard connector the buttoncell and crystal for the RTC and the connections for the DAC for tv out and a place for my audio amp circuit and some prototyping pads.
points to note
thick ink is better.
do this in very well lit environment to make sure your lines are solid
look at the board from different angles make sure no copper can be seen through the ink
if you made a mistake don't let it worry you we all make some on our first try I made a few on this board but it still works.
all of this was
$4.15 copperclad
$7.00 1gallon muratic acid at lowes
$0.88 hydrogen peroxide
and of course the cost of the prop eeprom and regulators blah blah blah
but the pride in your first homemade PCB......... priceless


Comments
(or ma'am)
With the right pen we only need an xy plotter.
I recently wondered if a modern day cheap 3d printer could be coaxed into laying down the mask. After it has made the board it could make the box to put it in.
http://tech.groups.yahoo.com/group/Homebrew_PCBs/
Still it looks good for a first try. Sure, a 3d printer could do the job in 2d. I would like to try using a printer that prints onto CDs for small boards, but I don't have one.
I am beginning to think that monkeys did indeed build the Raspberry Pi board, but that's another story.
my mix is a little strong to a 1 to 1, 1 to 2 would be safer.
yes i want to invest in a laser printer for this.
my next project in a propGFX like board maybe.
and I am glad everyone liked this i love it cause its so cheap and easy, everyone tells me about the toner transfer and ferric acid but those two things i cant find here all the stores in like 60 miles of me are inkjet only. and to get ferric acid shipped costs so much for me.
so i tried this and found it so easy.
BTW my ink turned out to thin in some spots so i lifted the board half way through dunked it in water dabbed it try in a towel and redrew any trace that was savable which was most, i only lost 4 redundant traces.
my only other prob was mouser sent me some "equivalent" regulators and the pin outs were different so i had an area for the regulators that i couldn't use since the pin outs were different thats what that other board was about.
but before you start call your local waste disposal services and ask
"i have a acid used to dissolve copper foil of a surface what should i do with it?"
and find out the safest and legal solution for your area.
-Phil
Phil,
You don't have a moss problem in the great Northwest?
When I live south of Seattle for a year, I noticed many of the houses in my little town of Buckley had a substantial growth of moss on the roofs.
I guess they where just trying to have an above ground berm house.
Jim
I'd be interested to know the details as I've been ordering parts from Mouser for nearly 10 years and they've never even asked to substitute a part.
What manufacturer would bother to make an "equivalent" regulator with a different pin-out? That seems very odd.
Frankly, I just use an HP Inkjet and those work for me. I have to be a little careful as the ink can smudge, but that is the only issue.
Voltage regulators can be electrically equivalent with different pin outs. Also, LCDs come with the Vss and Vdd reversed. I've had local suppliers sell me these rather annoying 'equivalents'. On both, reversed polarity often is sudden death to the device.
Moss problems on roofs?
Copper ions kill moss - just attach a length of 1/2" copper water pipe along the ridge line of the roof and your problem is gone. Or, you can just cap the ridge with copper flashing for 6" on each slope.