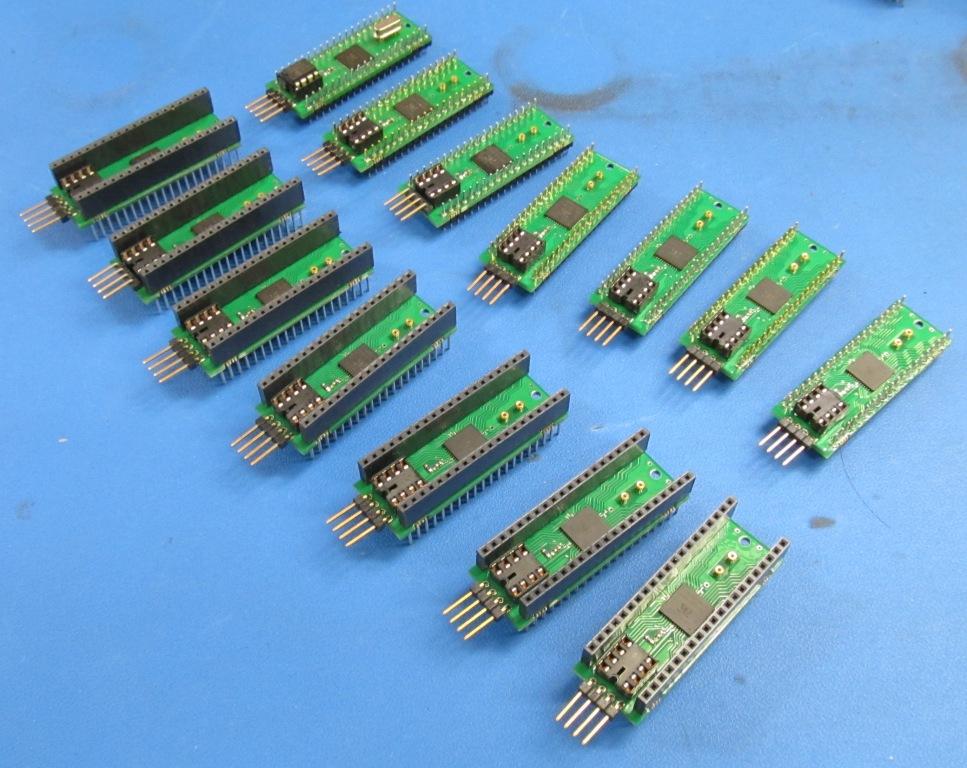
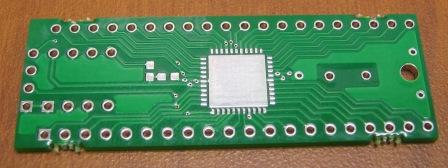
M44D40+ Propeller Basic Circuit Module in DIP40 Form Factor
 WBA Consulting
Posts: 2,938
Many have seen the development thread I started on my M44D40+ module and I recently showed them off at UPEW. I still have some modules left, so this will now be the official thread about any further development, feedback, etc.
My module's features are:
1) DIP40 form factor, 0.7"x2.0" (0.6" lead spacing)
2) 44 pin QFN Propeller microcontroller
3) 5 Mhz socketed crystal (Samtec machined socket pins for firm contact)
4) Socketed 32Kb EEPROM, DIP8 package
5) Right Angle 4 pin programming header (Propplug compatible)
6) Two header options:
a) stacking headers
b) machine pin socket compatible headers (0.025"square top pin, 0.018 round bottom pin)
7) 3 bypass caps and EEPROM pullup for SDA line.
8) Pin 1 is the square pad on the module (same end as the programming header)
With the EEPROM ad Crystal removed from the module, it is essentially the same as a Propeller DIP40 chip. (exception is the added bypass caps and EEPROM resistor)
The connections are exactly the same a a DIP40 but since the EEPROM, crystal, and programming header are onboard, the only additional connections for the basic Propeller circuit is to ground the BOEn pin and add a reset button. (See page 17 of the Propeller Manual for the basic prop circuit)
Module Pricing is $20 each plus shipping ($2.50 for First Class or $5.00 for Priority mail, email for international) These will also be offered as a package deal with a PowerTwig for $25.
To purchase, please PM me with your order requests and your PayPal email address so I can send you an invoice through PayPal.


Comments
Ravenkallen, thanks for the publicity for the module. I did a google search the other day and was surprised to see a Robot YouTube video pop up in the search results! I am pinging the other purchasers to see if they have used theirs yet for more pictures.
As for the power board, I have a concept, but I have other projects that are priority so it will be a while before it becomes a real thing. Once I get more pics and details out there, we'll see how things really go. I haven't really publicized this at all other than this and the other thread here on the Parallax forums. I would like to develop a simple project that would be of interest to people that would make the module ideal if I preloaded the program. I see a lot of projects on instructables that others don't make simply because it is a hassle to source all of the parts and then tweak the code because the original design used some part that they couldn't buy, etc, etc.
I like the modular approach and being able to change the eprom and crystal are real plus factor.
PS - you may want to "Plug" it into the letsmakerobots website component section .... or send one to a LMR reviewer .
Wossname, thanks! The design originally came from the DIP40 shortage that occurred a few years ago and I was finally able to get around to populating PCBs (I have over 600 PCBs that need parts and homes....)
(I'll take better pics tomorrow when I get my lightbox back from work)
The first picture shows one of my first modules that was made while I was establishing reflow profiles on my Ersa rework station. Unfortuntely, the QFN did not survive the multiple reflows at adverse temps and numerous IOs were dead. I pulled off the QFN and loaded on a DIP40 Propeller from my project box. The second picture shows both formats (the QFN format has machine pin headers as opposed to stacking headers, but the comparison is there) The thirda picture is the module sitting on a breadboard. Fourth and fifth pictures are end shots showing the stackup. The last picture shows the module on my PEKit setup with a PowerTwig. So, shown is a complete setup to run through the PE Kit book.
I have started to implement one of your M44D40 boards into a RFID security door system documented here at LMR at the moment.
The board is working well and i have to say its very robust and well thought out....... the socketable Crystal and eeprom knocks me out YAY.
@WBA Consulting: I love the look of the module on the breadboard. Very compact, it looks great! I also appreciate that you have adhered to the standard Propeller pinout rather than creating your own, which means I won't have to print/draw out ANOHTER pinout diagram for a new module. I'm remaking my Stingray remote (to be smaller and simpler) and will probably use this module in it.
I'll give a review here when I do.
@Microcontrolled: Thanks! One main goal was a DIP40 compatible layout so that existing DIP40 boards can actually be used if desired. Your statement about a pinout diagram got me thinking. I guess I should throw in an IC pinout label for the versions that will use the DIP40 Prop on the stacking headers.
General Update: I haven't found ideal elevated headers/socket strips that aren't ridiculously overpriced. The best option is an elevated machined pin socket strip from Samtec, but since it is a perfect solution, it of course has a hefty price tag: $4.20 each (and 2 are needed) So, I have found a couple others, but still need to verify how low the leads on the DIP40 will sit in the sockets. The one in the above pictures locks in fine, but I would like to have the leads have greater retention.
Test phase - testing possible scale (small is cute)
Video of it in action can be seen over at ......LMR (Gareth) its still evolving....
Then a Sharp sensor for obstruction detection.......
And two IR code detectors for locating other robots in the swarm........(yes i am building a swarm)
...... so i will be need more of your boards shortly.........
I am more than impressed by the form factor of your boards ...... keep up the good work..
- you have a full prop dev system with logic-analyzer - a really compact solution
If anyone else is interested, please post comments. As I mentioned on another thread, my goal is to sell a $25 kit which would include the M44D40+ Propeller module, a PowerTwig, and the wireset for the PowerTwig, so all you need is a breadboard, 9 volt battery, and some jumper wires to make this setup:
dgately
Jim
If you reference or PM him Jim, he might get an email notification : @"WBA Consulting"
@RS_Jim , Whatcha need?
Jim