NEW - EEPROM expansion (bank switch adapter)
 RobotWorkshop
Posts: 2,307
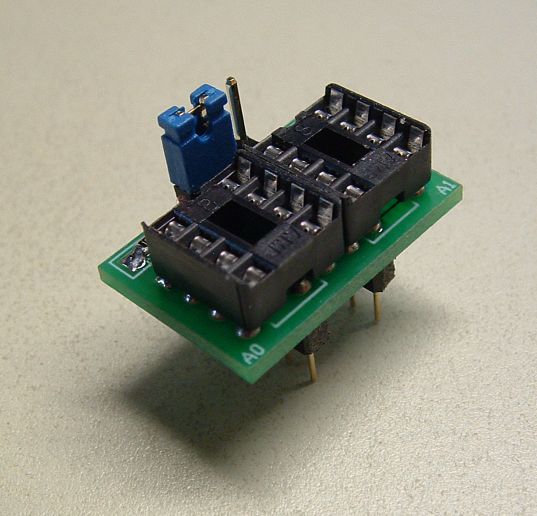
A while back I created a little adapter board to use as a way to expand the memory for the Propeller and also the OEM BASIC Stamp chips. The board replaces the DIP version of the EEPROM and will allow a pair of EEPROM chips to be installed instead. It has a three pin header which is used to determine which chip is addressed at address 0 and which one at address 1. By moving a jumper (or connecting a SPST switch) you can toggle between the two chips.
This has been very useful for me since you can have two complete different images available and just swap them with the flip of a switch. I've use this on a small robot that was running an OEM Stamp so I could keep two entire programs loaded and just switch between the two without reloading the Stamp each time.
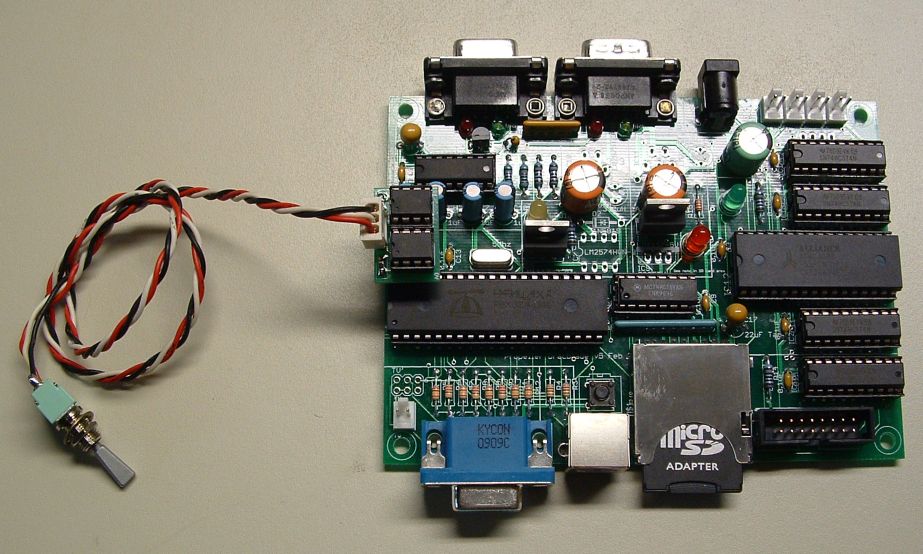
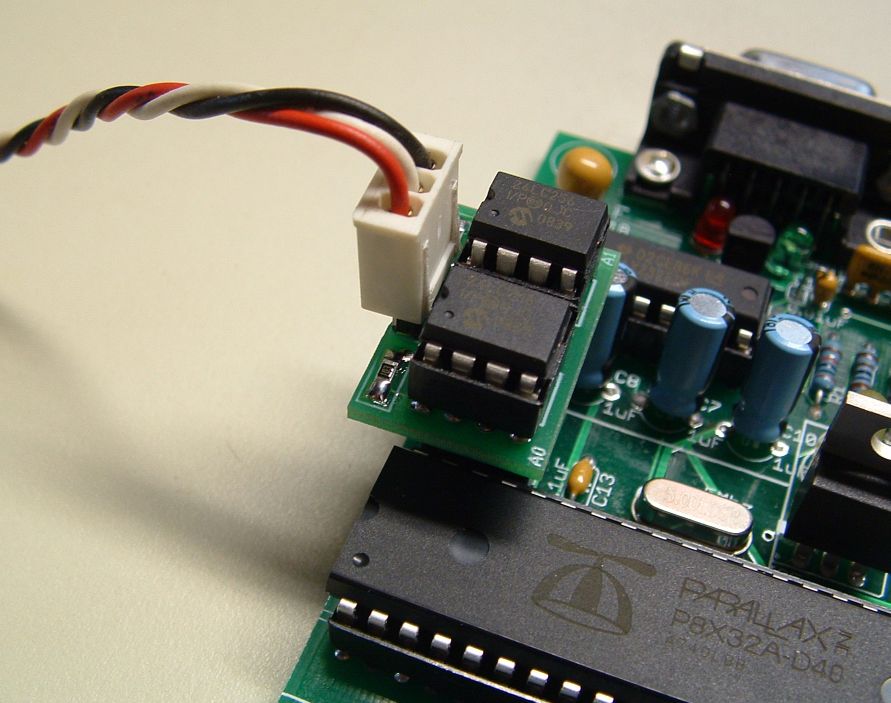
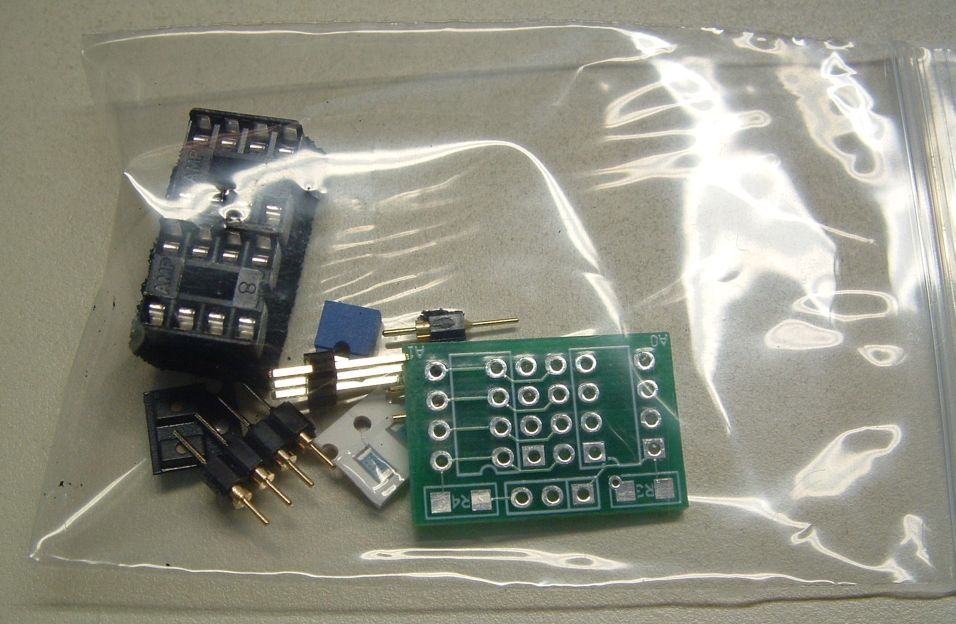
Attached is a picture of the adapter board itself, the adapter installed on a DracBlade board, and also one that shows the kit. The advantage of using it here is you can switch between a couple different emulators without reloading the EEPROM each time.
This should work on most of the Propeller boards that are currently using a single DIP EEPROM chip for program storage. Boards like the DracBlade, PropRPM, PPDB (Propeller Professional Development Board), Briel PocketTerm, and others (like the other blades which names escape me). It may work on the SpinStudio or Propeller Platform depending upon what other things you install on those boards due to physical interference.
Since the Hydra and Hybrid already do some banking with the cartridge this adapter isn't for those particular boards.
The board has two .1uf caps at the supply for each memory chip and two 10K pull-ups for the chip selection. It also has two open spots so you can add pull-up resistors (1206 package) on the SDA and SCL lines in case the board you are plugging the module into is missing them and you find that you need those resistors.
I have plenty of extra boards so I wanted to offer them here. Blank boards run $1.95 or the whole kit is $3.95 The kits include machine pin headers where it plugs into the socket so it doesn't stretch out the contacts (like the square pins do) so you can easily go back to a single chip if you want.
If you'd like one (or more) of these just send me a PM or e-mail to rdoerr@bizserve.com with what you want (blank boards or kits) and location or zip code so I can get a total w/shipping.


Comments
I saw your versions of the DracBlade (in the DracBlade thread) and it's pretty cool how you have that last version all mounted in a single case w/keyboard!
For those that would like to switch between EEPROM chips as well they can use this adapter as a plug-in upgrade easily. I originally made this a few years ago for a small robot powered with an OEM Stamp but I found it to work well with the Propeller as well.
Even with booting from the SD card it is still nice to have the option of switching the EEPROM chips to instantly startup in a different environment. This adapter also helps for those projects that don't have an SD card and also for the OEM Stamps which can't boot that way.
Attached are pictures of a small Propeller module (in a BS2p40 format) and an OEM BS2p40 Stamp module both using this adapter.
Robert
Then these wonderful people, here on the Prop forum, came up with all the right elements for a Dracblade running Z80 emulators-running Nascoms etc. The AVR got evicted.
It runs on the internal Li batts for about 12 hours (idling).
All this made one happy little bunny !
I dig your "EEPROM PLUG" method of expanding the EEPROM capability!. Nice!
KK
Robert
I was going to make an adapter for just two chips but that was kind of pointless after making the bank switch adapter since it does that by just leaving the jumper in place to set the address of the chips instead of switching them.
Hope to hear some feedback from the kits that have already mailed out.
Robert
I'm interested in one of the 4 socket flavors.
How much are you looking for?
kk
I'm "space deprived" as it is with two projects...
KK
Robert
I got my kit last night, and it's awesome...
Great product!
KK
The spots for the two resistors on the SDA and SCL lines are optional. These are for the whole I2C bus not just one chip. If the micro has internal pull-ups enabled then you don't need them. Most boards will already have whatever pull-ups are required so I would leave them open. They are in case you do need to add a pull-up resistor on the SDA or SCL lines. Some boards never had them and if you find that you do need them you can just add them on the adapter board. From what I have seen I think 4.7K or 10K is a value that a lot of people use (only if they need them).
When installing the 4-pin heads make sure the thicker lead gets soldered into the PCB. If you find that clearance is a problem you can use one (or more) regular 8-pin DIP sockets as extension for the height to help clear parts.
Robert
Robert
The 4X version is slick. It's set up just like I did my proto board before the PPDB was in production... 4 EEPROMS on the same address set... just different addresses. Made life great.
This is a slick add on for projects that need some extra space!
KK
http://forums.parallax.com/showthread.php?92127-NEW-40-pin-Propeller-prototype-module-Most-hackable-yet&highlight=bs2p40
http://forums.parallax.com/showthread.php?114299-Carrier-PCB-for-OEM-BS2p40-Stamp-chip.&highlight=bs2p40
http://forums.parallax.com/showthread.php?94916-SX48-40-pin-DIP-full-kit-and-PCB-available.&highlight=bs2p40
Robert
Robert
I found it with your comment on the RoboProp Board.
Robert
Robert
http://propellerpowered.com/shop/?page_id=1315
Jeff