Yet Another Cat toy (with a twist)
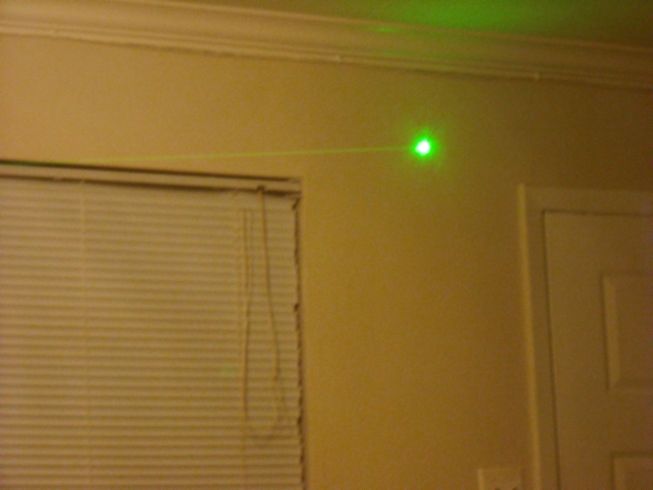
I know that the laser-cat toy thing has been done, but this is one that I haven't seen anyone do.
This was the product of two events happening in quick succession:
1) Green Laser pointers hit woot and at $15, I couldn't pass it up.
2) I was bored and the cats were restless.
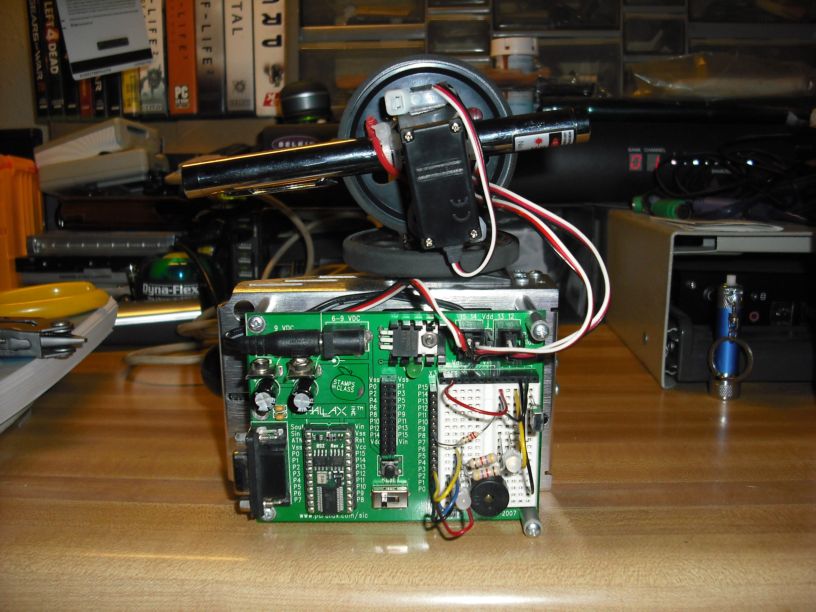
This had initially started off as a computer controlled laser, but I developed it into a fully remote-controlled laser cat toy.
Parts used:
One bi-color LED with common cathode.
One bi-color LED (the one from the What's a Microcontroller kit)
Two Continuous Rotation Servos (BOE BOT kit)
One "Standard" 180 degree servo (WAM kit)
IR detector (from BOE-BOT kit)
Piezo speaker (from BOE-BOT kit)
Tiewraps
40 cents (What? I needed a spacer and 4 dimes fit the bill just right.)
Some jumper wire
2 4.7K resistors
1 22 ohm resistor
Features:
- Uses Sony Remote control codes. I used the cable company's remote control :P
- Powers on in "Safe" mode, will not start moving/firing until it's been "turned on" via the power button on the remote.
- Uses the 4-way D-pad to move the laser and the "OK" button to fire/shut off the laser.
- Audible alerts on machine state, laser on, laser off, enabled, disabled.
I apologize in advance for the MS Paint drawn schematic.
Video of the test:
www.youtube.com/watch?v=mudYHKZNP30


Comments
-Phil
http://www.parallax.com/Store/Robots/RoboticAccessories/tabid/145/CategoryID/22/List/0/Level/a/ProductID/80/Default.aspx?SortField=ProductName,ProductName
Dead Reckoning rules! Just mount them on the servos.
▔▔▔▔▔▔▔▔▔▔▔▔▔▔▔▔▔▔▔▔▔▔▔▔
BWIN ON DA POWAH WIFIN U!!!
(This means the Plutonium Isotope Nuclear Fission And Fusion Reactor Battery Pack you've been hiding inside your jacket!!!)
Didn't I read a long time ago about someone who did something similar to mark where certain things were in hardware drawers? Anyone else have any potential uses for such a thing?
It was (I believe) Ken who had the idea of using it to find parts on a wall. It's somewhere in the completed projects forum, but I don't think it ever got further than a laser and servos (no database program).
I think that was Beau's project.
Ken
http://forums.parallax.com/showthread.php?p=549166
...It worked great, until I moved. It's just not as organized is all, and I don't have the laser up at the moment. I ended up putting flat white paper on the front of all of the drawers to prevent bad reflections. At the distance I had the laser, and the servo's that I was using, the resolution of the "grid" was about 1 cm so I could easily capture the physical position of each drawer in memory, and then just assign an index value to it corresponding to the contents. A simple program written in Visual Basic looked for duplicates, as well as whatever item you were looking for.
▔▔▔▔▔▔▔▔▔▔▔▔▔▔▔▔▔▔▔▔▔▔▔▔
Beau Schwabe
IC Layout Engineer
Parallax, Inc.
**BILL OF MATERIALS**
1.One rubber grommet-13/32" hold from parallax
2.one lazer pen from wal mart
the build is simple, simply atach the rubber grommet around the lazer and then find a way to mount it on!
dont forget to move the rubber grommet every time you move the robots positoin to 2.
in fact·I think Ill just go create my own page about my robot!
Post Edited (the joshanator) : 6/17/2009 1:43:17 PM GMT